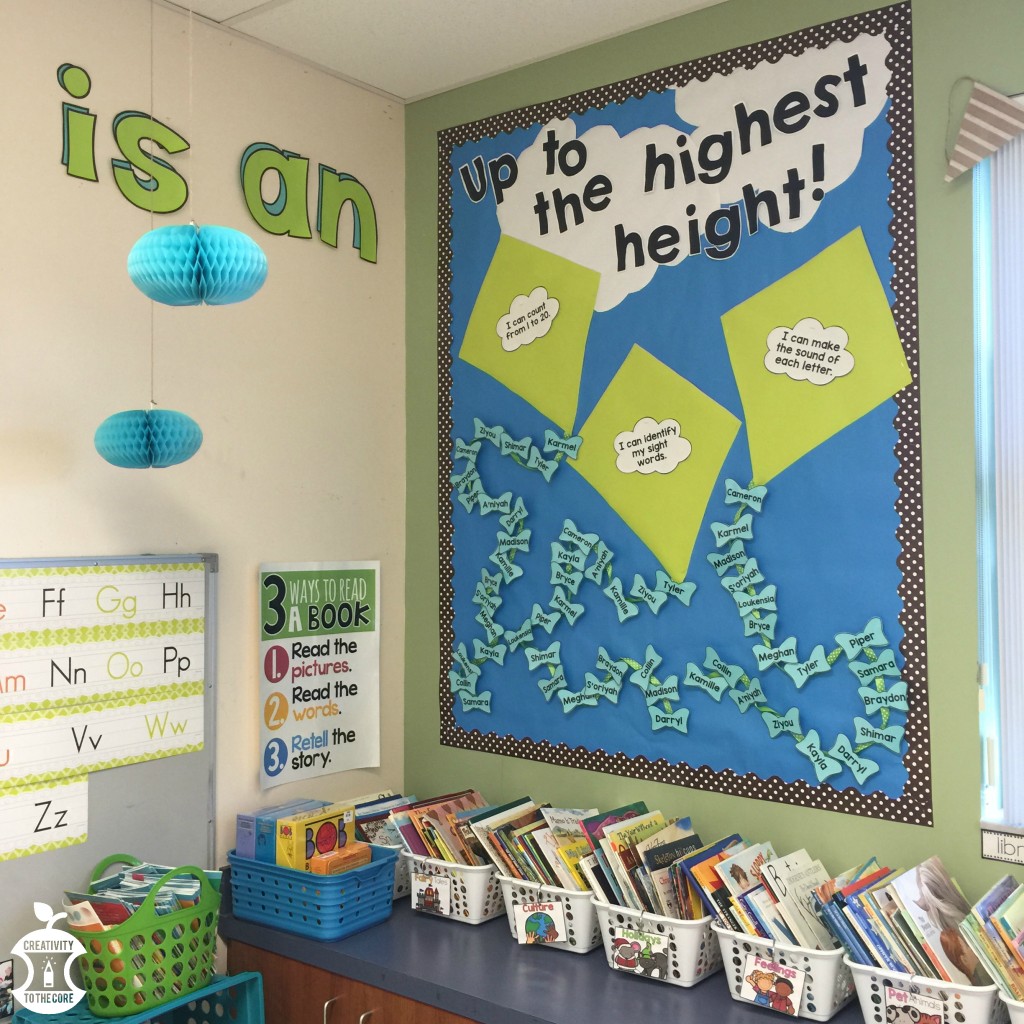
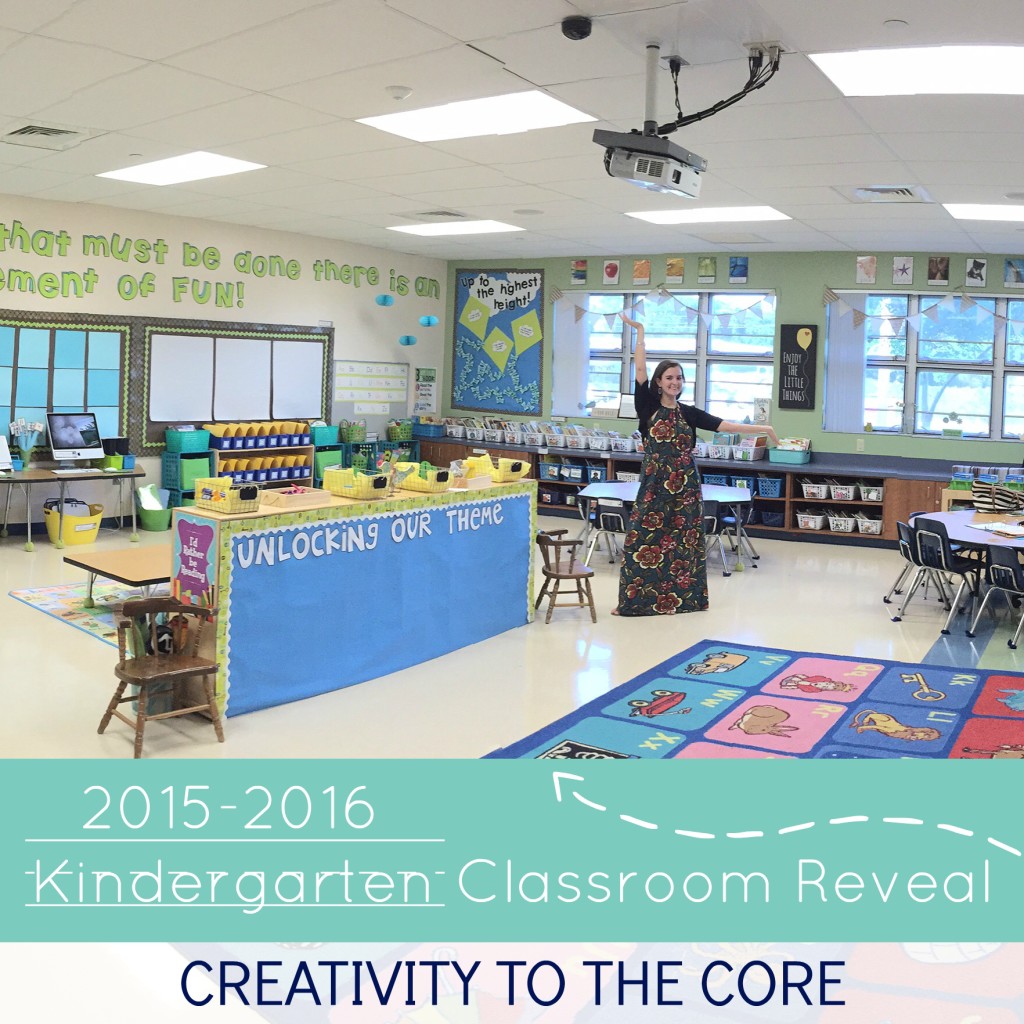
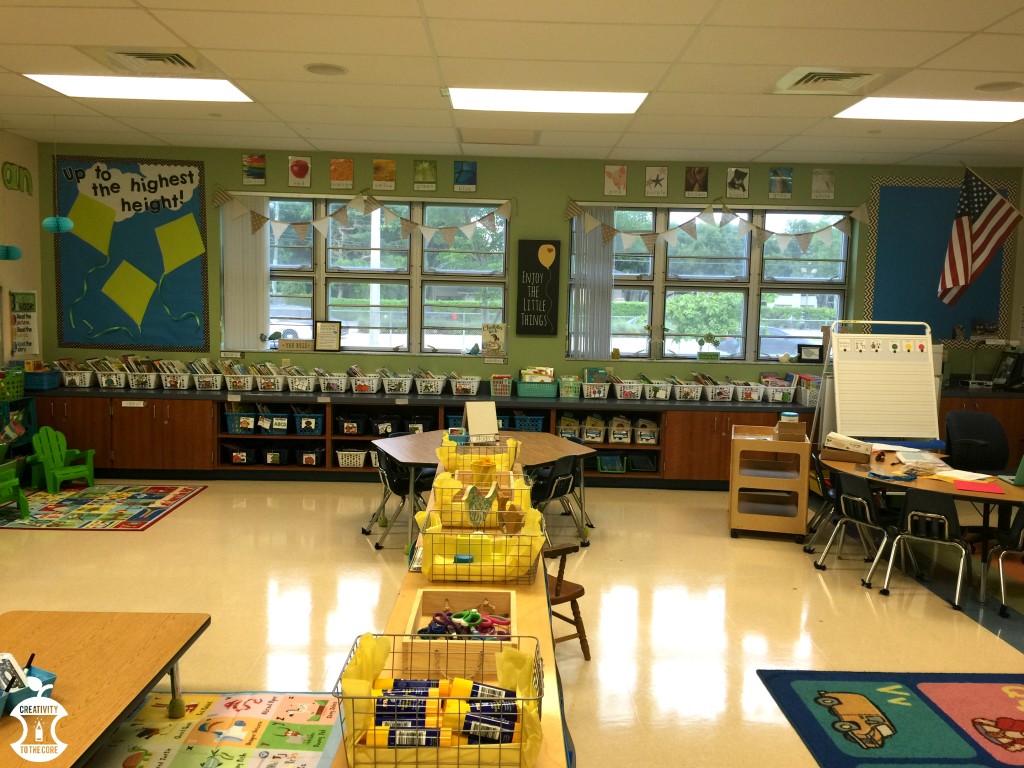
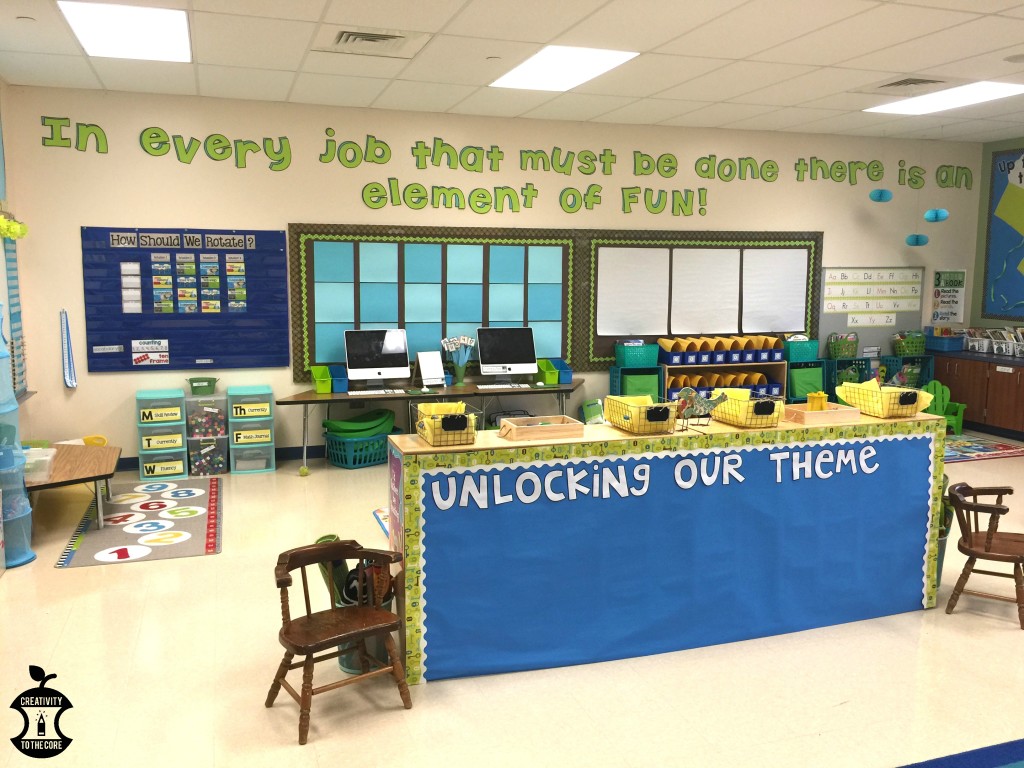
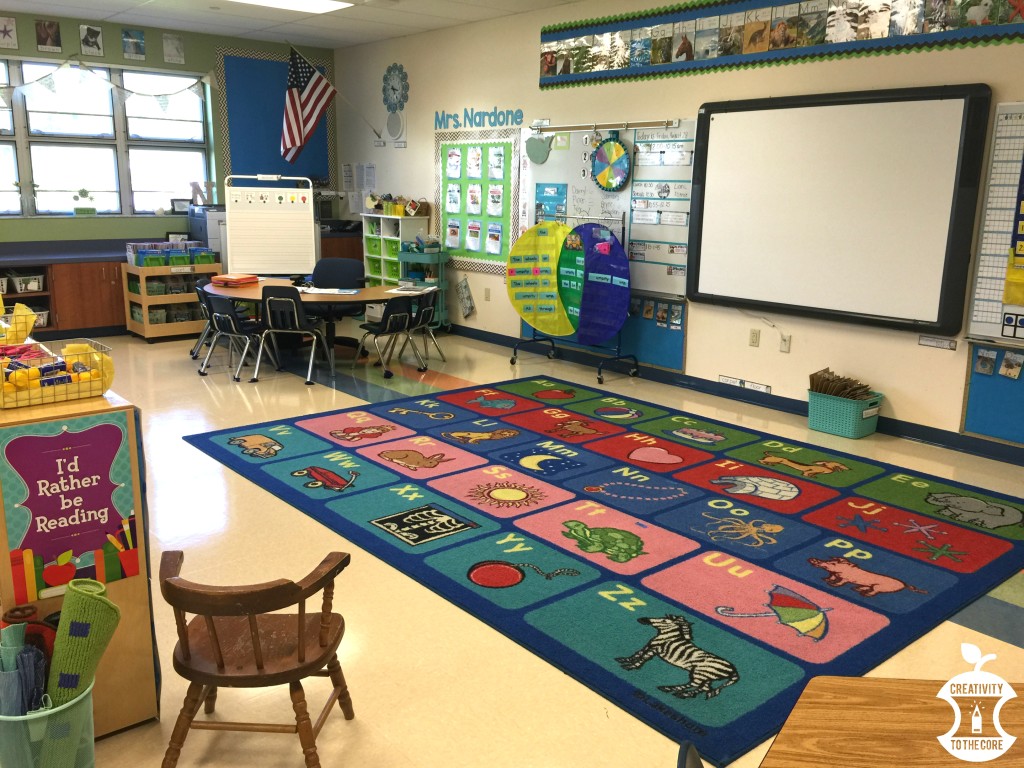
This year, my classroom theme is Mary Poppins. It has been my favorite classroom so far in my teaching career. It’s not in your face, but it’s also pleasing to the eye. It is my happy place.
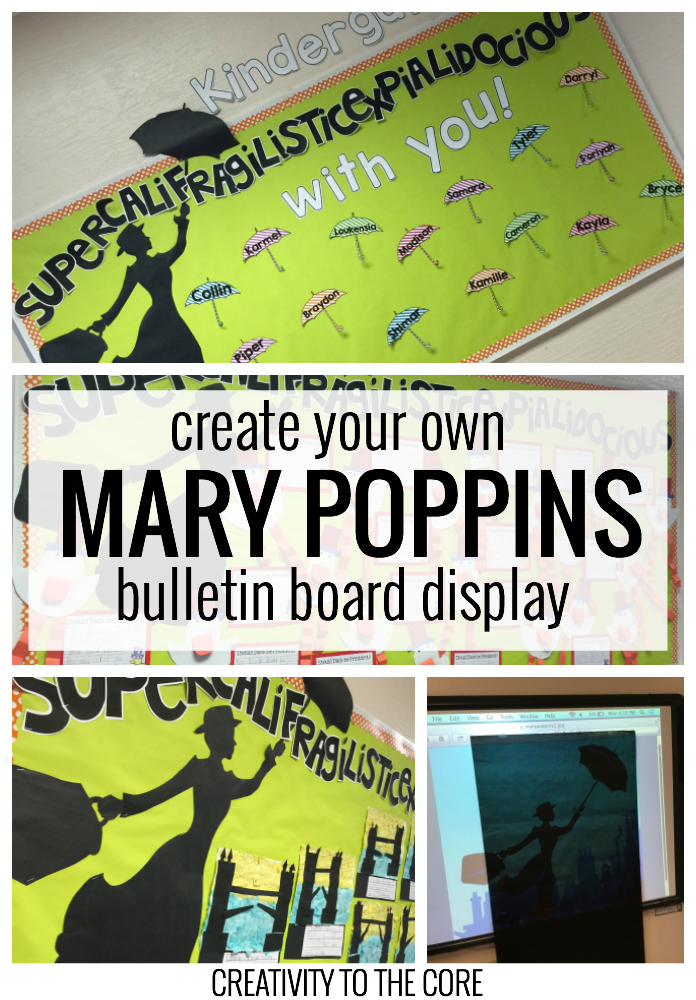
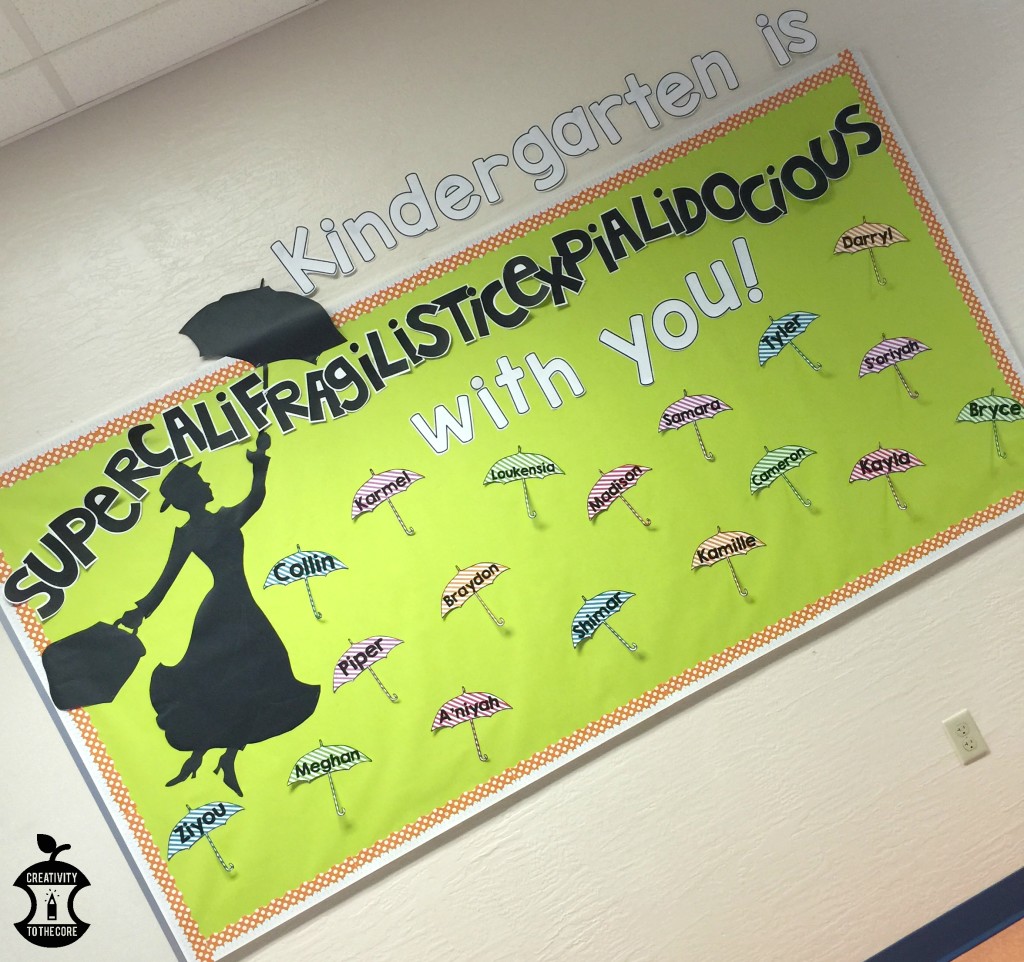
One of my absolute favorite aspects of the room is actually outside of my room – our hallway display board! It’s so simple and so vibrant. It’s easy to create and (seriously, the best of all) it can be kept up all year long! I’ve had questions about this board from the second I put it up, so here we go!
You will need: black bulletin board paper, bulletin board paper in a bright color of your choice, a fun border, bulletin board letters or white paper to print your letters on.
Step 1: Tape a long piece of black bulletin board paper to any type of Smart Board or onto a wall if you have a projector.
Step 2: Find a Mary Poppins silhouette image online (by searching “Mary Poppins silhouette” on Google Images) and enlarge it to your entire computer screen by zooming in on the picture. Project this on your Smart Board or wall.
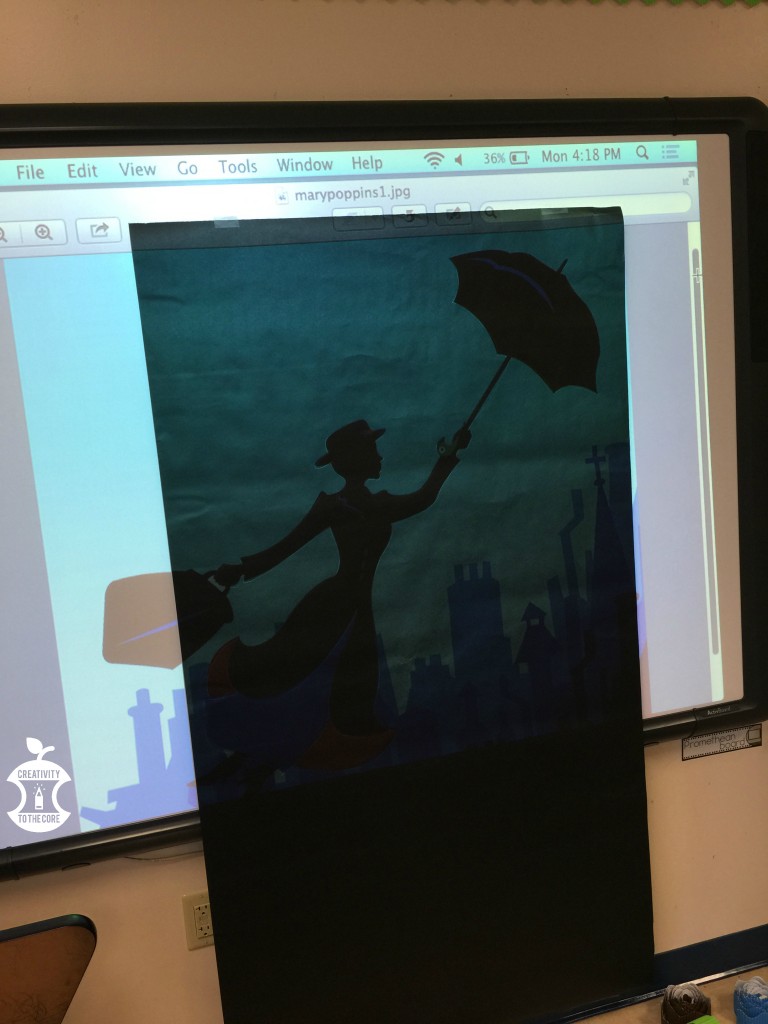
If your paper does not fit over the entire image (see the suitcase above) you may choose to use another piece of black paper and tape them together at the end.
Step 3: Trace the outline of the image with a pencil.
Step 4: Take the black paper down and cut out the image.
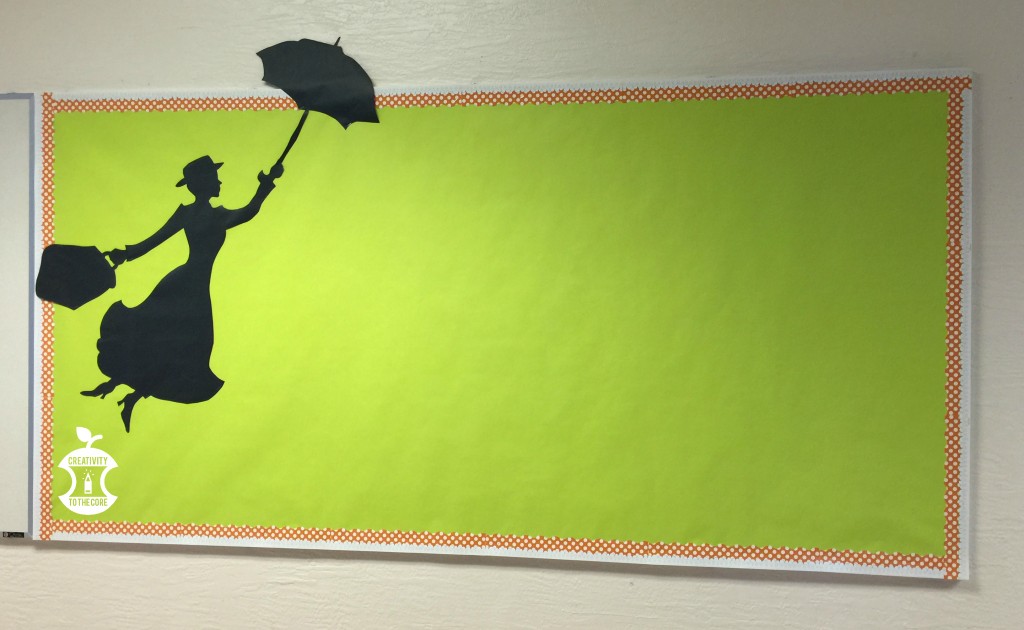
Step 5: After adding the colorful background paper and border, place the Mary Poppins cut out on the board. Slightly lift her off of the board so that she looks as if she were flying. Staple carefully to the board, and tape any excess pieces that hang off onto the wall.
Step 6: At the beginning of the year, I use this as my welcome board. I used an image of a umbrella from Google, inserted it into PowerPoint, and added each child’s name. You can download the font here (I used the Solid option). Print these onto patterned card stock for a fun look!
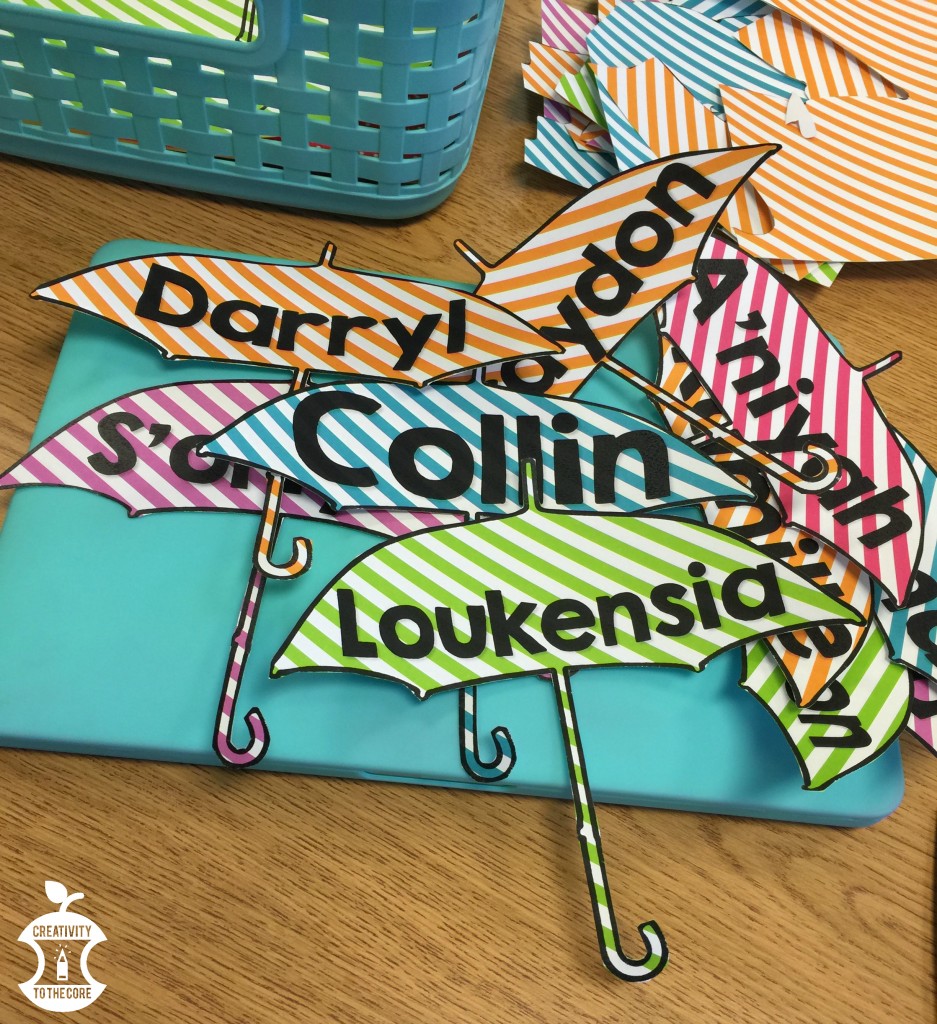
Step 7: To make the title, use bulletin letters or download the font I used to make your own. If you choose to make your own, the SUPERCALIFRAGILISTICEXPIALIDOCIOIUS title on the board will take for.ev.er to cut out. But, just embrace it. You’ll only have to do it once. Grab your stack of paper, scissors, and start that Netflix marathon!
Step 8: Staple the letters from one end of the board to the other. Overlap some, because it may JUST fit. Add the umbrellas and any other text that you want on the board. Ta-da! Done!
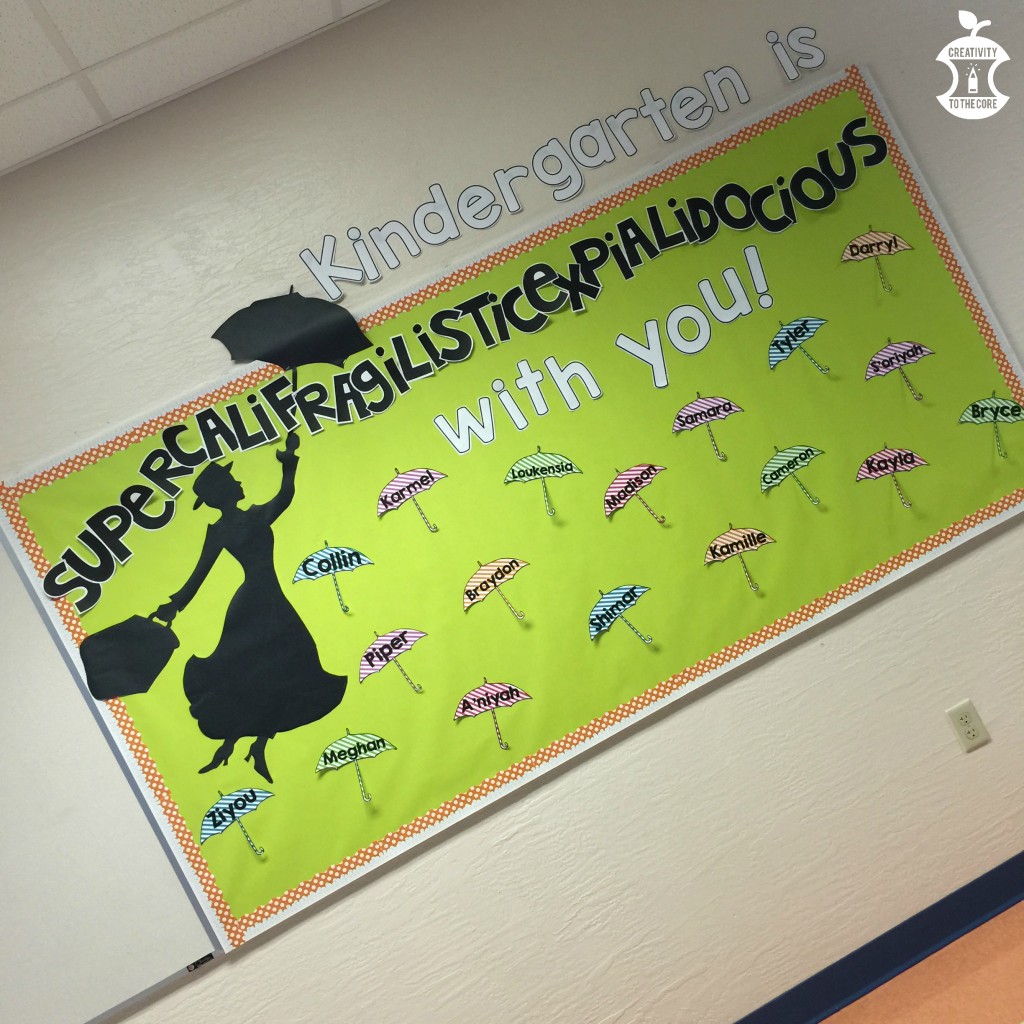
This board display is extremely versatile!
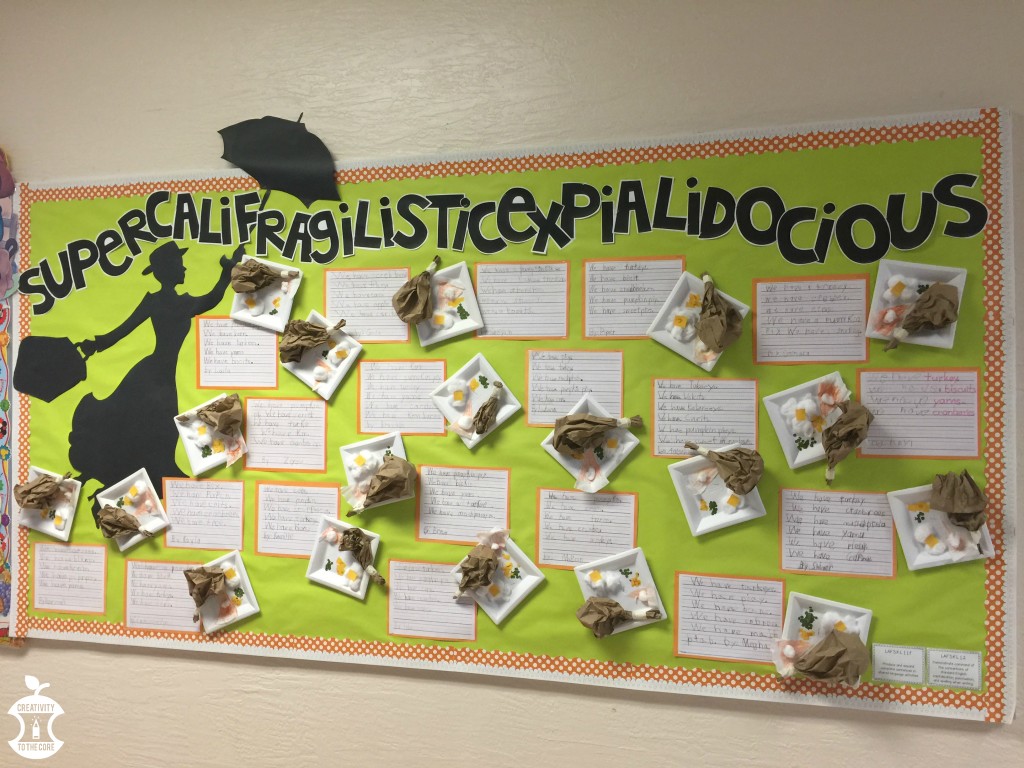
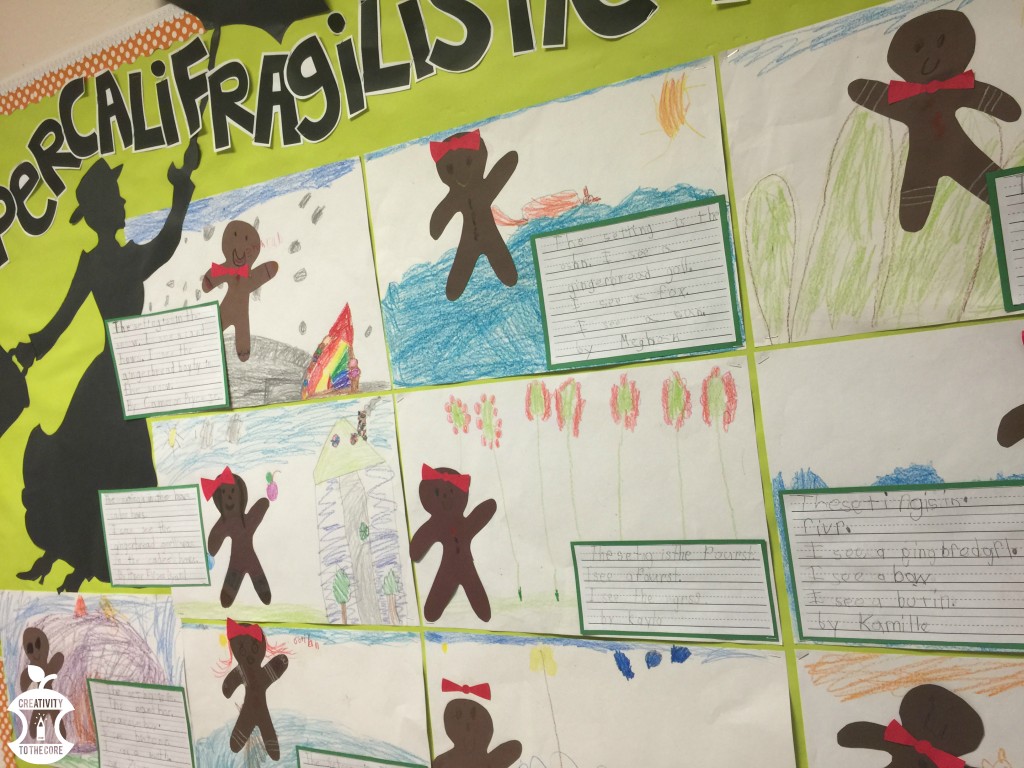
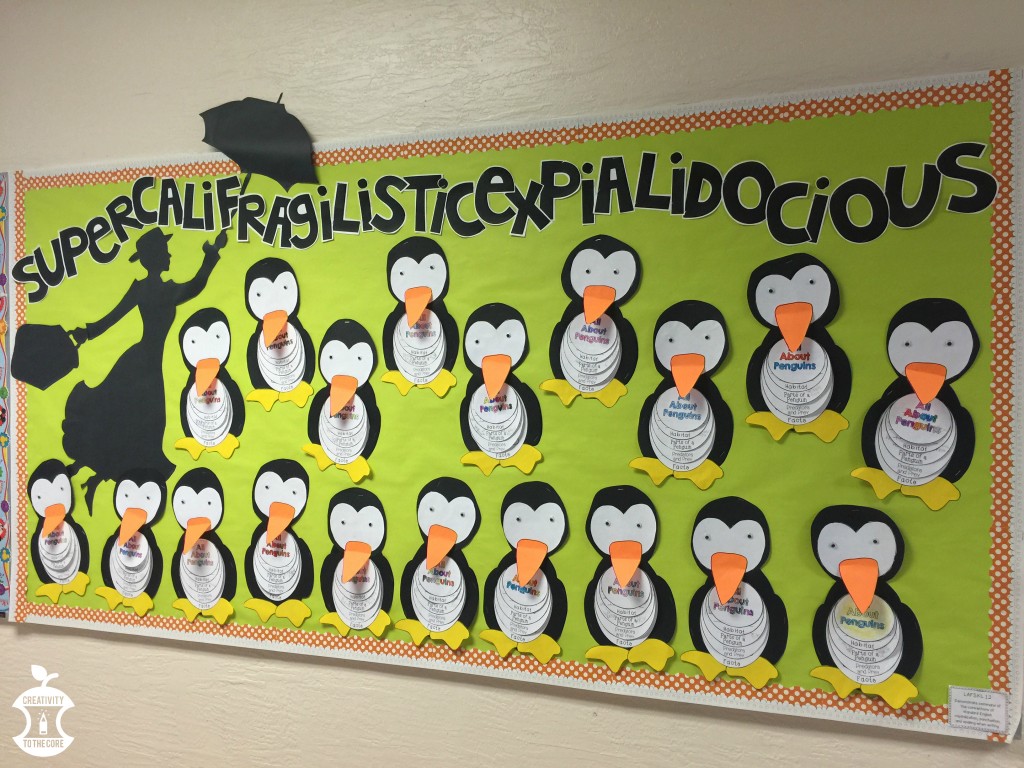
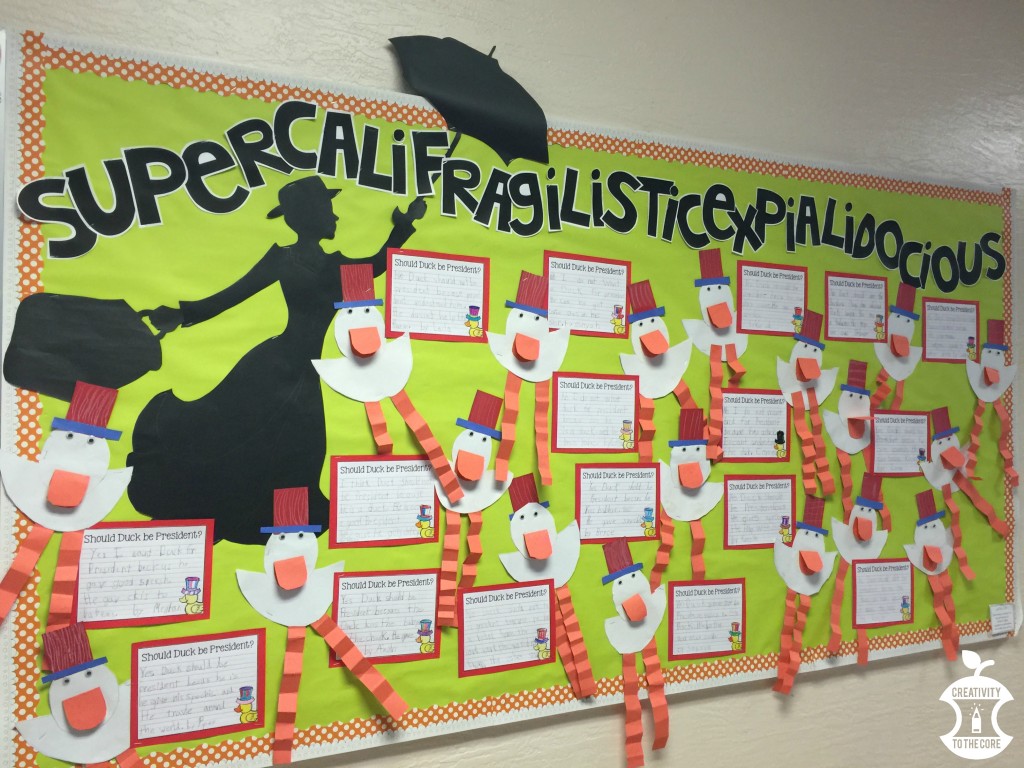
Titling the board with SUPERCALIFRAGILISTICEXPIALIDOCIOUS makes it perfect for displaying student work. I did not change anything but student work the entire school year. I will never again change paper, borders, and titles each month. Work smarter, not harder! Below are some of the displays our class has had so far this year…

If you are interested in using Mary Poppins as your classroom theme next year, check out these other ideas!
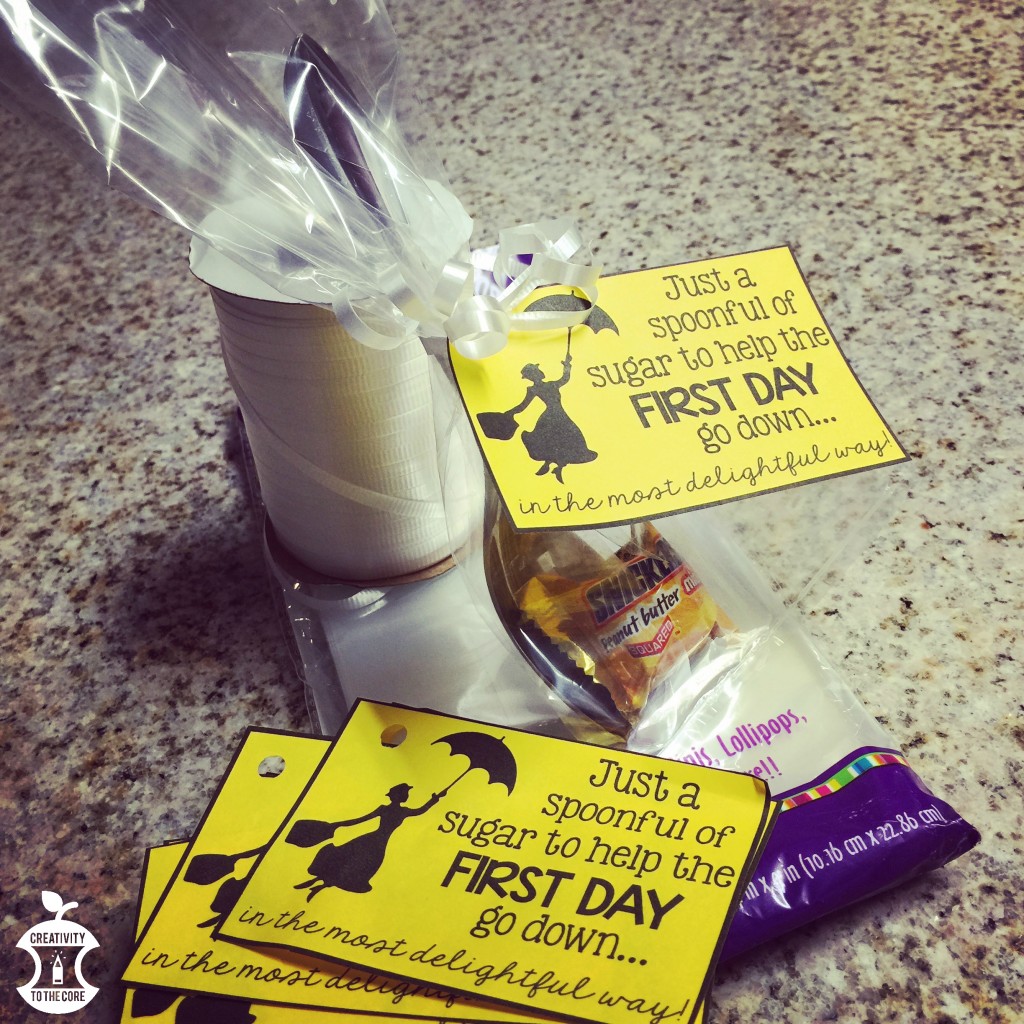
First Day ideas – FREE printables
