• Skip to primary navigation
  • Skip to main content
  • Skip to primary sidebar
  • Skip to footer
Creativity to the Core

Creativity to the Core

Learning Makes Us Who We Are

  • Home
  • About
  • PD
  • Resources
    • Freebies
    • Recommendations
  • Blog
  • Shop
  • Book Now/Contact
  • TPT
  • Instagram
  • Facebook
  • Pinterest

Classroom Environment

How-to Create a Mary Poppins Bulletin Board

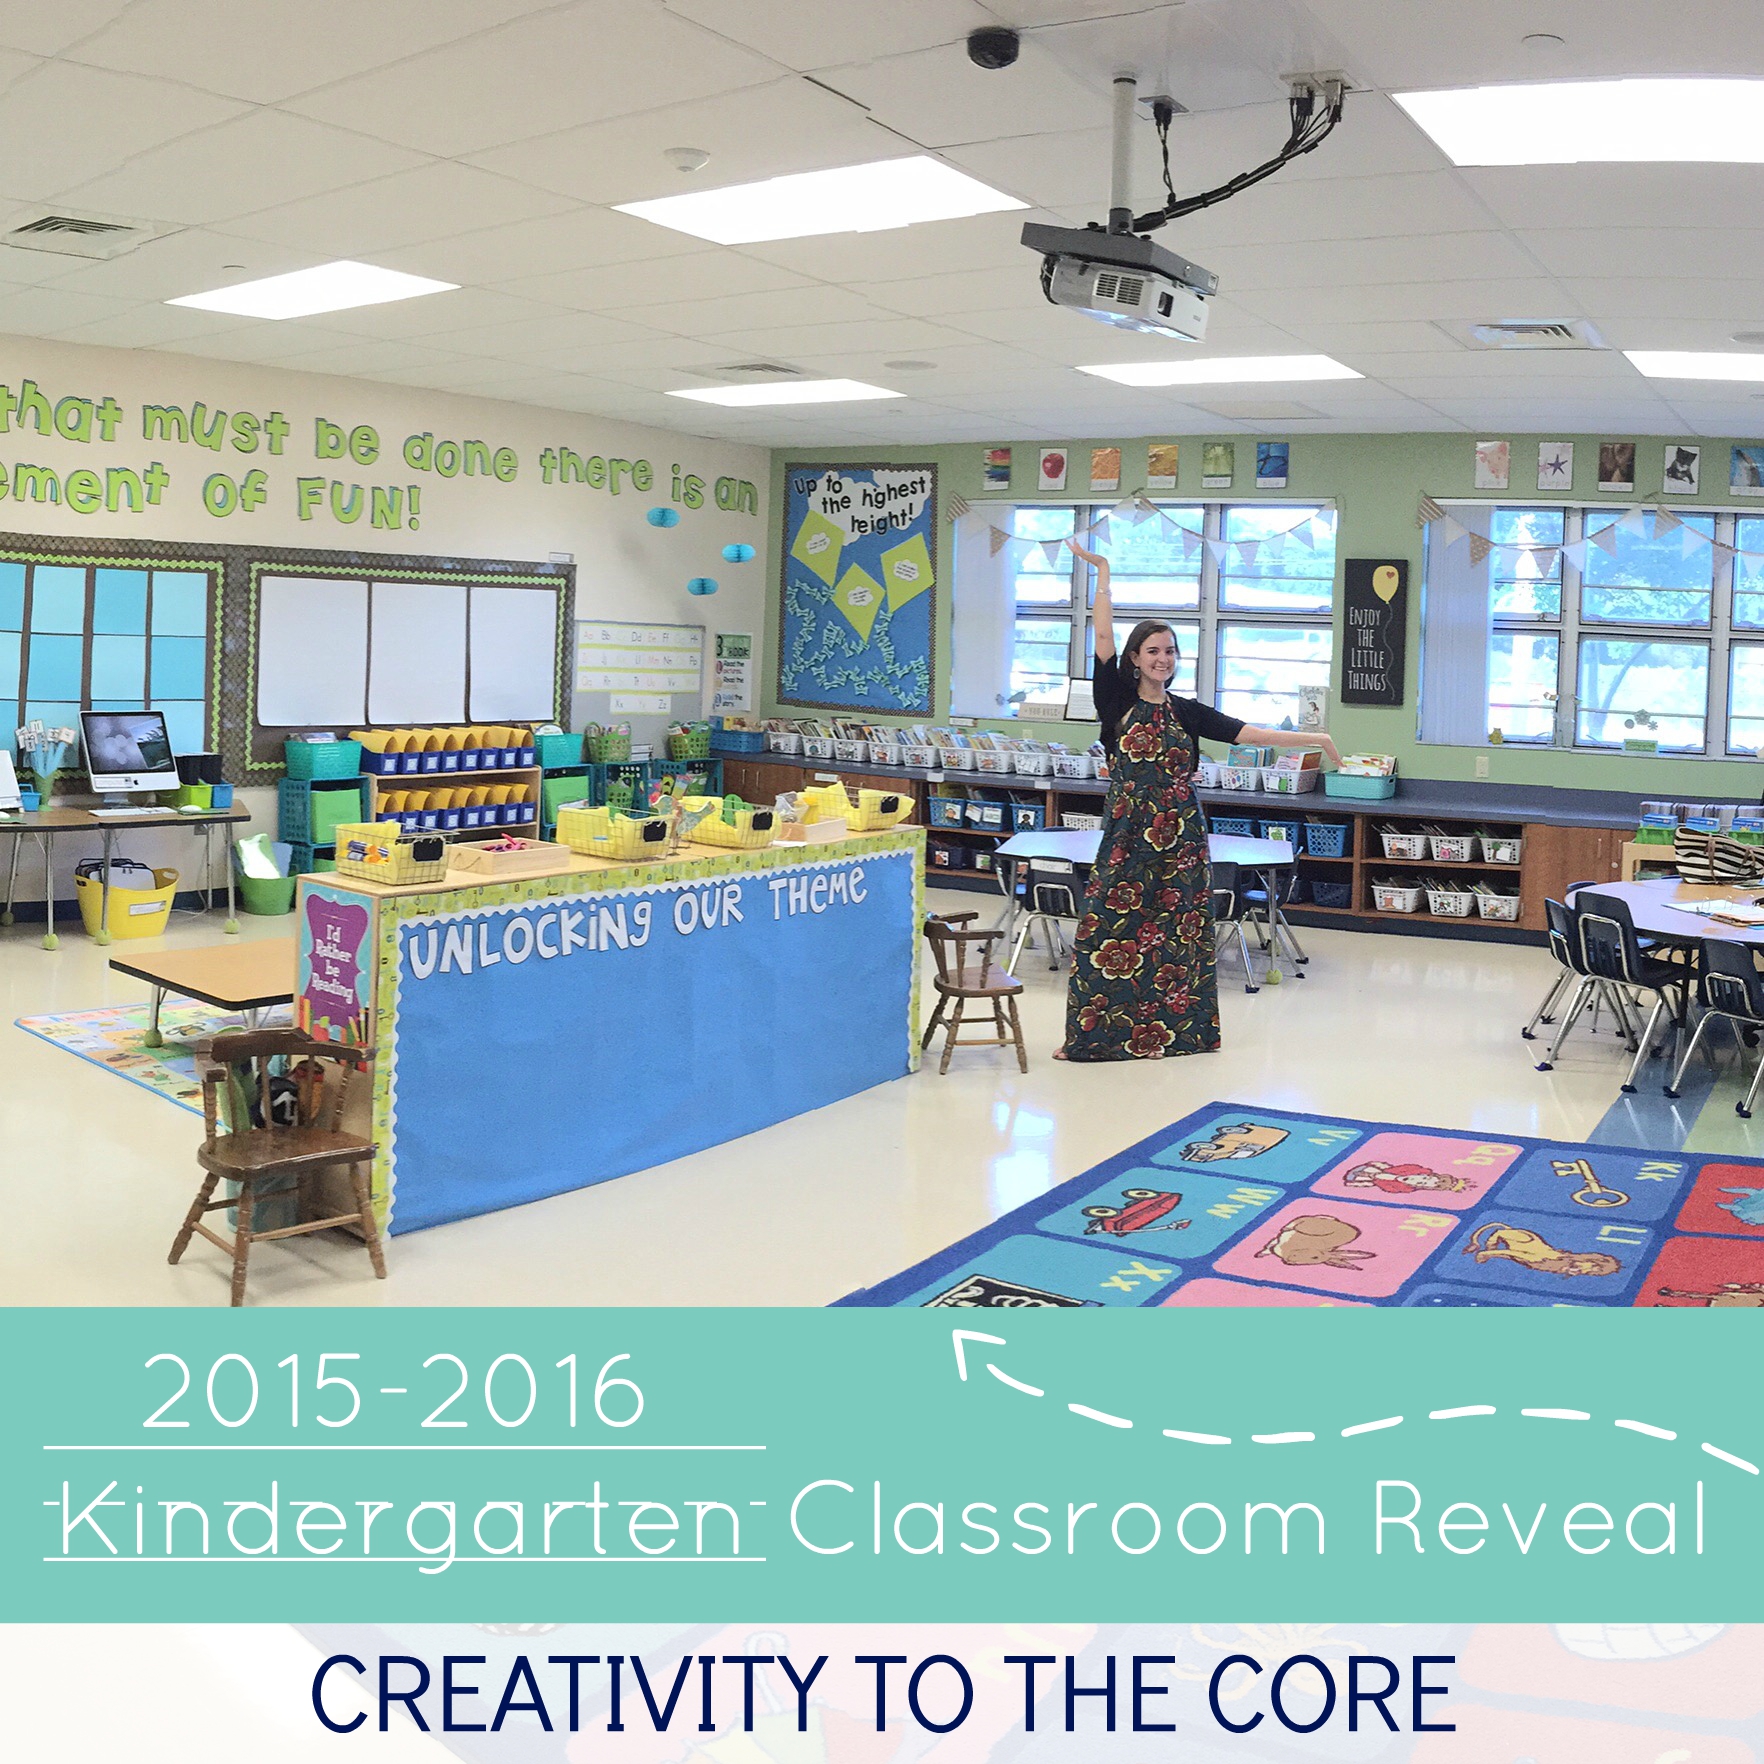
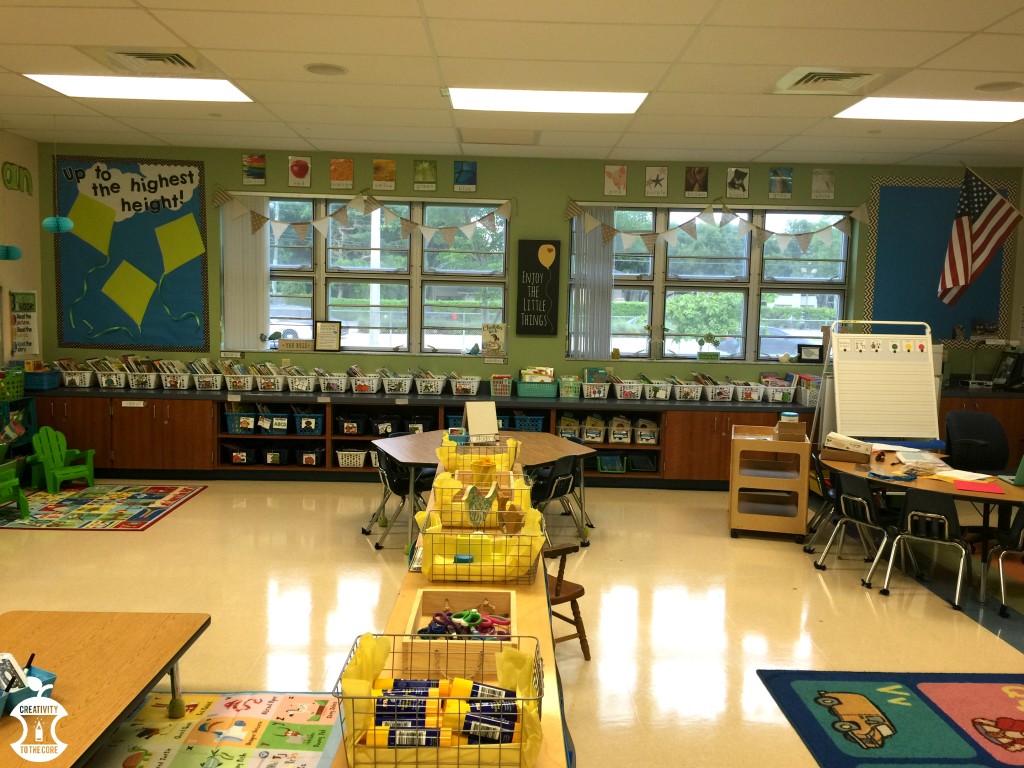
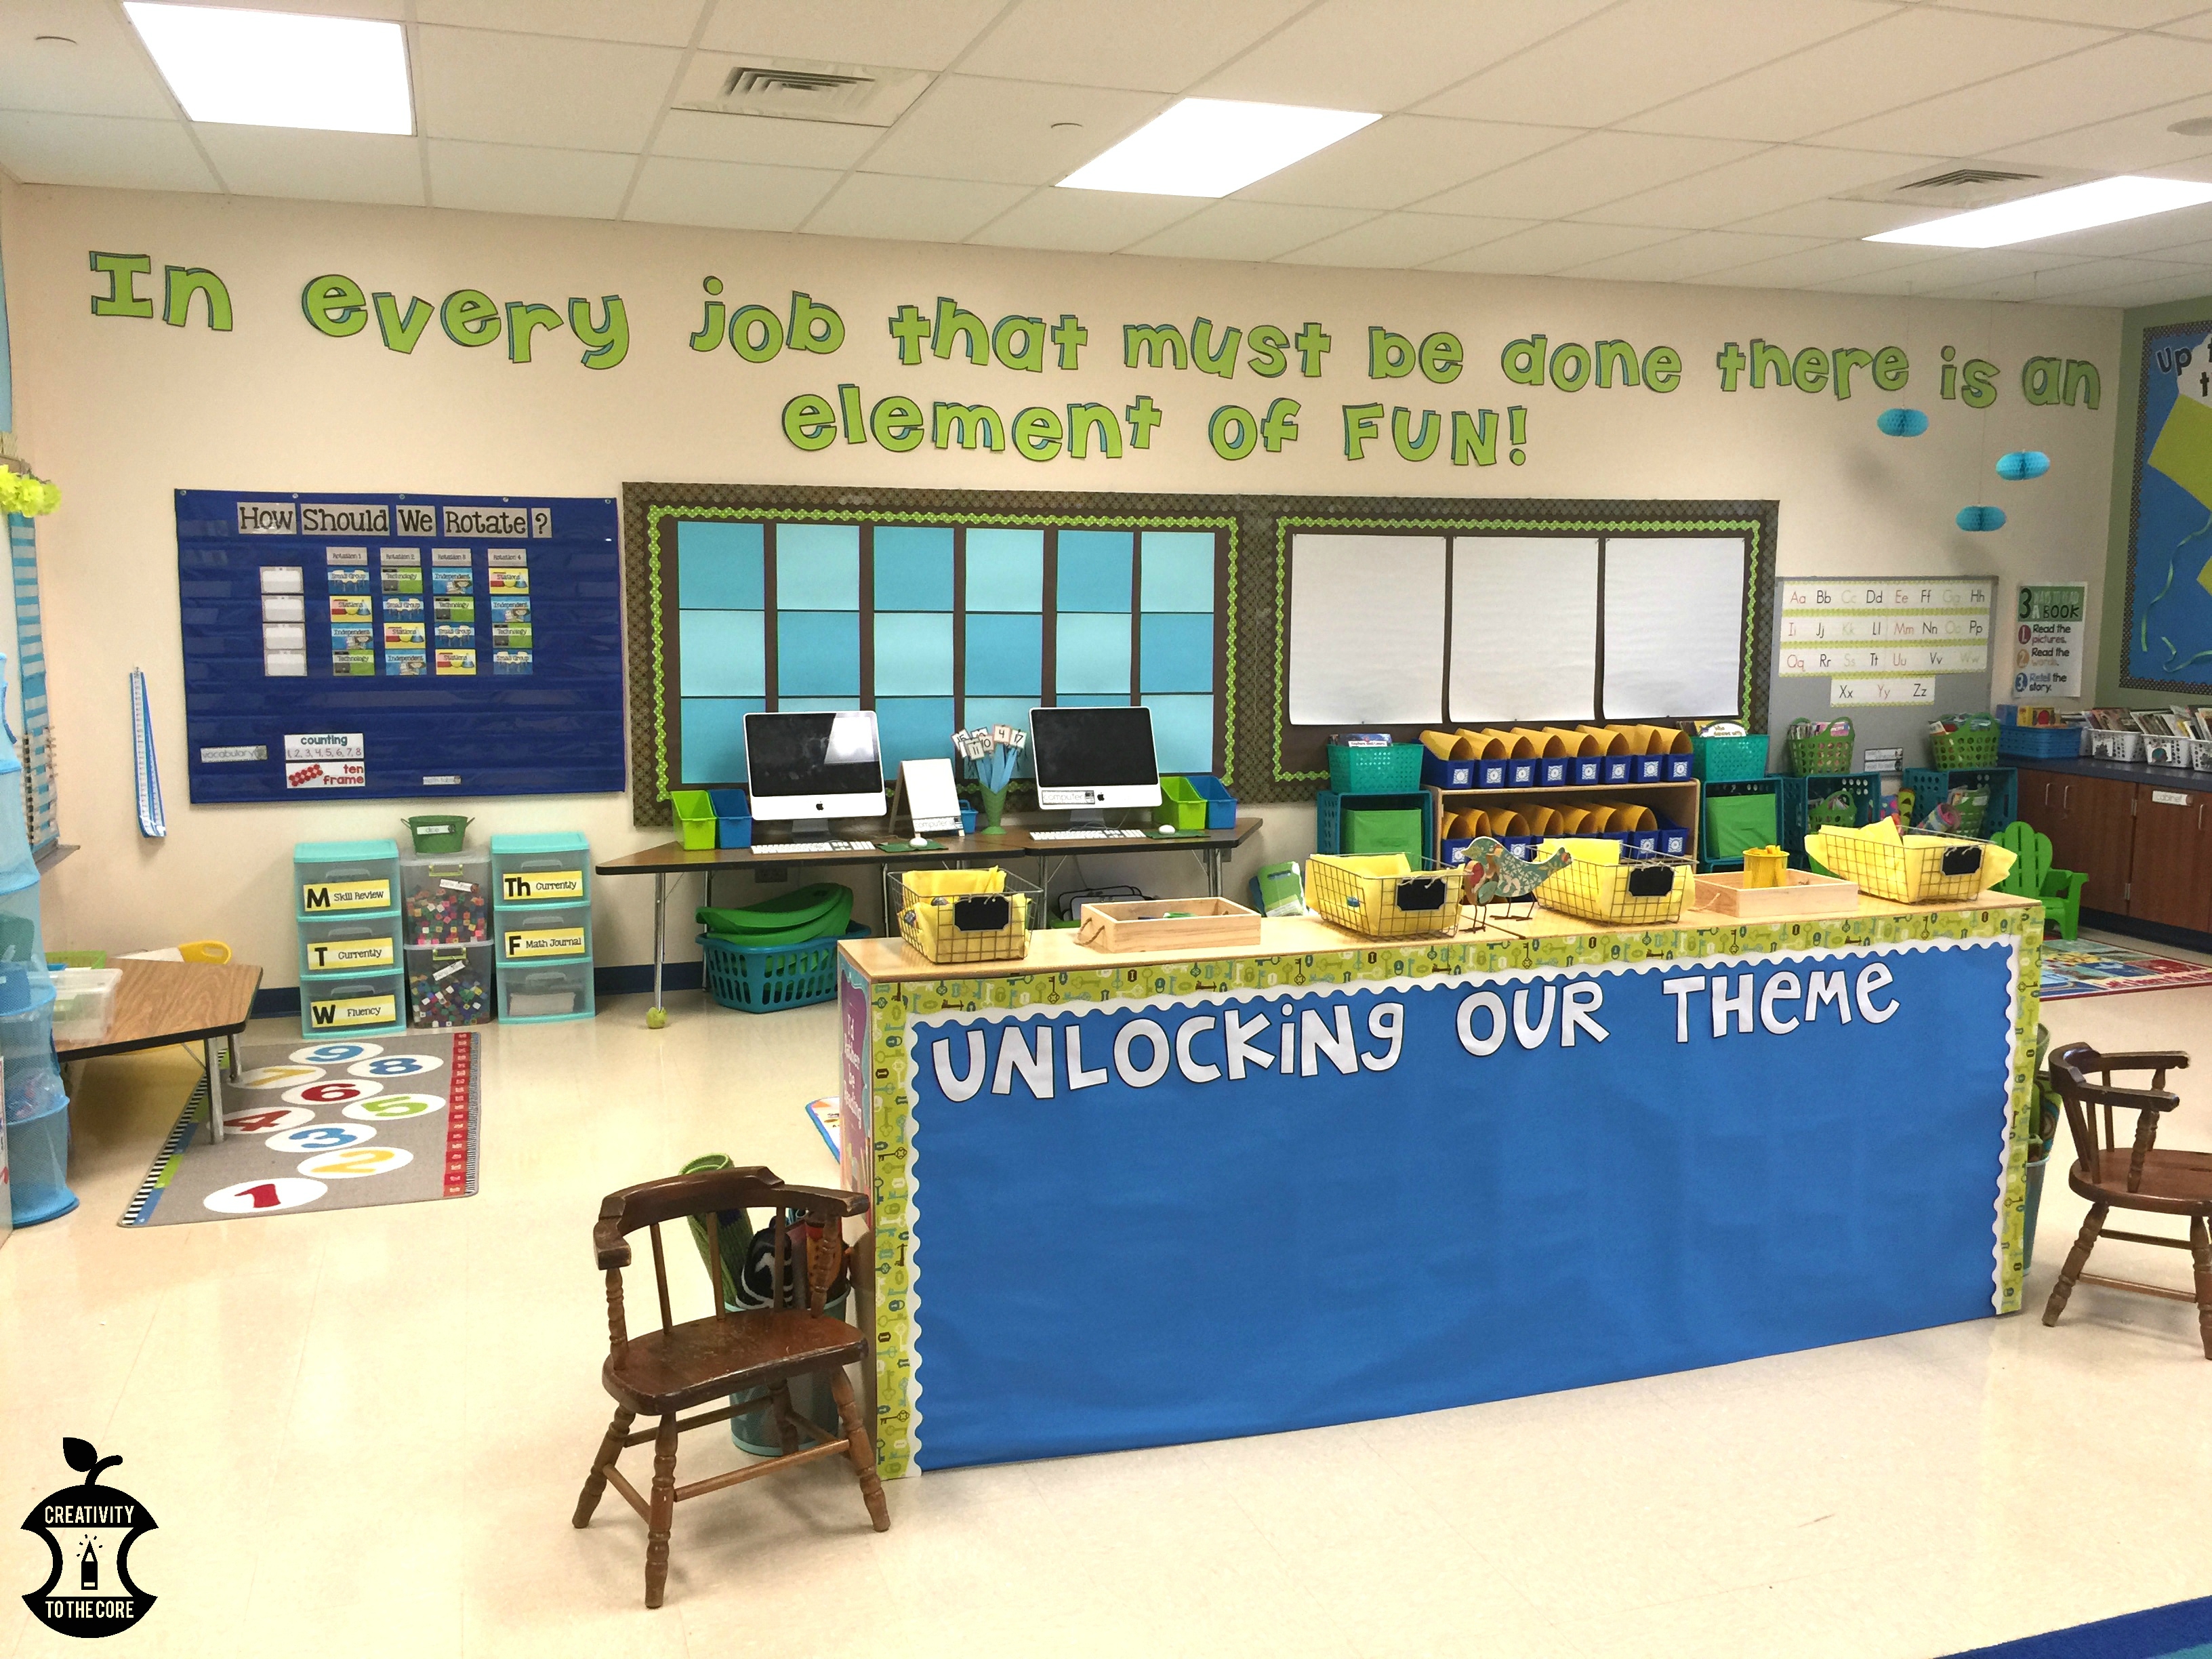
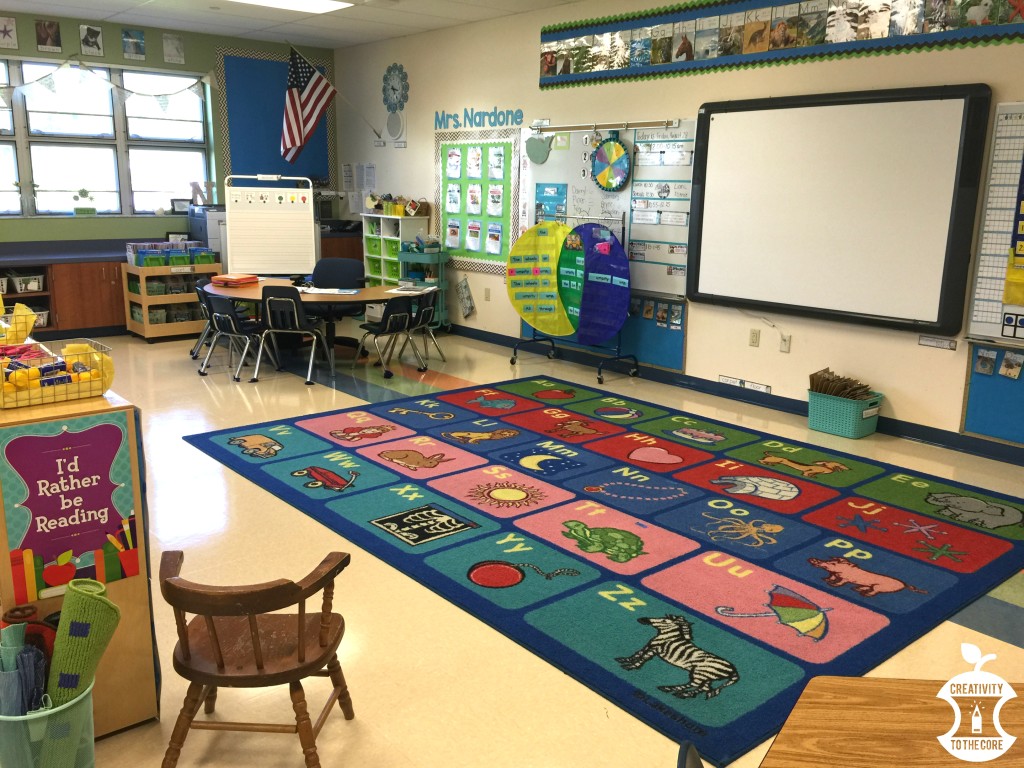
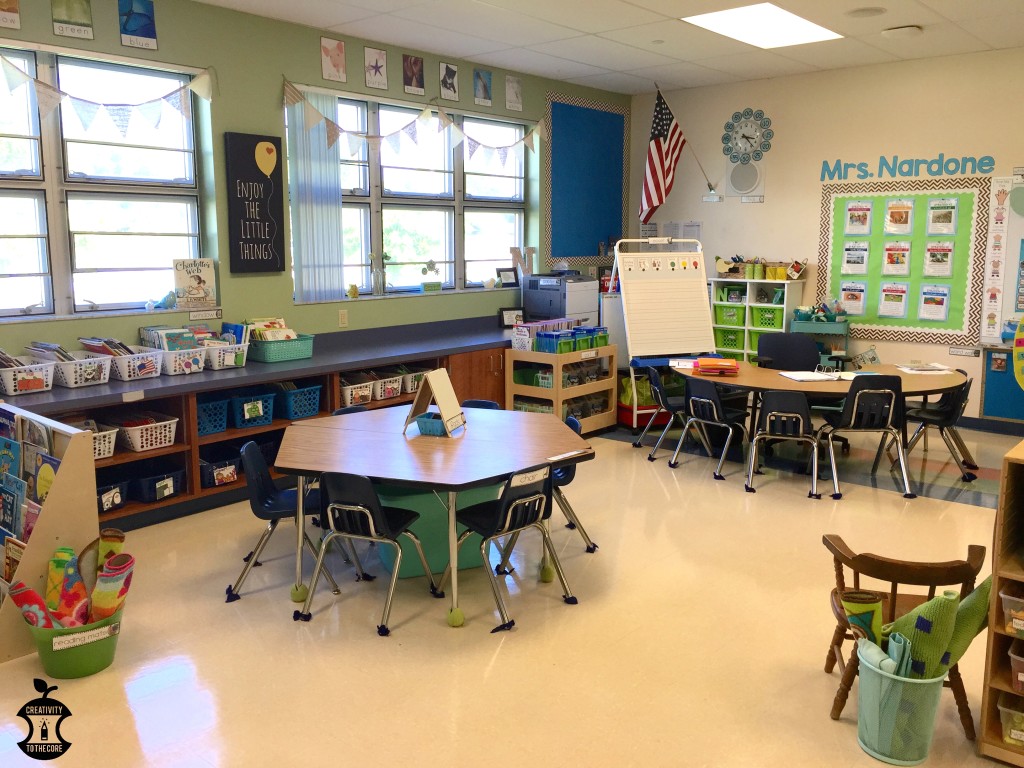
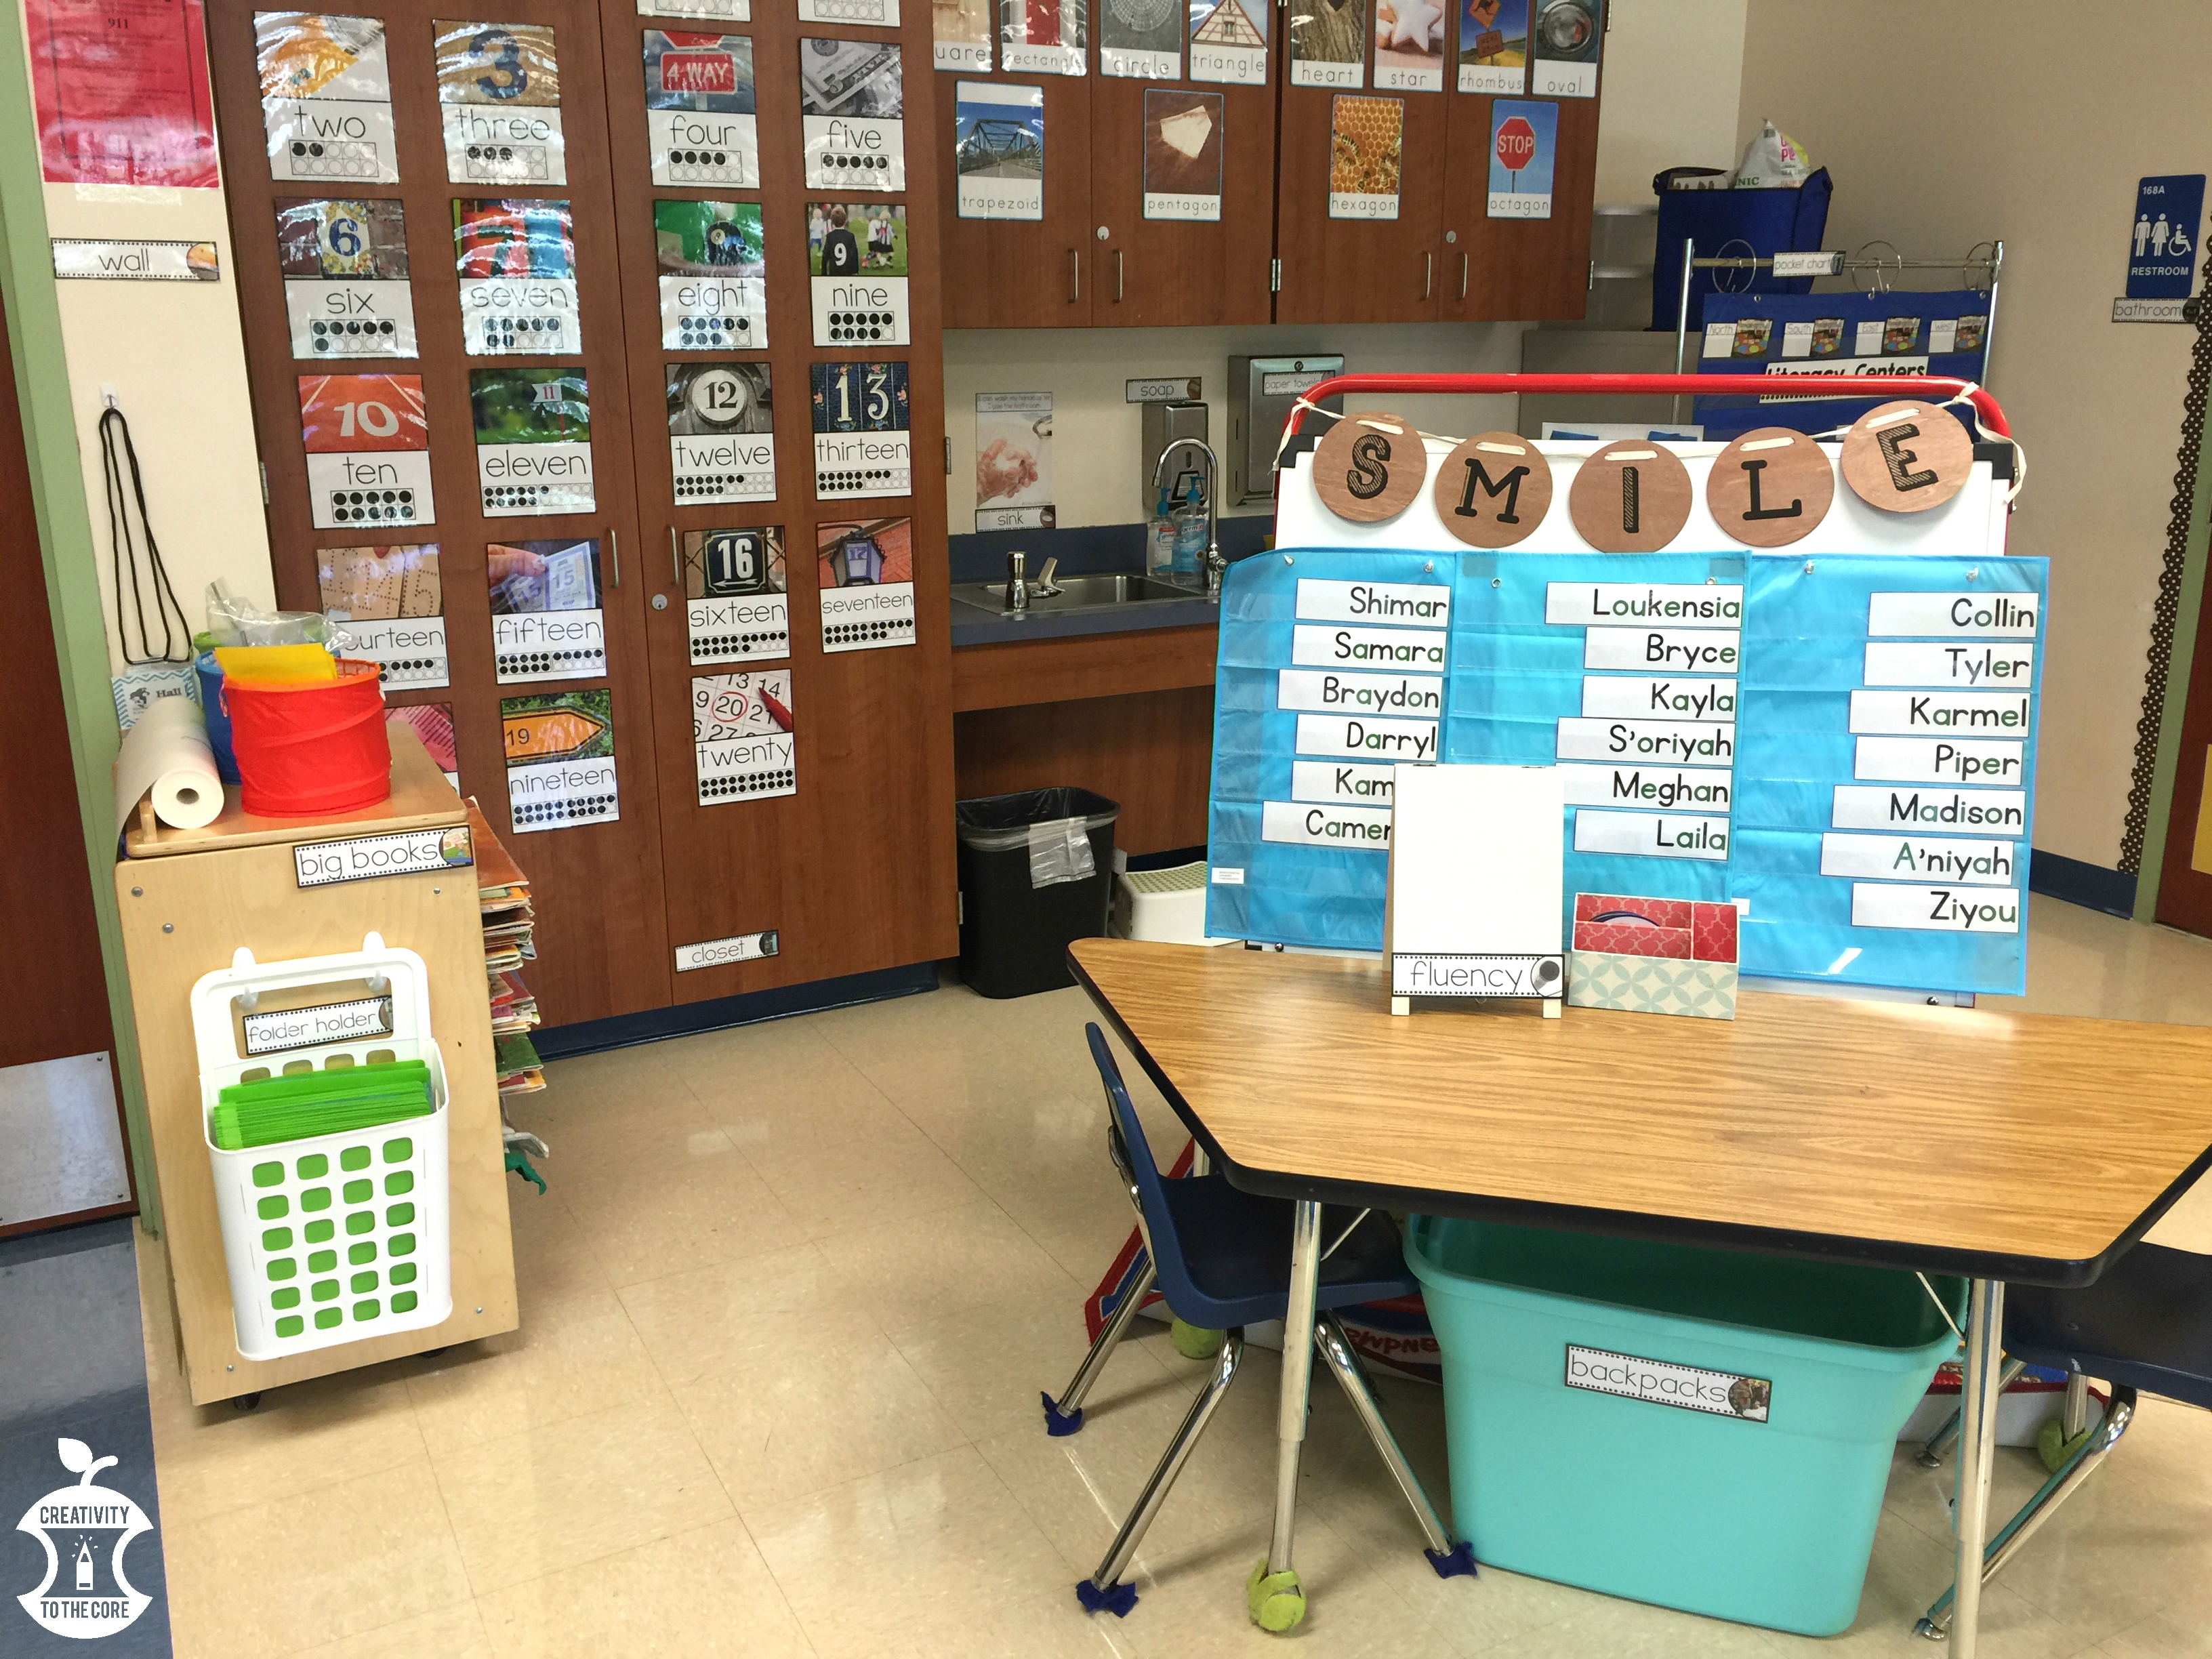
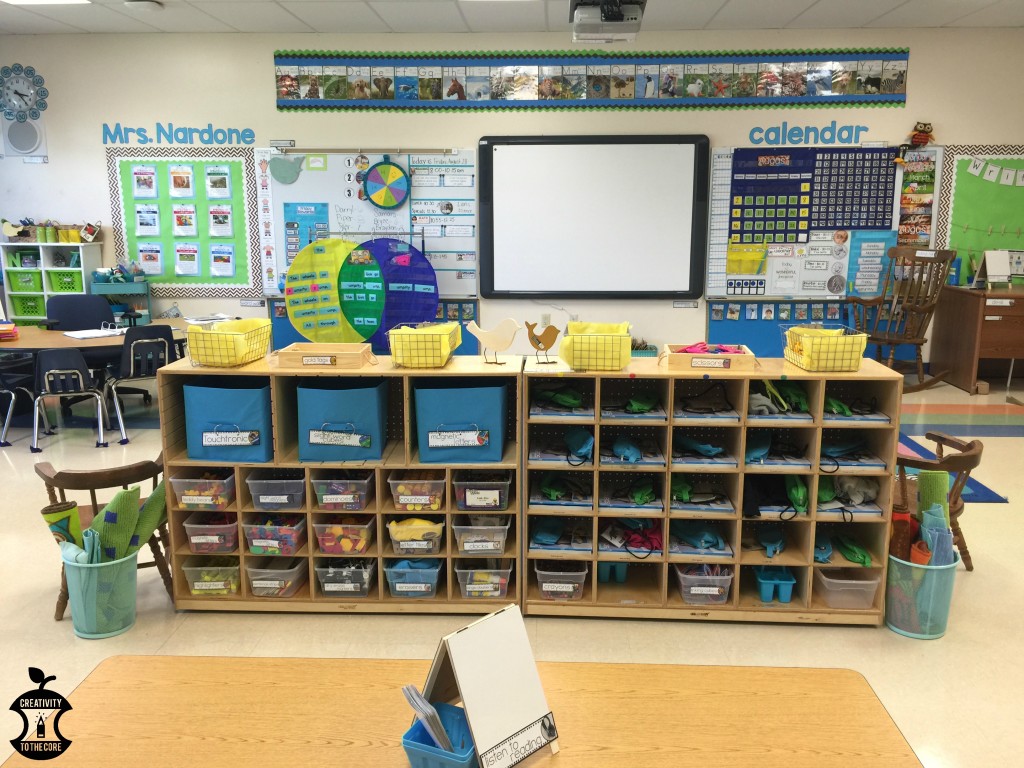
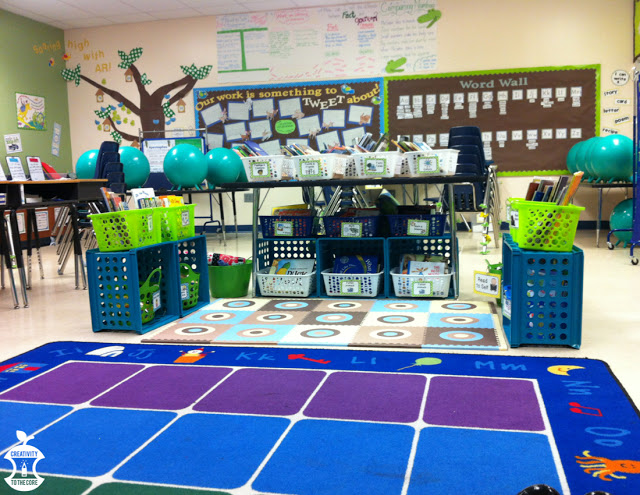
This year, my classroom theme is Mary Poppins. It has been my favorite classroom so far in my teaching career. It’s not in your face, but it’s also pleasing to the eye. It is my happy place.

SUPERCALIFRAG..... bulletin board. Perfect for a Mary Poppins themed classroom and versatile for the entire year!

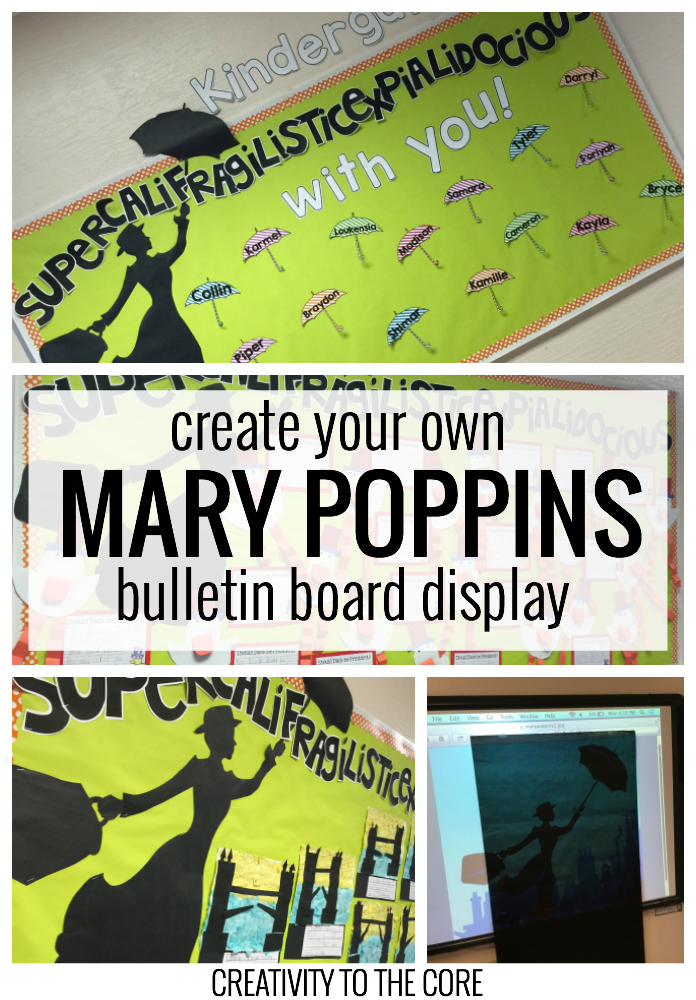
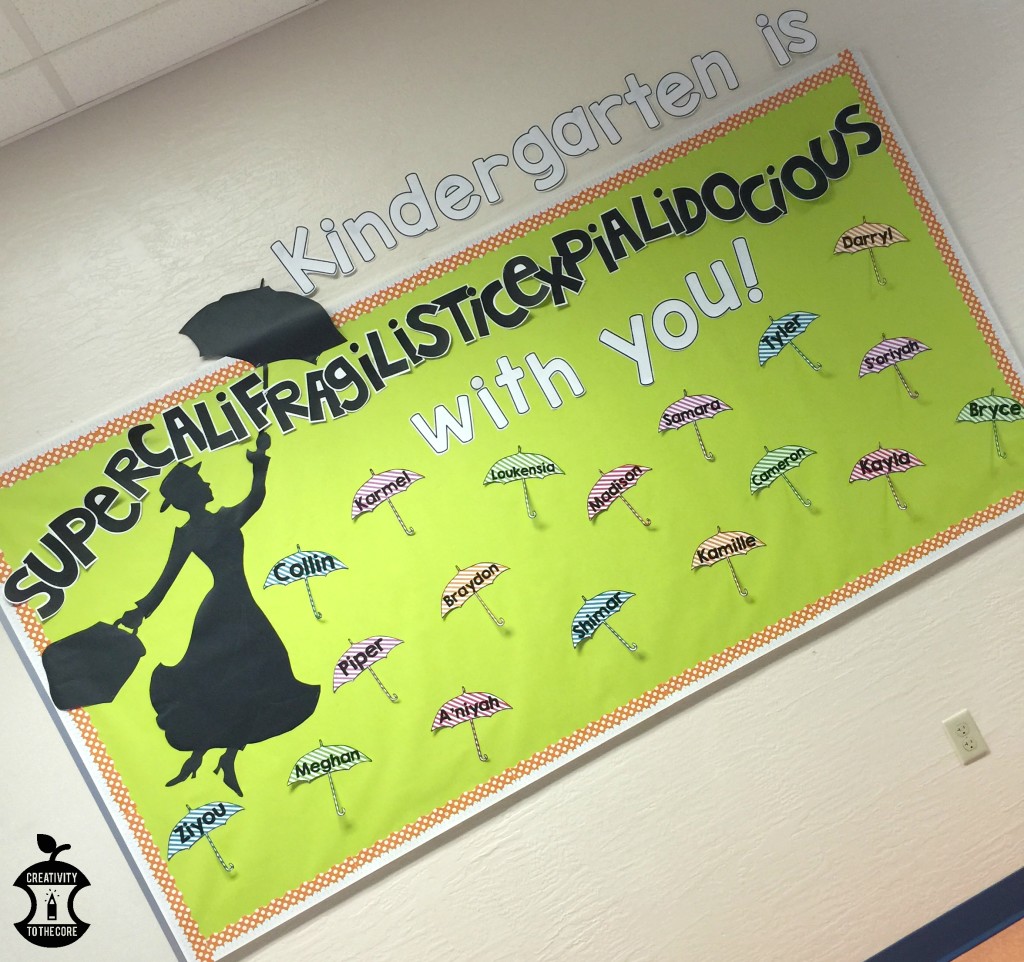
One of my absolute favorite aspects of the room is actually outside of my room – our hallway display board! It’s so simple and so vibrant. It’s easy to create and (seriously, the best of all) it can be kept up all year long! I’ve had questions about this board from the second I put it up, so here we go!

You will need: black bulletin board paper, bulletin board paper in a bright color of your choice, a fun border, bulletin board letters or white paper to print your letters on.

Step 1: Tape a long piece of black bulletin board paper to any type of Smart Board or onto a wall if you have a projector.

Step 2: Find a Mary Poppins silhouette image online (by searching “Mary Poppins silhouette” on Google Images) and enlarge it to your entire computer screen by zooming in on the picture. Project this on your Smart Board or wall.

How to make a Mary Poppins bulletin board

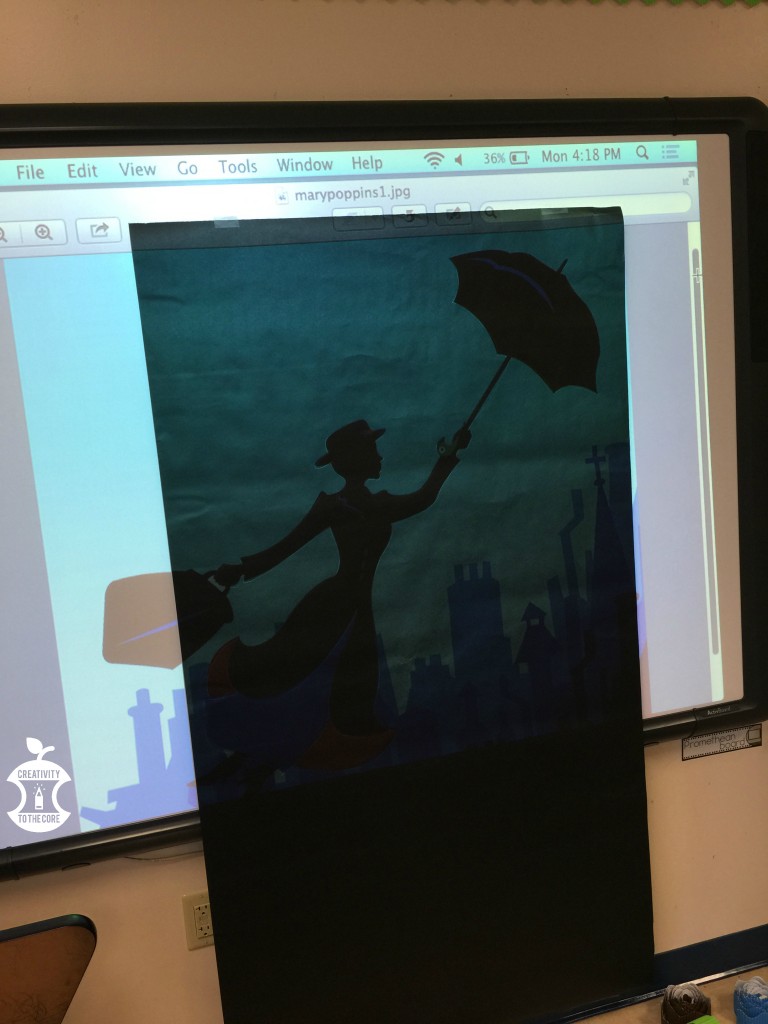
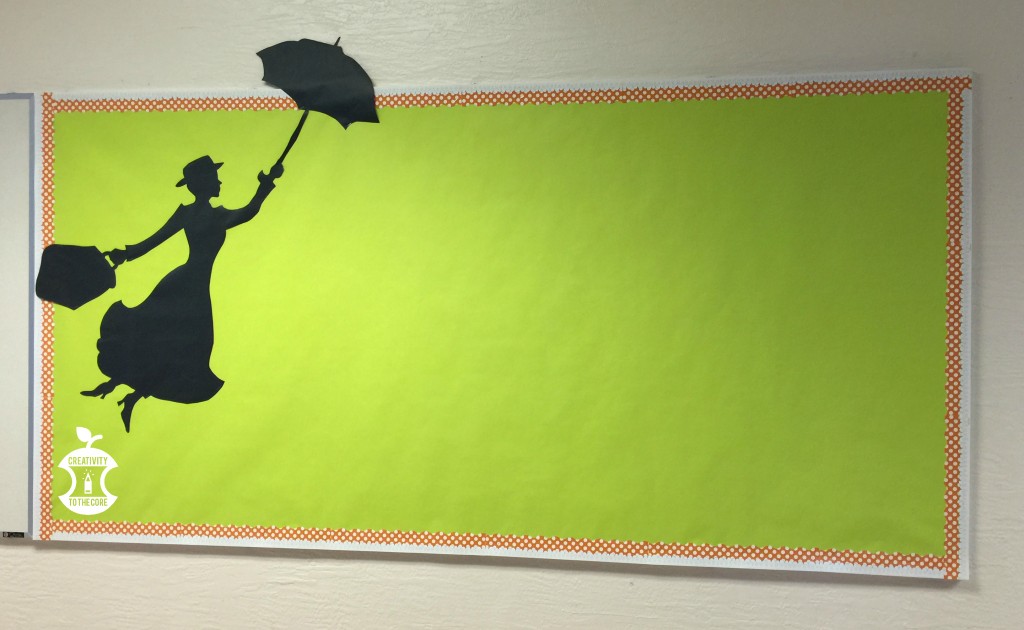
If your paper does not fit over the entire image (see the suitcase above) you may choose to use another piece of black paper and tape them together at the end.

Step 3: Trace the outline of the image with a pencil.

Step 4: Take the black paper down and cut out the image.

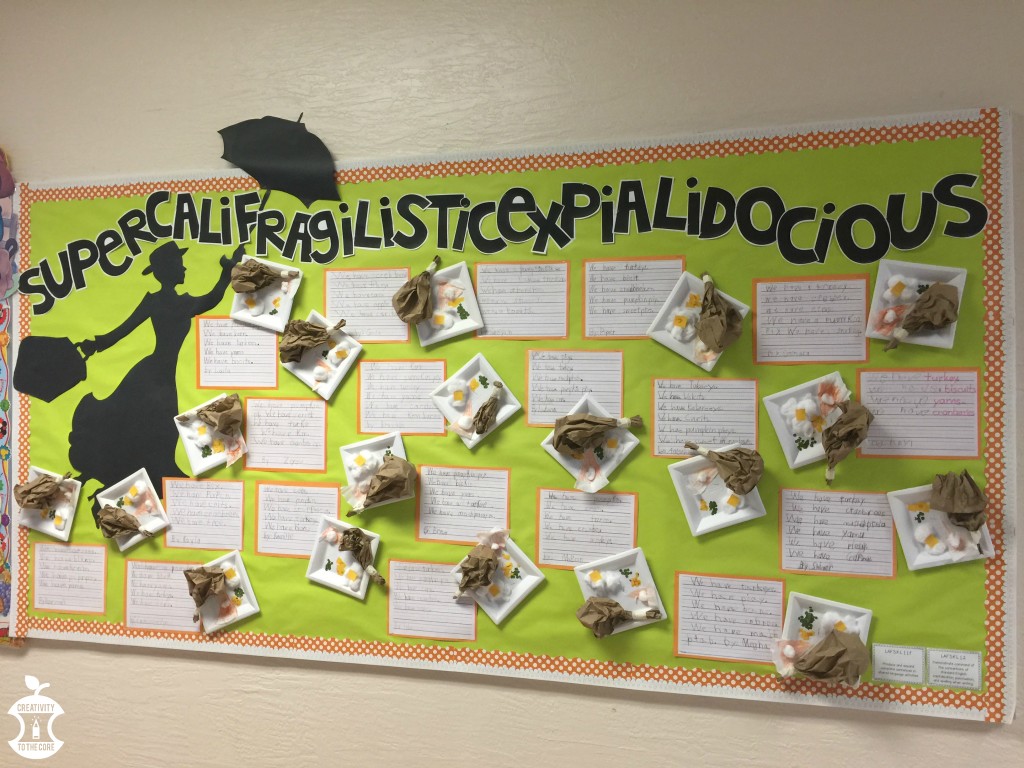
Step 5: After adding the colorful background paper and border, place the Mary Poppins cut out on the board. Slightly lift her off of the board so that she looks as if she were flying. Staple carefully to the board, and tape any excess pieces that hang off onto the wall.

How to make a Mary Poppins bulletin board

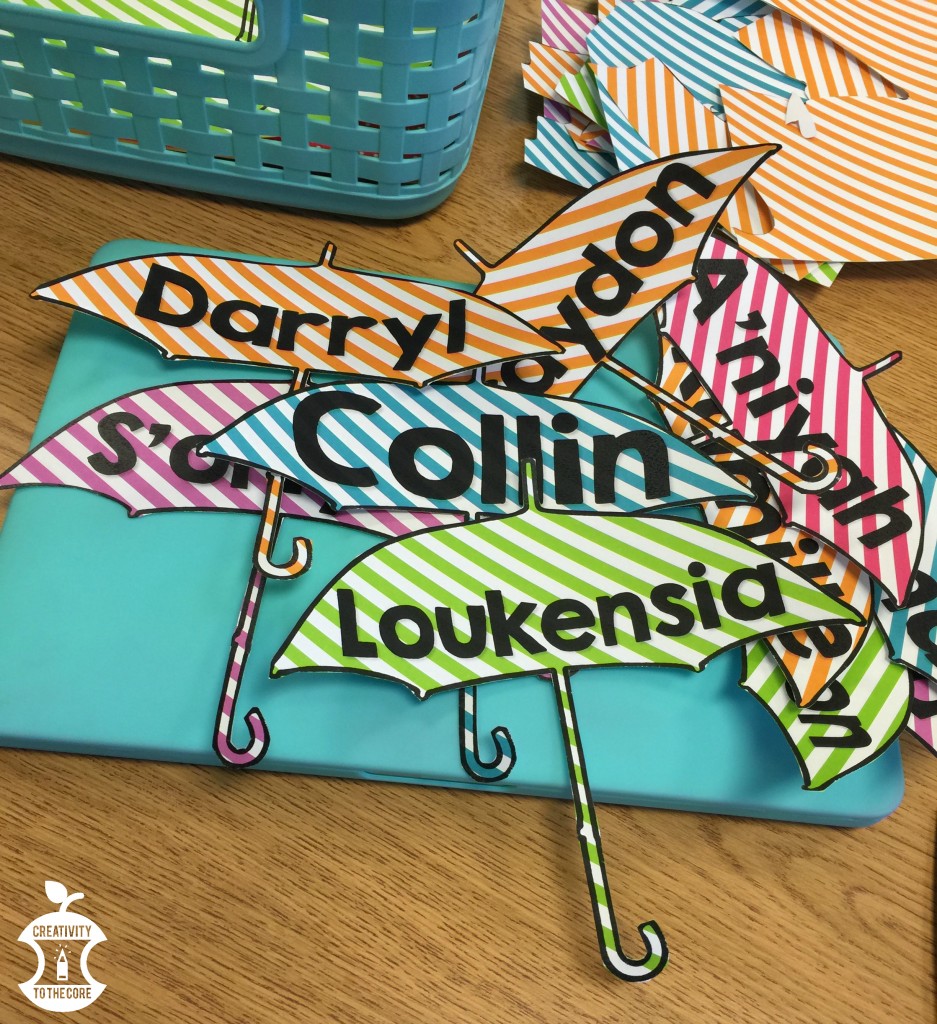
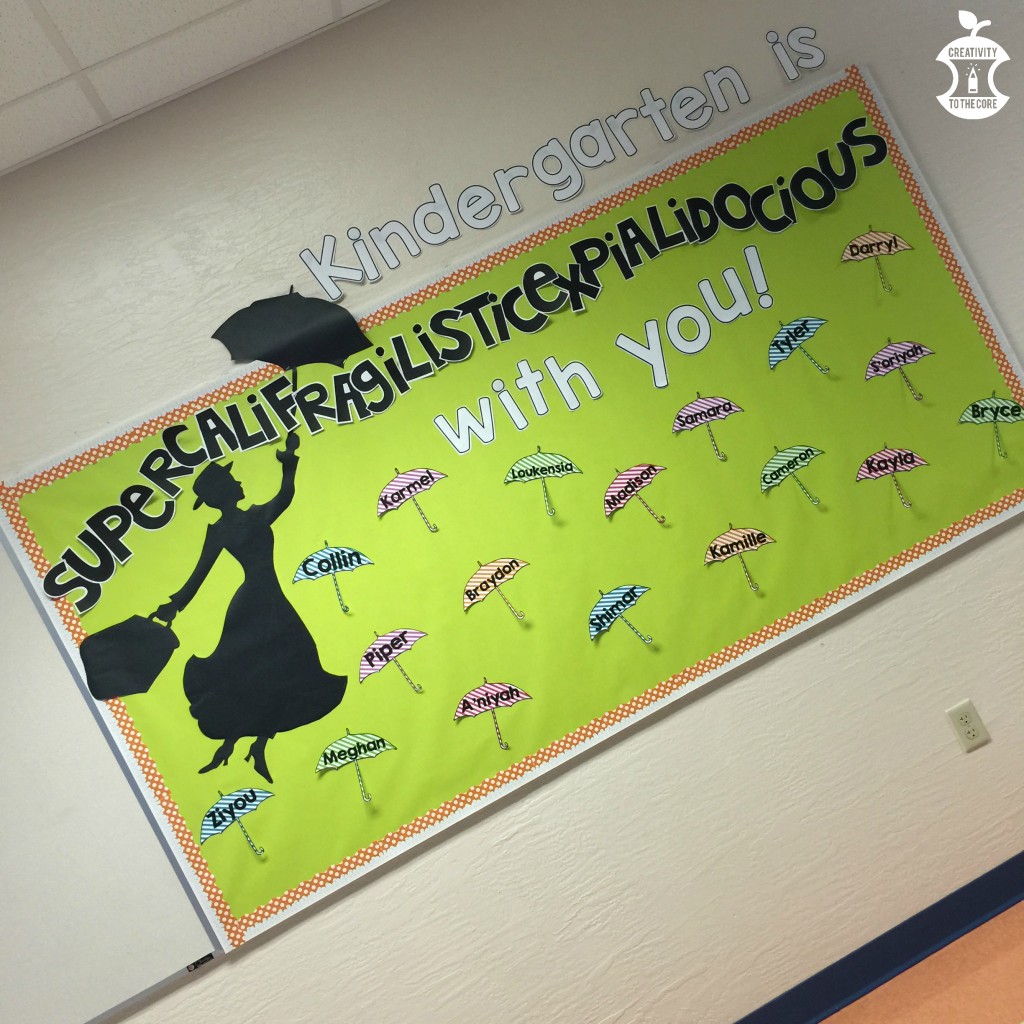
Step 6: At the beginning of the year, I use this as my welcome board. I used an image of a umbrella from Google, inserted it into PowerPoint, and added each child’s name. You can download the font here (I used the Solid option). Print these onto patterned card stock for a fun look!

Mary Poppins welcome back bulletin board

Step 7: To make the title, use bulletin letters or download the font I used to make your own. If you choose to make your own, the SUPERCALIFRAGILISTICEXPIALIDOCIOIUS title on the board will take for.ev.er to cut out. But, just embrace it. You’ll only have to do it once. Grab your stack of paper, scissors, and start that Netflix marathon!

Step 8: Staple the letters from one end of the board to the other. Overlap some, because it may JUST fit. Add the umbrellas and any other text that you want on the board. Ta-da! Done!

Mary Poppins welcome back bulletin board for any grade level!

This board display is extremely versatile!

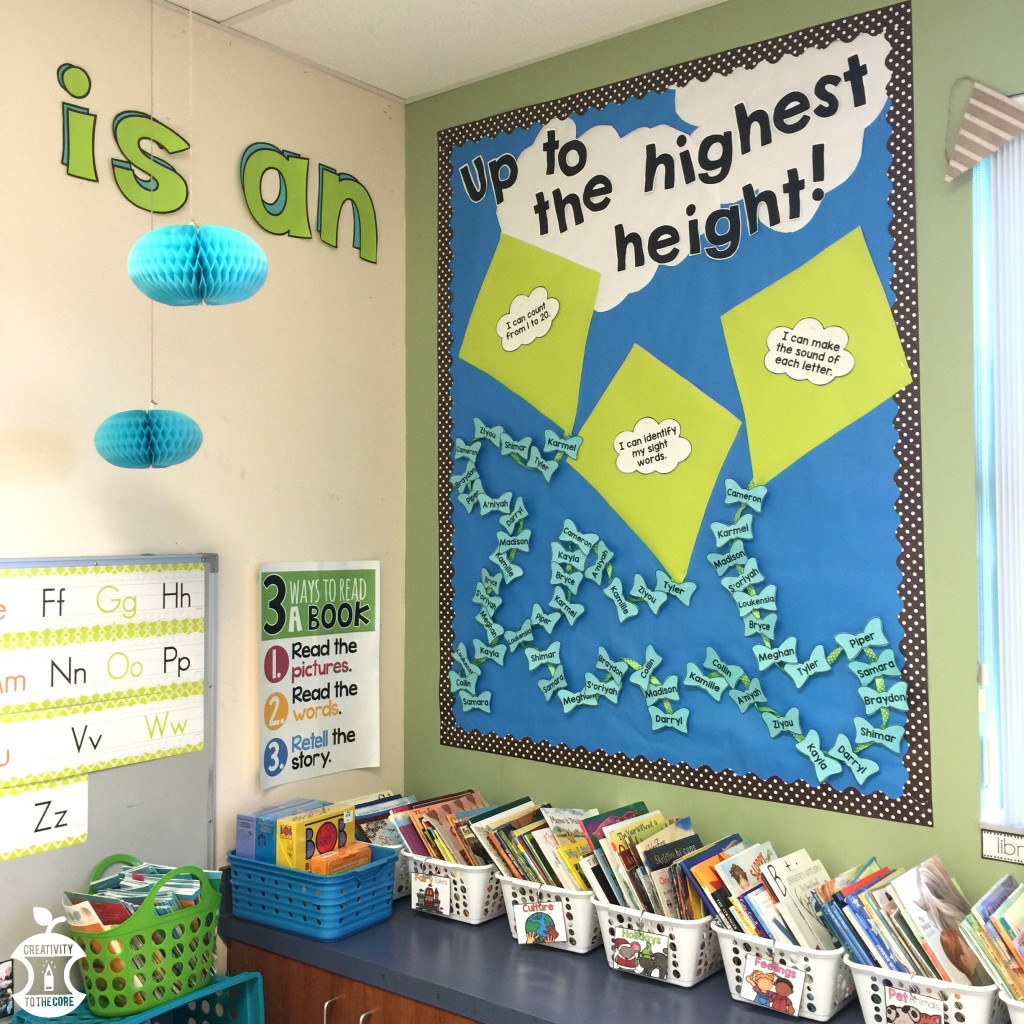
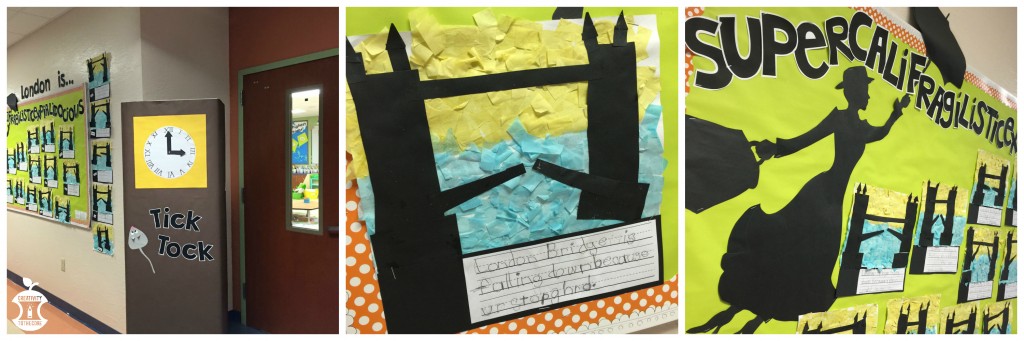
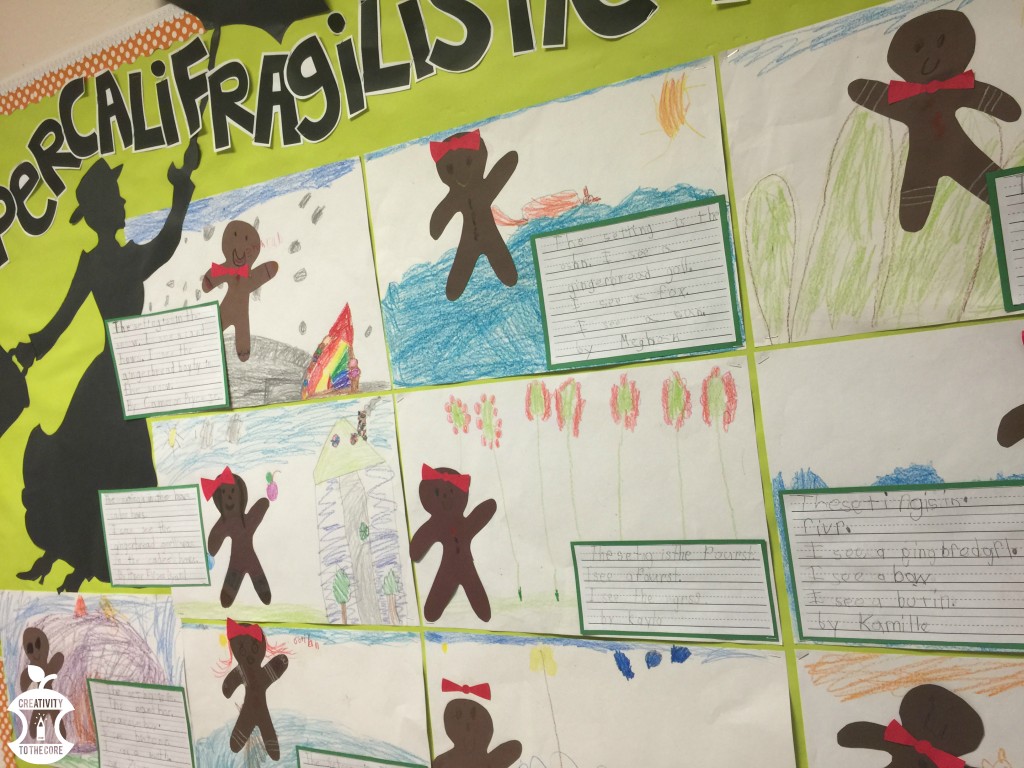
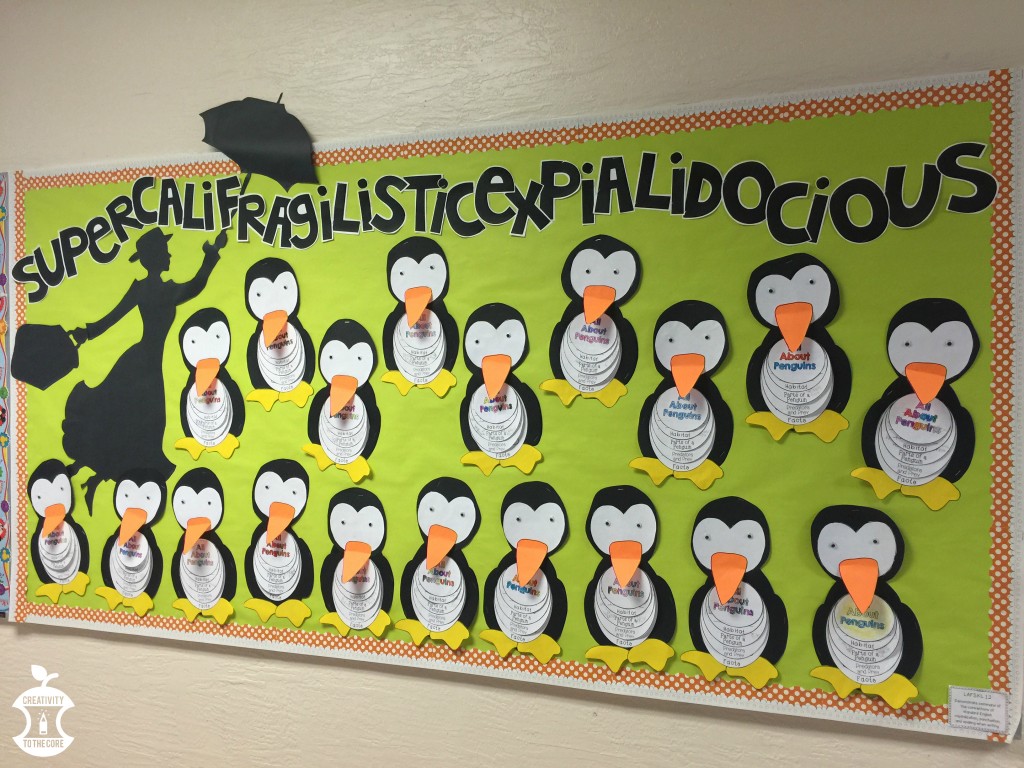
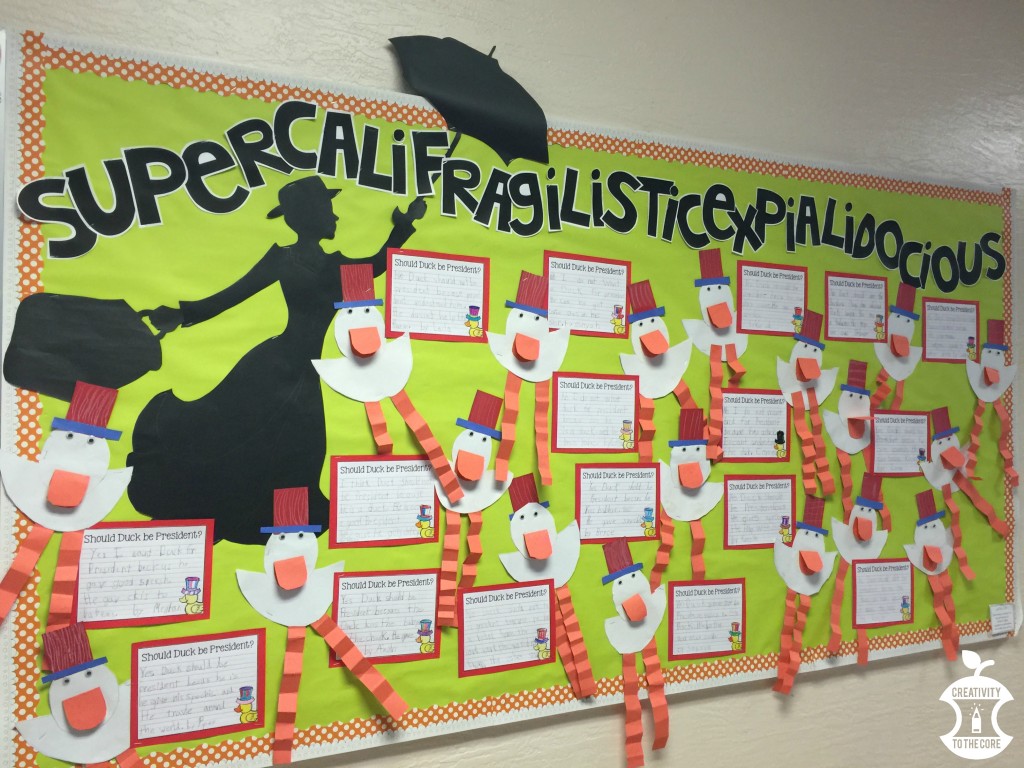
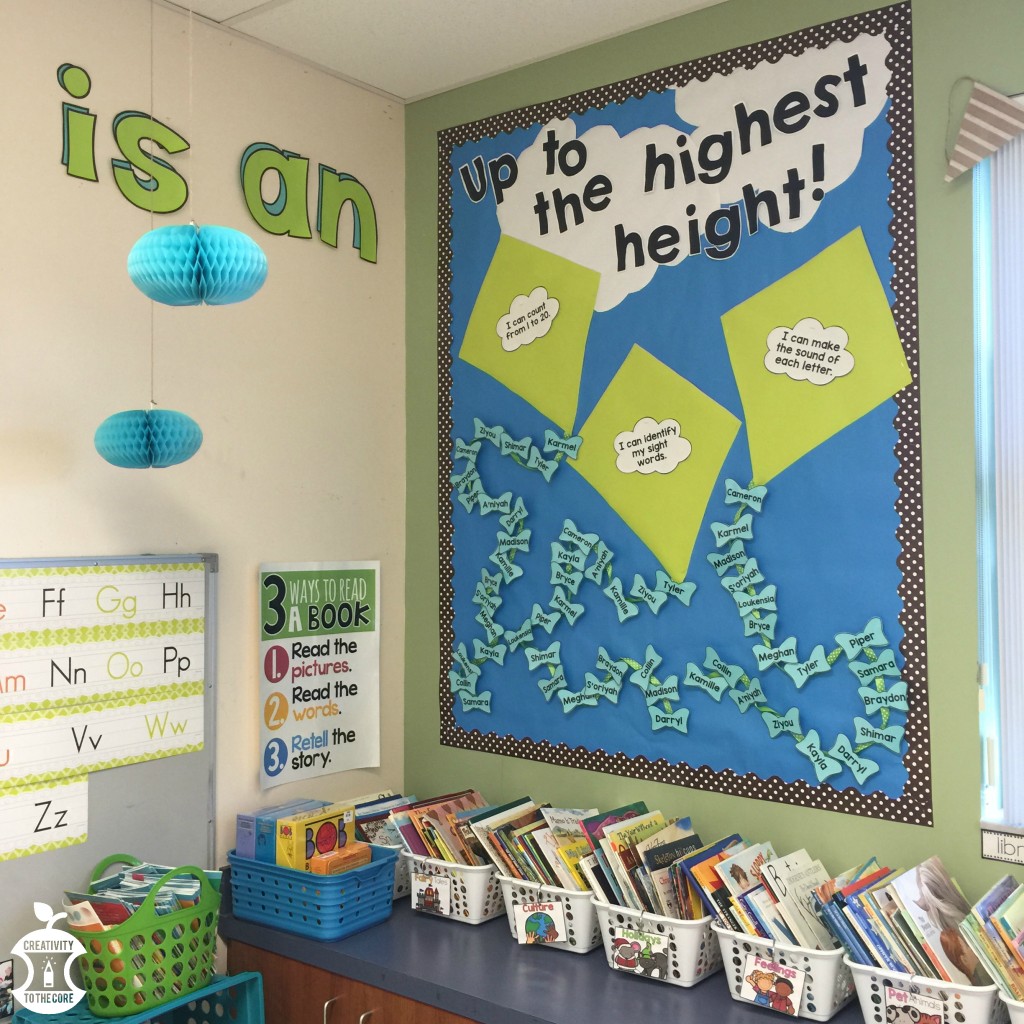
Titling the board with SUPERCALIFRAGILISTICEXPIALIDOCIOUS makes it perfect for displaying student work. I did not change anything but student work the entire school year. I will never again change paper, borders, and titles each month. Work smarter, not harder! Below are some of the displays our class has had so far this year…

SUPERCALIFRAG..... bulletin board. Perfect for a Mary Poppins themed classroom and versatile for the entire year!
London Bridge is… (Kindergarten was England for Multicultural Night)
SUPERCALIFRAG..... bulletin board. Perfect for a Mary Poppins themed classroom and versatile for the entire year!
What do you eat for Thanksgiving?
SUPERCALIFRAG..... bulletin board. Perfect for a Mary Poppins themed classroom and versatile for the entire year!
Describing the setting of our gingerbread men stories.
SUPERCALIFRAG..... bulletin board. Perfect for a Mary Poppins themed classroom and versatile for the entire year!
Penguins!
SUPERCALIFRAG..... bulletin board. Perfect for a Mary Poppins themed classroom and versatile for the entire year!
Duck for President opinion writing – Should Duck be President?

If you are interested in using Mary Poppins as your classroom theme next year, check out these other ideas!

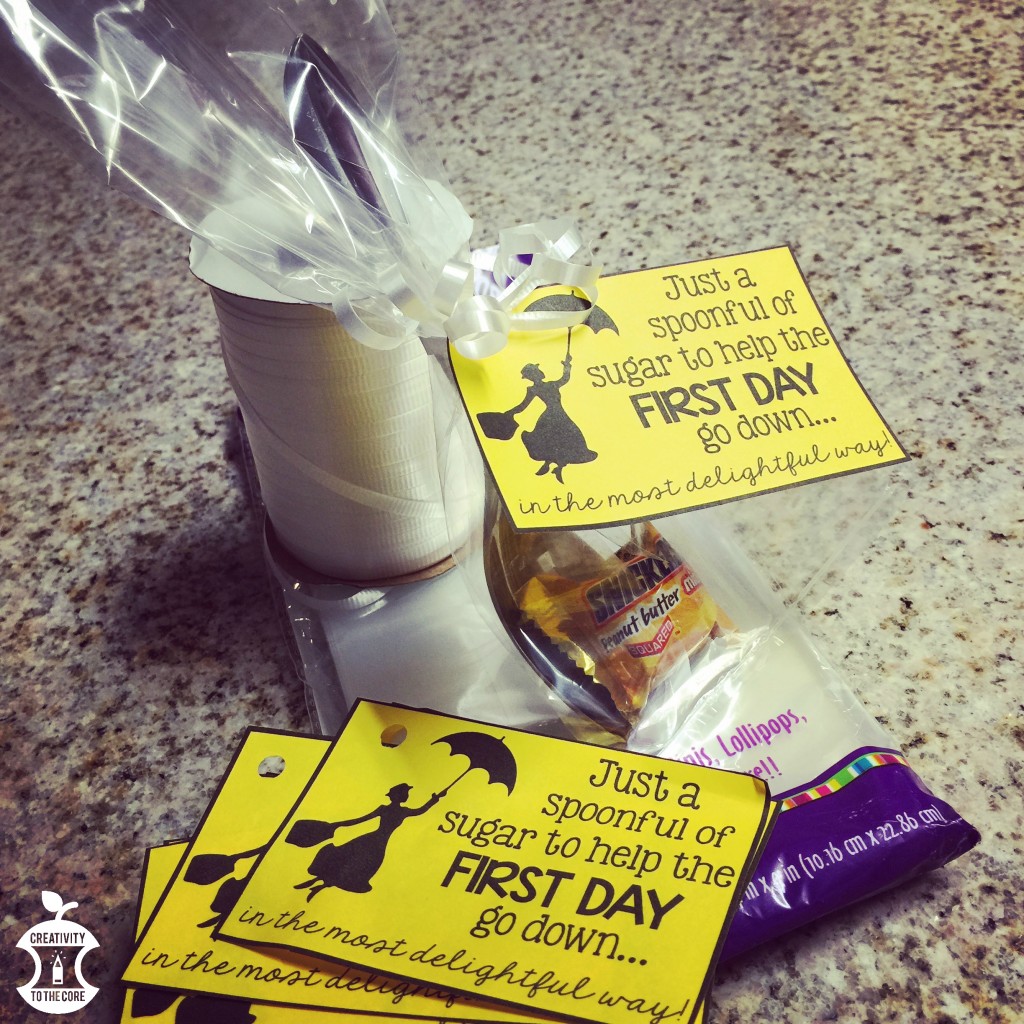
First Day ideas – FREE printables

Mary Poppins first day of kindergarten treat for parents.
Parent gift for Meet the Teacher night before kindergarten
Data Wall in a Mary Poppins themed classroom and versatile for the entire year!
Student data wall with a Mary Poppins spin!


signature

Filed Under: Decor, Misc Tagged With: Bulletin Boards, Classroom Environment, decor, welcome back, Writing

The Ron Clark Academy

Ron Clark Academy

I truly don’t even know where to begin as I reflect back on my two days at The Ron Clark Academy. While I was there, I was in educator heaven. I was amazed, excited, curious, and constantly thinking “How can I work this out in my classroom?” I did not want to leave!

I feel as though I am constantly telling someone something or some part of a story from RCA while I’m at school each day. It was definitely THE most life changing Professional Development I have ever attended.

The number one most noticeable and most impressive part of the trip was the students. Every single one of them is genuinely interested in you and excited to have you at the school. Before walking in, a young man approached me, called me mam, asked for my name, and gave me a name tag while finding out where our group was from and asking all sorts of questions. It was IMPRESSIVE. After the two days, I decided that some of the students were by far more well spoken conversationalists than I am! What a wonderful way to raise young leaders!

RCA

As we walked in, music was blaring, students were dancing and welcoming everyone. All of a sudden, a young man had my hand and told me he had a surprise for me. Next thing I knew, I was in line for the trampoline! Two students strapped me in and I was off! SO fun! 450 educators and administrators were in the lobby of The Ron Clark Academy dancing and talking with students before the day began. You can just feel the spirit in the school!

RCA2

RCA9

I enjoyed two full days of professional development sessions and classroom observations. It was incredibly inspiring to hear the story behind the school and to be exposed to many master teachers who are so giving and real. They are willing to share all of their ideas, tips, and tricks with you. This friends, is why the Ron Clark Academy is so successful.

RCA6

Kim Bearden, the co-founder of the Ron Clark Academy, shared her story and explained the overarching goals of the school. I’ve kept what she said in mind since I left, “Don’t loose the passion amidst the science of teaching.” We are so often concerned with how to teach with this new requirement or that new mandate and with the new standards we have to get accomplished in a year. We must not forget why we are here in the first place. It’s all for the kids. After visiting RCA, I came back to my school determined to keep my passion in the classroom alive!

RCA5

The wonderful Hope King from Elementary Shenanigans, also works at the Ron Clark Academy with her incredibly creative husband Wade King. They are both focused on setting the stage for student learning. Just walking into their classrooms (and ANY of the classrooms at RCA) shows that they value the learning environment as a way to bring learning alive for students.

Ron Clark Academy2
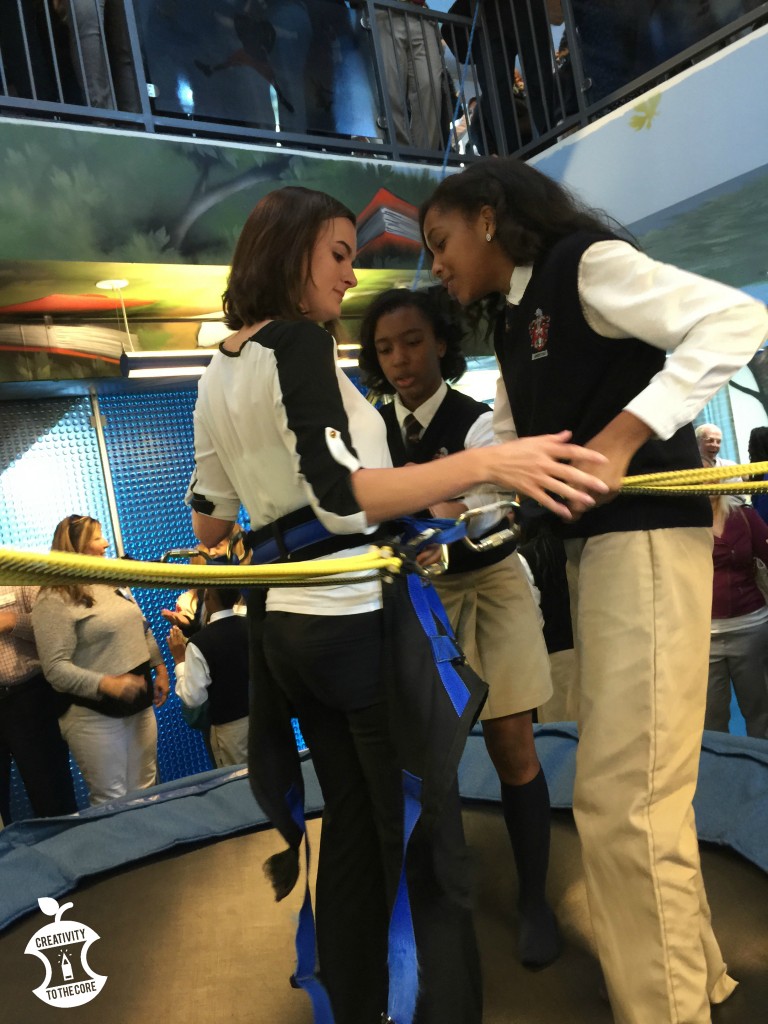
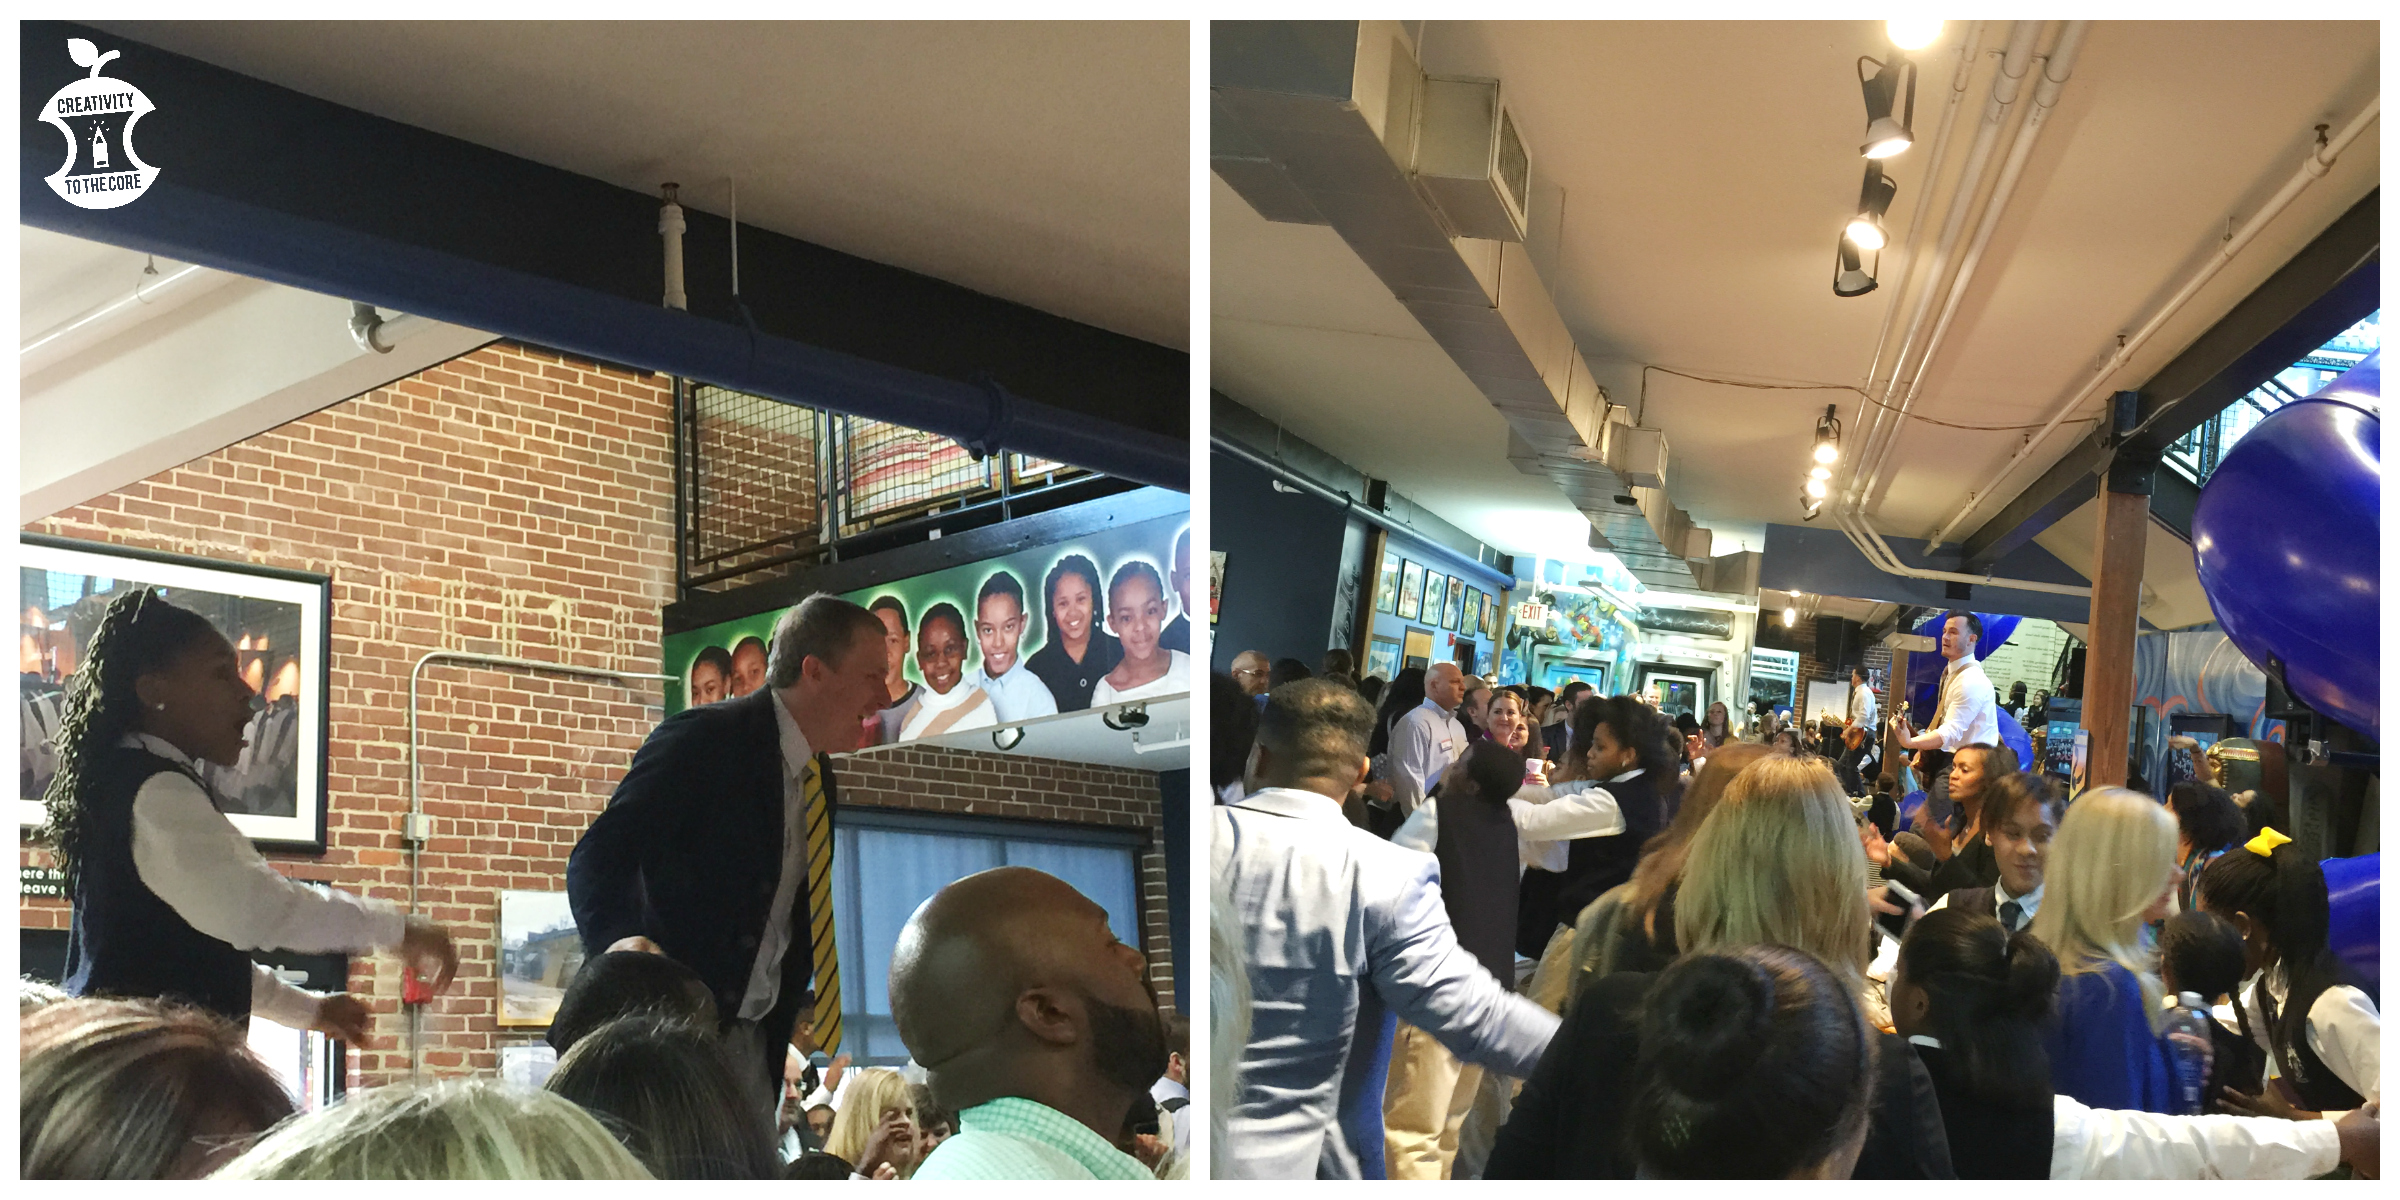
Each class ensures that students are up and moving. Movement is great in the classroom because it enhances and reinforces skills. Students and teachers were singing chants and songs full of academic content. Moving also includes teachers walking around constantly. They never sit. Most do not even have a teacher desk. You will commonly find teachers teaching on top of tables, chairs, and stages.  Teachers AND students at RCA do it frequently. Dancing on tables is not out of the ordinary. Teachers use the tables to increase engagement and make sure everyone can see and hear at all times.

RCA7

The Ron Clark Academy has changed the way I think about teaching. I may stand on a table here and there. I may decorate my classroom to enhance a specific theme. I may create a few chants about vowels for my students to sing. But, I will concentrate my focus on “seeking significance”. Because as Ron Clark says, “The things that happen through you define who you are”.

RCA8

RCA takeaways

An InLinkz Link-up


signature2

Filed Under: Misc Tagged With: Classroom Environment, classroom management, professional development, Ron Clark Academy

Classroom Reveal!

feature image

As the new school year approaches, I just love taking {digital} peeks into everyone’s classrooms. Teachers are so full of inspiration and bright ideas. What would we do without each other? Our classrooms would probably just look like my before picture below…how sad….how drab. I want to thank all of you in advance because you inspire me daily with your posts and ideas on social media. Thank you, thank you, thank you! Here is a little photo tour of my kindergarten classroom. I hope you enjoy!

before
Isn’t it amazing what a little bulletin board paper can do???

As you walk up to my classroom, you will see this adorable sign.

Simple, clear, to the point. I’m in love with it.

name

Just inside the door to the left is my rolling big book cabinet. I was sad to discover that the white front (under the drawing paper) is not magnetic, so I decided to add a sign instead! On top of the cabinet are the 1, 2, 3 collapsable bins from IKEA. This is where I keep my early finisher activities. When my kinders have “nothing to do” they can go to one of these bins. Currently, the bins are filled with snap cube letters, plastic spoons to practice number sense, and two Kaboom games (one for letter identification and one for sight words).

you may

This is what you see as you walk in the door. I am so grateful to have a classroom with an abundance of natural light! We almost never turn our fluorescent lights on, and you almost never even notice. Thank you, south Florida sunshine! Since taking this picture, I have consolidated some of the white book containers to a lower shelf so that the right side of the counter is clear. Little things like that help my slight OCD tendencies. 🙂

windows

If you look to your left when you walk in the door, you will see our classroom focal point – the Mary Poppins quote! I cannot get enough of huge cut out letters this year…obviously. The “Unlocking our theme” area will host our weekly/monthly themes. I attached bulletin board paper to the back of two shelves and added some borders. Soon, I will hot glue a few clothes pins to the paper so that I can hang small anchor charts and vocabulary directly from this fake bulletin board/room divider.

quote2

As you walk in and look to the right, you will see my small group area, our white boards, Promethean board, calendar math area, and writing center. You will notice that I do not have many tables in the classroom. I am focusing on alternative seating for my kinders. We spend lots of time on this large rug, and are trying VERY hard to use our own personal space.

front

This calendar area is a space that is near & dear to my heart because SO much growth goes on here. In just one week my kiddos know so many concepts, AND they sincerely enjoy this part of our day! Check out these month headers, 100-Chart numbers, and ten frame counting pieces. I love them!

calendar

Our word wall is located under both white boards. I LOVE this little part of our room! All of our teachers are required to have a word wall, but I decided that I wanted to really make it accessible to my students this year. I strategically placed the word wall low so that my students would be able to interact with it.

I purchased an entire roll of felt at Walmart, cut it to size in my classroom, and tacked it to the wall. The neutral ruler border hiding the uneven edges was found in the Target Dollar Spot. I bought these word wall headers from Kristen Smith and tacked them across in a straight line. (Don’t worry, I have since added Y and Z to the wall pictured above.) Then, I printed and laminated these Sight Words from The Clever Classroom. I used a small piece of this adhesive Velcro (the hard side) on the back of each word. Ta-da! A Velcro word wall! Students can come up to the wall, take a word they need, write the word, and then push it back onto the wall. So convenient and effective!

word wall

My huge teacher desk is a writing center this year. Students have the option of standing or using stools. Throughout the year, images and words will be added to the clothespins. The writing checklist on the right will also grow as students learn to become great writers.

writing

The left side of the white boards, opposite the calendar, hosts our board configuration. I am not a fan of this area…it’s not too pretty. However, I am required to have these sections so there you have it folks!

Subject headers

Florida Standard “I Can” Statements

Circular Visual Direction/Specials Cards

board configuration

Here is my little area. My desk is being used as a student writing center this year, so I just have this Pier 1 white bookshelf (that I scored for $25), the teal cart from IKEA, and my easel. Once my kinders are more independent, I will be spending most of my days here! I am so excited about the strategy posters from Hello Literacy and my humongous name. No more – “Mrs. Nardone, how do you spell your name?”

small group

Here is a view of my small group area from the back of the classroom. Kindergarten is blessed to get four iPads per classroom, so the two trapezoid tables create our iPad center which will get lots of use soon! Under the table is a big teal bin that we use for backpacks. All of the boys keep their backpacks in this bin, while the girls keep theirs on the other side of the room.

ipad table

The cheery reading nook is your next stop! Thank you Donors Choose for the beautiful new book display shelf! I like how it acts as a small divider between the iPad center and the reading area. The mini green chairs from Walmart have been a fan favorite this week. Plus, the alphabet rug I scored for $16 at Costco adds some coziness to the linoleum floors.

reading nook

Surprisingly, this is one of my favorite parts of our classroom. We are required to have a data wall each year, and I am never very excited about publicly displaying my student information. This year, I was determined to make it cute! I used a bunch of bulletin board paper and added a bit of the Mary Poppins song “Let’s Go Fly a Kite” for the title. The three kites represent counting to 20, identifying sight words, and knowing letter sounds. In the picture, you see all of my students’ names. However, I will be taking them all off and slowly putting them back up as students meet their goals. When my entire class has met the goal, I will just take the white “I Can” statement down and put up another!

kites

Our back wall is home to blue book bins and computers. Because we do not have assigned seats or tables, I glued student name tags onto yellow construction paper and laminated them. Each chid keeps this name mat inside of his/her book bin. When they work on an assignment, they take their book bins with them and will use the name tag to assist them. The blank white chart paper will soon house anchor charts. The blue square scrapbook paper on the second bulletin board is for showcasing student work. The numbers on the blue paint sticks are for students who borrow my classroom library books in the evening. They must take their number and place it in the spot that the book came from. Then in the morning, they return the book to the correct bin and return their number.

computers

This is our math station area. The chart shows the rotations of our math block as well as any math vocabulary for the week. Number lines hang to the left for students to use when necessary. Student white boards in the open yellow bin are available for math activities. Once we begin math stations, students will visit small group, technology, independent work, and 1 station each day. The activities for the daily stations are inside the Sterilite containers. Linking cubes and Unifix cubes are in between in kid-friendly containers. The small green container on top holds tons of dice!

math rotations

This is our classroom view from the reading nook. You can see two lowered tables which are a HUGE hit this year. The kids just love working there. Some kneel, some sit. Either way, the tables are perfect for active little bodies. Once literacy centers begin, the low rectangle table will be our “Listen to Reading” center and the low trapezoid table will be the “Word Work” area. The hopscotch rug and the Prince Lionheart ABC Play Mat help to define each area and provide a bit of cushion for little legs.

back

This small filing cabinet holds a ton of our journals and unused supplies. It is doubling as a magnetic center. These magnetic letter identification activities from Kindergarten Smiles are wonderful! The small dry erase easels are for my center labels. I like that I can move a center around the room if necessary by just moving the little easel instead of an entire table.

word work

Our literacy center rotation chart is behind the Word Work center. The images on the cards match the images on each center label. The rotation cards are editable and perfect for little learners who are just learning to read. Once we build independence I will explain more about our rotation schedule. 🙂

center rotation

Number and shape posters are on the cabinets of the closet and sink area. The real world images on both sets of posters are very beneficial to little ones. What a great lesson on environmental print!

sink area

The easel in the picture above backs up to the table seen below. The lined side will be used for an additional writing center, while the blank side holds pocket charts. Currently, our names are listed there under the wooden “Smile” sign from Target. Soon, this fluency center will focus on sight words. You can see the girls’ backpack bin below this table and our homework folder holder to the left.

fluency

Finally, when you turn around, you will see the cabinet and cubbies that I use as a room divider. Shared classroom supplies are kept in the wire and wooden bins on the top of the cabinets. Student manipulatives, dry erase markers, highlighters, erasers, and other supplies are kept in the clear bins on the left. Bulkier supplies like large foam dice and our Touchtronic letters and numbers are kept in the large cloth blue bins from the Dollar Tree. Student cubbies are on the right. Each child keeps a math book, science book, lunch number name tag, and Gold Tag pouch (the green and blue pouches) in his/her cubby. Some students keep sweaters here also because our school is always freezing cold inside!

cubbies

This year, I only have one closet (Last year I had 3!) so I’m organizing like crazy in many other ways. First of all, I labeled EVERYTHING with these student-friendly labels. I put baskets under our computer table to hold bulky things and keep them out of sight, out of mind. Student Scoop Chairs from Walmart are in the teal laundry basket. Each child’s change of clothes stays in the green bucket. Additional student white boards are held in the yellow bucket.

All of my leveled readers are stored on this wooden cart next to my small group table. This keeps them handy during reading groups but also in a space that is safe from little hands that may or may not put books back where they belong.

storage

The white container is called our “folder holder” because well, it’s the holder of our folders! This was originally a genius idea from (I think) Kindergarten Smorgasboard using the container meant for grocery store plastic bags. You can grab one for yourself at IKEA!

IKEA Variera trash basket folder holder

Well, that’s all folks! Thank you for joining me and adventuring through my classroom. I hope you have a supercalifragilisticexpialidocious year with your students! Be sure to check out the other beautiful classrooms linked below!

bulletin board

2gether slides.001

An InLinkz Link-up

signature

Filed Under: Decor, Misc Tagged With: Back to School, Classroom Environment, classroom layout, decor, literacy centers, Math Centers

Classroom Improvements

Hey everyone! I am thrilled to be sharing some improvements with you today as part of the #2getherwearebetter monthly link up hosted by Schroeder Shenanigans in 2nd & Lucky Little Learners. Today, we are talking about classroom improvements. We are thinking about this past year, learning from it, and making improvements throughout our teaching and our classrooms!
REFLECT
After co-teaching in two third grade classrooms this year, I have learned a lot about myself and other classroom management techniques. I have seen my co-teachers do things that I would NEVER have done or even thought to do in my own classroom (positive things, I promise!). I watched as they allowed a child to read and come to centers on his own time in order to not “throw him off” or provoke a meltdown. I have worked daily in classrooms that were so completely different than mine, but have grown to love their differences.
This year was also an important one in my professional career. I completed my master’s degree in Reading and began assisting in and teaching professional development opportunities at my school. As I look back on my first major presentation to staff, I laugh. It seems like I have come leaps and bounds since then. I am so grateful for these opportunities and for administration who believes in my passion and supports me. I was also blessed to be able to attend a week-long training in the Orton Gillingham method of multi-sensory education. This experience forever changed me as a primary teacher. It rekindled my love for emergent literacy and beginning reading instruction. Although it is a bit pricey, I highly recommend this training over all others I’ve ever been to!
a literacy centers professional development workshop I gave to new teachers at our school
……………………………..
LEARN
Tip #1: Go with the flow.
So often we say this, yet we don’t follow through. Every single year is different in our classrooms. Every single child is different. I’m probably {a bit} OCD. Everything has a time and a place. This year, with these specific students, I learned that my “Type A” ways are not always going to work. I learned to be flexible and to give students specialized attention if and when necessary.
Tip #2: Collaborate about classroom management ideas!
YOU may have never had a child on the spectrum in your class, but maybe your colleague has! This may be the first year that administration “stacked” your class, but maybe Mrs. Jones has had stacked classes every year! The moment you bring these topics up in meetings or informal settings, ideas will find their way toward you.
Tip #3: Work hard and become a leader. 
This is part of an old proverb, but it is 100% true! The only way I was ever able to present to my fellow teachers was by working extremely hard to fine tune my learning before hand. Teachers should be constantly learning and improving their craft. I cannot wait to flood my brain with information this summer during the SDE I Teach First and TPT Vegas conferences! Learning in order to help my students in the future, is something that truly excites me to the core!
……………………………..
IMPROVE
Soon, I will be teaching kindergarten. I am SO excited that I sometimes wish there was no summer break. {Did I really just say that?} Teacher. Nerd. Truly, third grade was fun, but my heart is in the primary grades. I’m planning to improve a few things about my approach and classroom this year. Check them out below!
***Disclaimer: We are locked out of our classrooms ALL summer, so there are no fun classroom pictures yet. Plus, all of my supplies are tucked away inside the cabinets. Major teacher problems over here.
 
Communication: I have always had a classroom website and have emailed/called parents frequently. However, one of my co-teachers this year had a wonderful communication system in place in her classroom. The parents were the sweetest, and they had amazing relationships with my colleague. This year, I am focusing on strengthening my communication with this new & improved {FREE!} classroom website (Weebly.com), a weekly newsletter, positive phone calls home, and frequent emails/notes. I really hope to create a sense of community for the parents and their students.
Decor: Teaching kindergarten means labeling everything. every. thing. ev. er. y. thing.
Lately, I’ve been focusing on making posters and labels for objects in my classroom. I decided to keep my blue and green color scheme this year, but to add read pictures in order to engage students throughout the day with environmental images. I cannot get into my classroom until early August, so for now, my kitchen counter will have to do…
labels with REAL images for all parts of the classroom
185 Classroom Labels
Classroom Library Arrangement:  Before co-teaching third grade, I taught first grade. My classroom library was the focus of the entire room. I had purposefully done this to see how students progressed during reading. I absolutely LOVED this setup, however, it may not work as well for kindergarten. I’m thinking of creating my library in a more closed-in space this year. I’m not sure exactly how I will arrange the furniture quite yet because I’m hoping to use alternative seating and very few tables. I’ll be sure to keep posting more pictures as the new room decoration beings!
Place your library in the CENTER of the room to change things up and create an automatic focal point for students.
So far, I have printed new kindergarten-friendly book bin labels and have them ready for the first day that I am able to make my way into the new room. Until then, I will keep plugging away at posters, object labels, and mini projects!
 
What areas of your teaching or your classroom are YOU improving this summer? Comment below and be sure to check out these other fantastic bloggers!
 
 
An InLinkz Link-up


Filed Under: Decor, Misc Tagged With: Classroom Environment, decor

Primary Sidebar

Hi, I’m Meredith!

READ MORE

Search

Follow on Instagram

Footer

Copyright © 2023 · Creativity to the Core · Site by Ready to Blog Designs