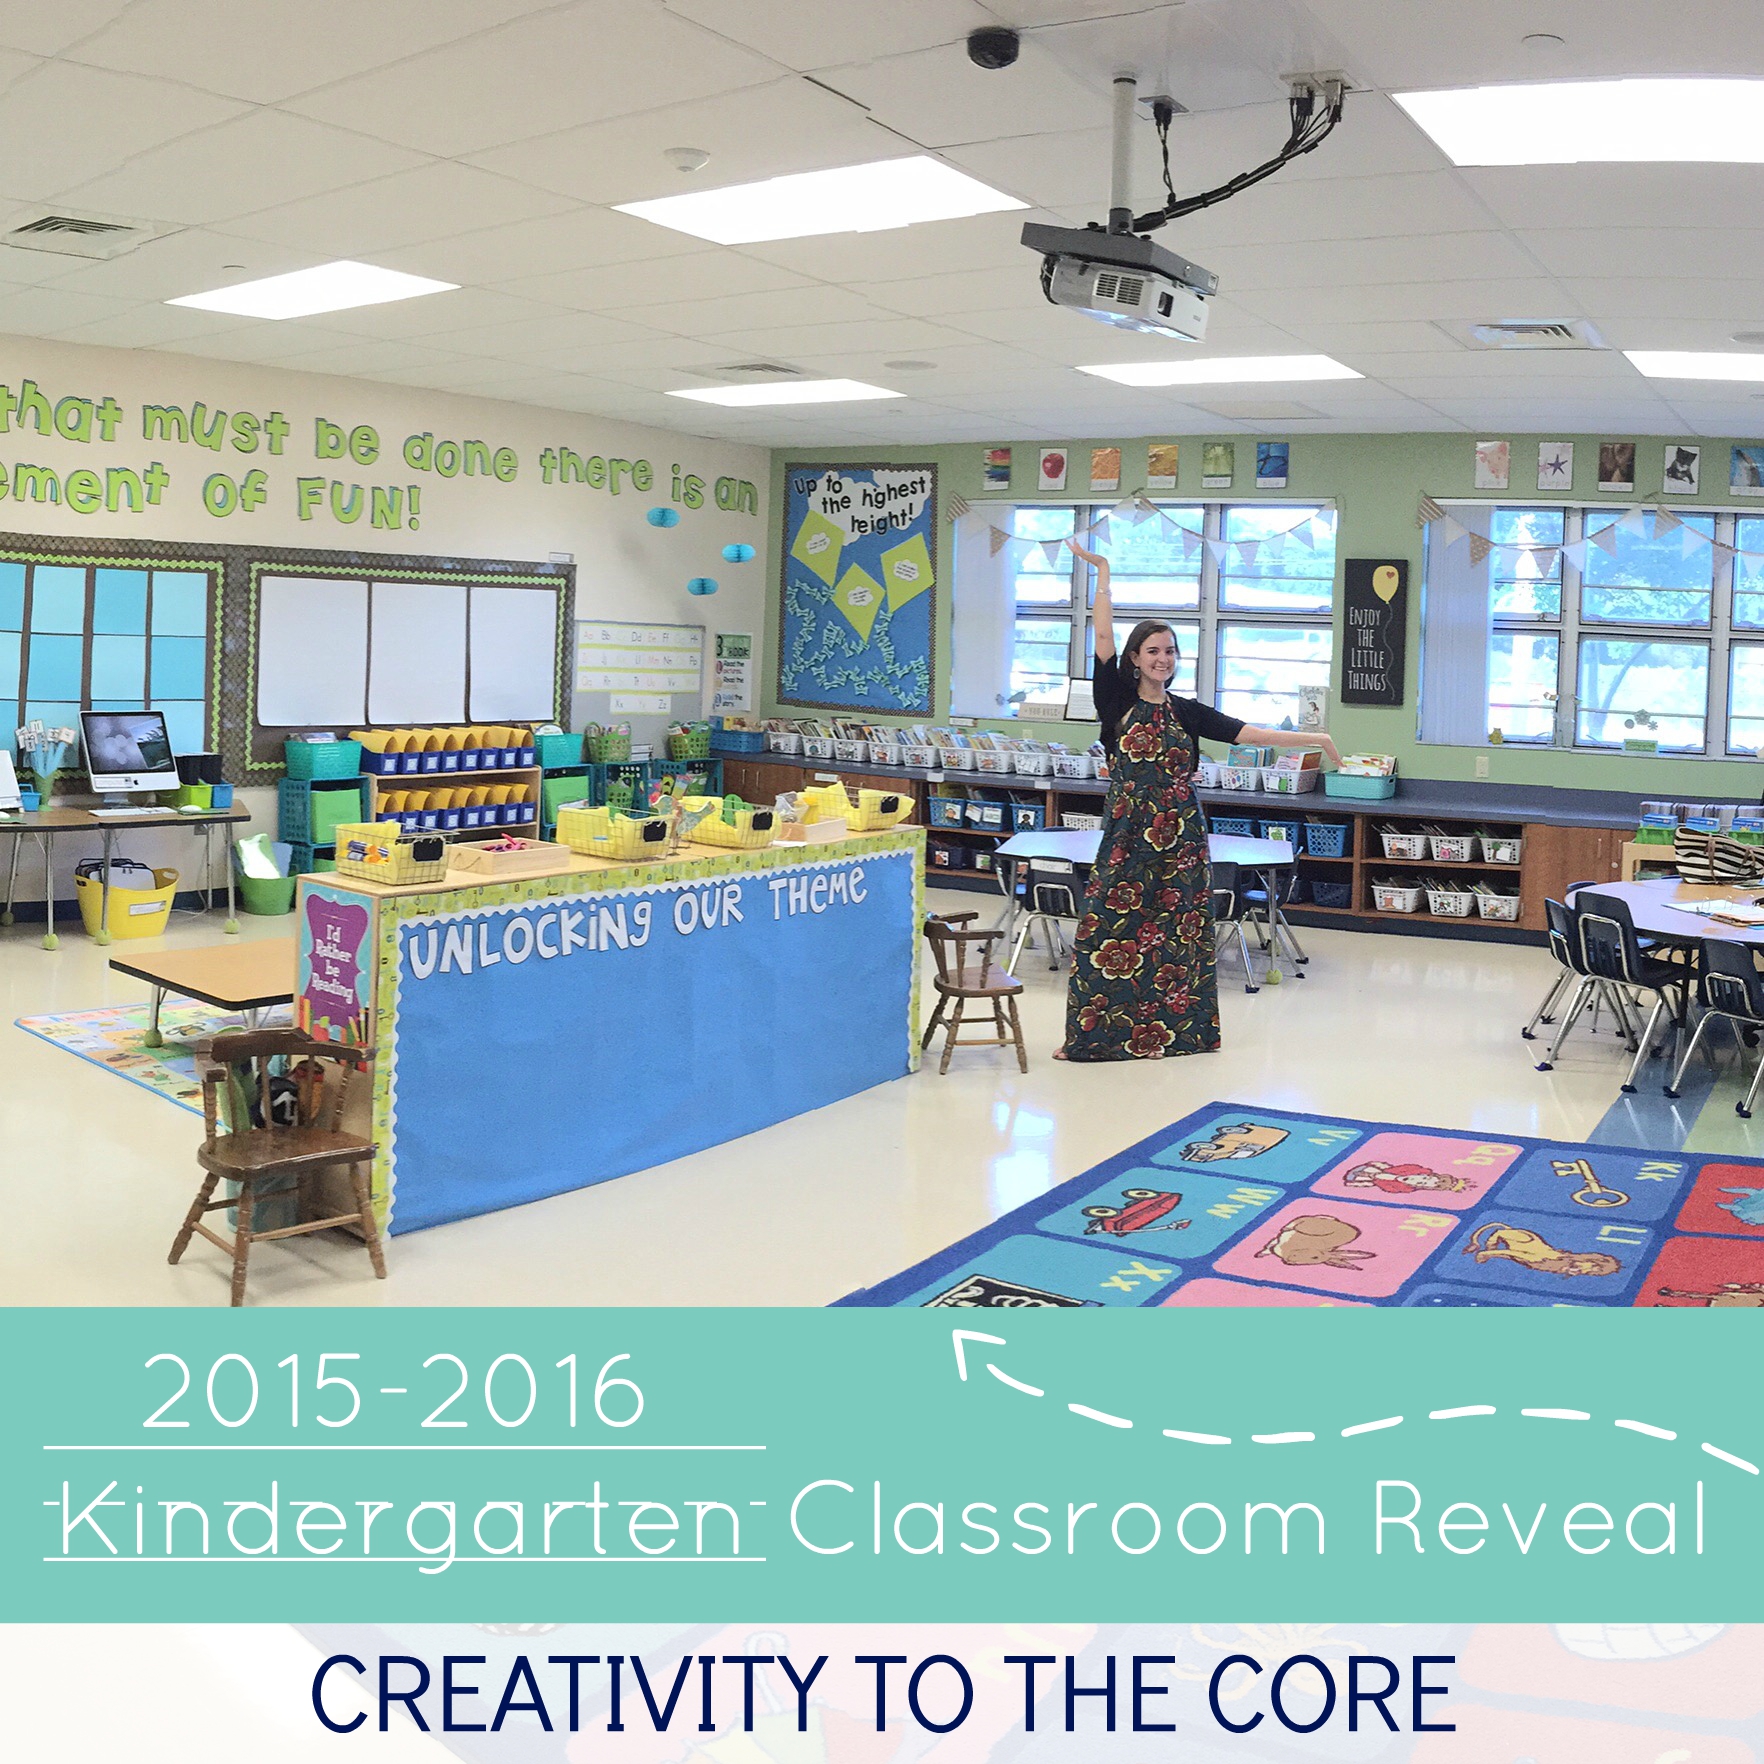
As the new school year approaches, I just love taking {digital} peeks into everyone’s classrooms. Teachers are so full of inspiration and bright ideas. What would we do without each other? Our classrooms would probably just look like my before picture below…how sad….how drab. I want to thank all of you in advance because you inspire me daily with your posts and ideas on social media. Thank you, thank you, thank you! Here is a little photo tour of my kindergarten classroom. I hope you enjoy!

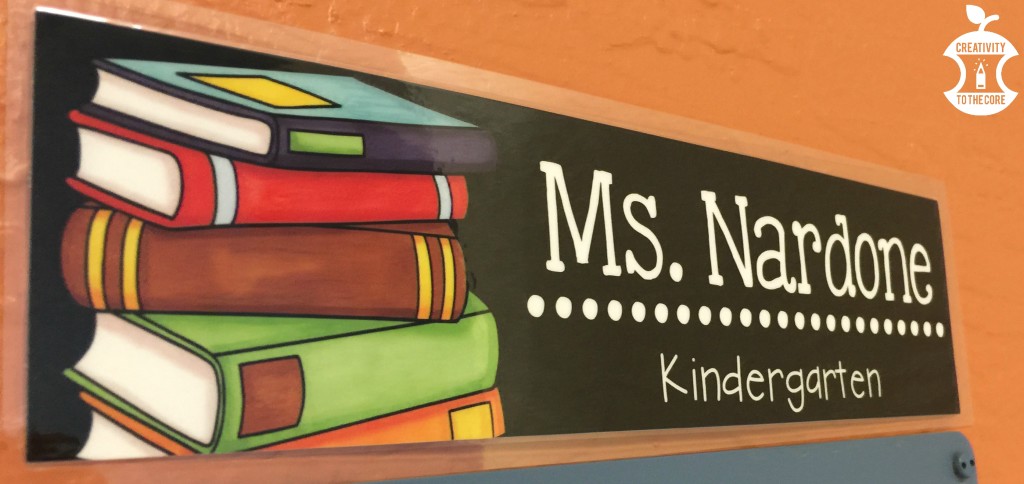
As you walk up to my classroom, you will see this adorable sign.
Simple, clear, to the point. I’m in love with it.
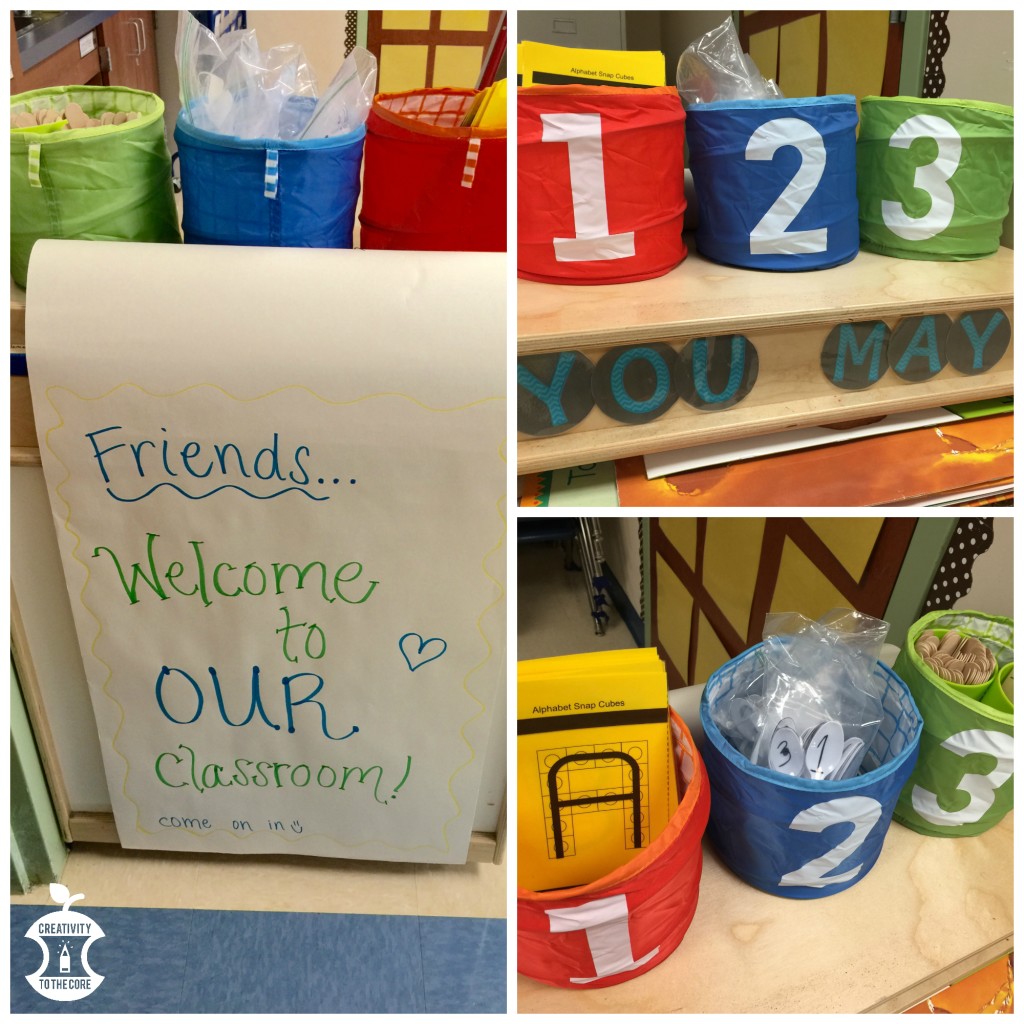
Just inside the door to the left is my rolling big book cabinet. I was sad to discover that the white front (under the drawing paper) is not magnetic, so I decided to add a sign instead! On top of the cabinet are the 1, 2, 3 collapsable bins from IKEA. This is where I keep my early finisher activities. When my kinders have “nothing to do” they can go to one of these bins. Currently, the bins are filled with snap cube letters, plastic spoons to practice number sense, and two Kaboom games (one for letter identification and one for sight words).
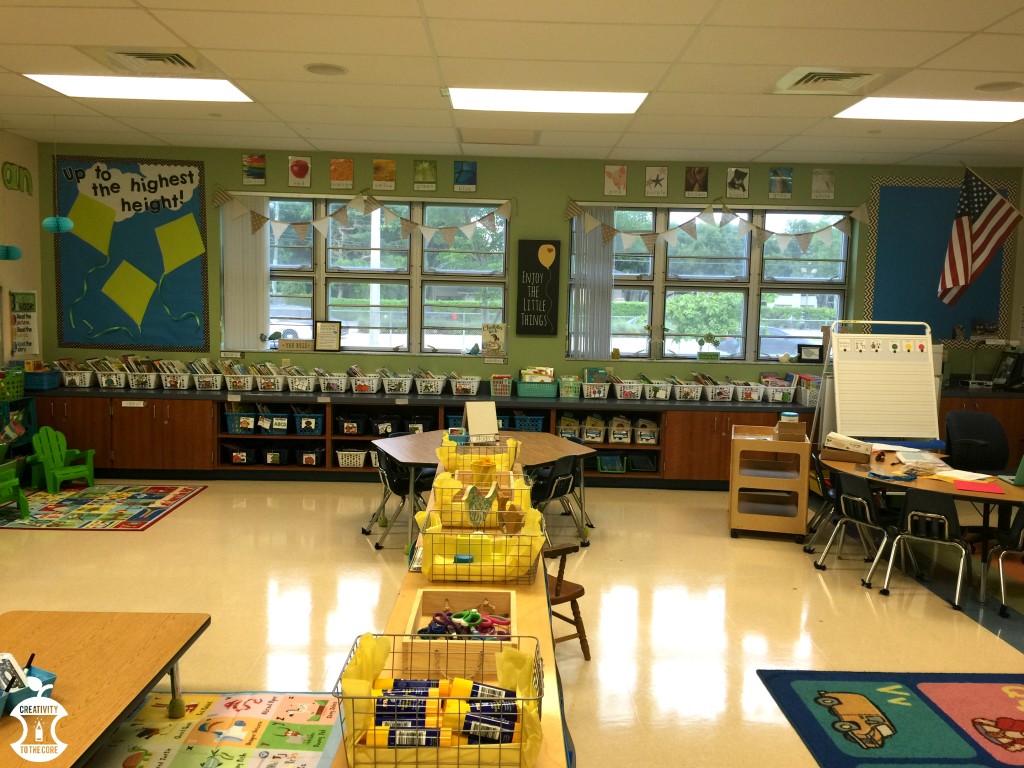
This is what you see as you walk in the door. I am so grateful to have a classroom with an abundance of natural light! We almost never turn our fluorescent lights on, and you almost never even notice. Thank you, south Florida sunshine! Since taking this picture, I have consolidated some of the white book containers to a lower shelf so that the right side of the counter is clear. Little things like that help my slight OCD tendencies. 🙂
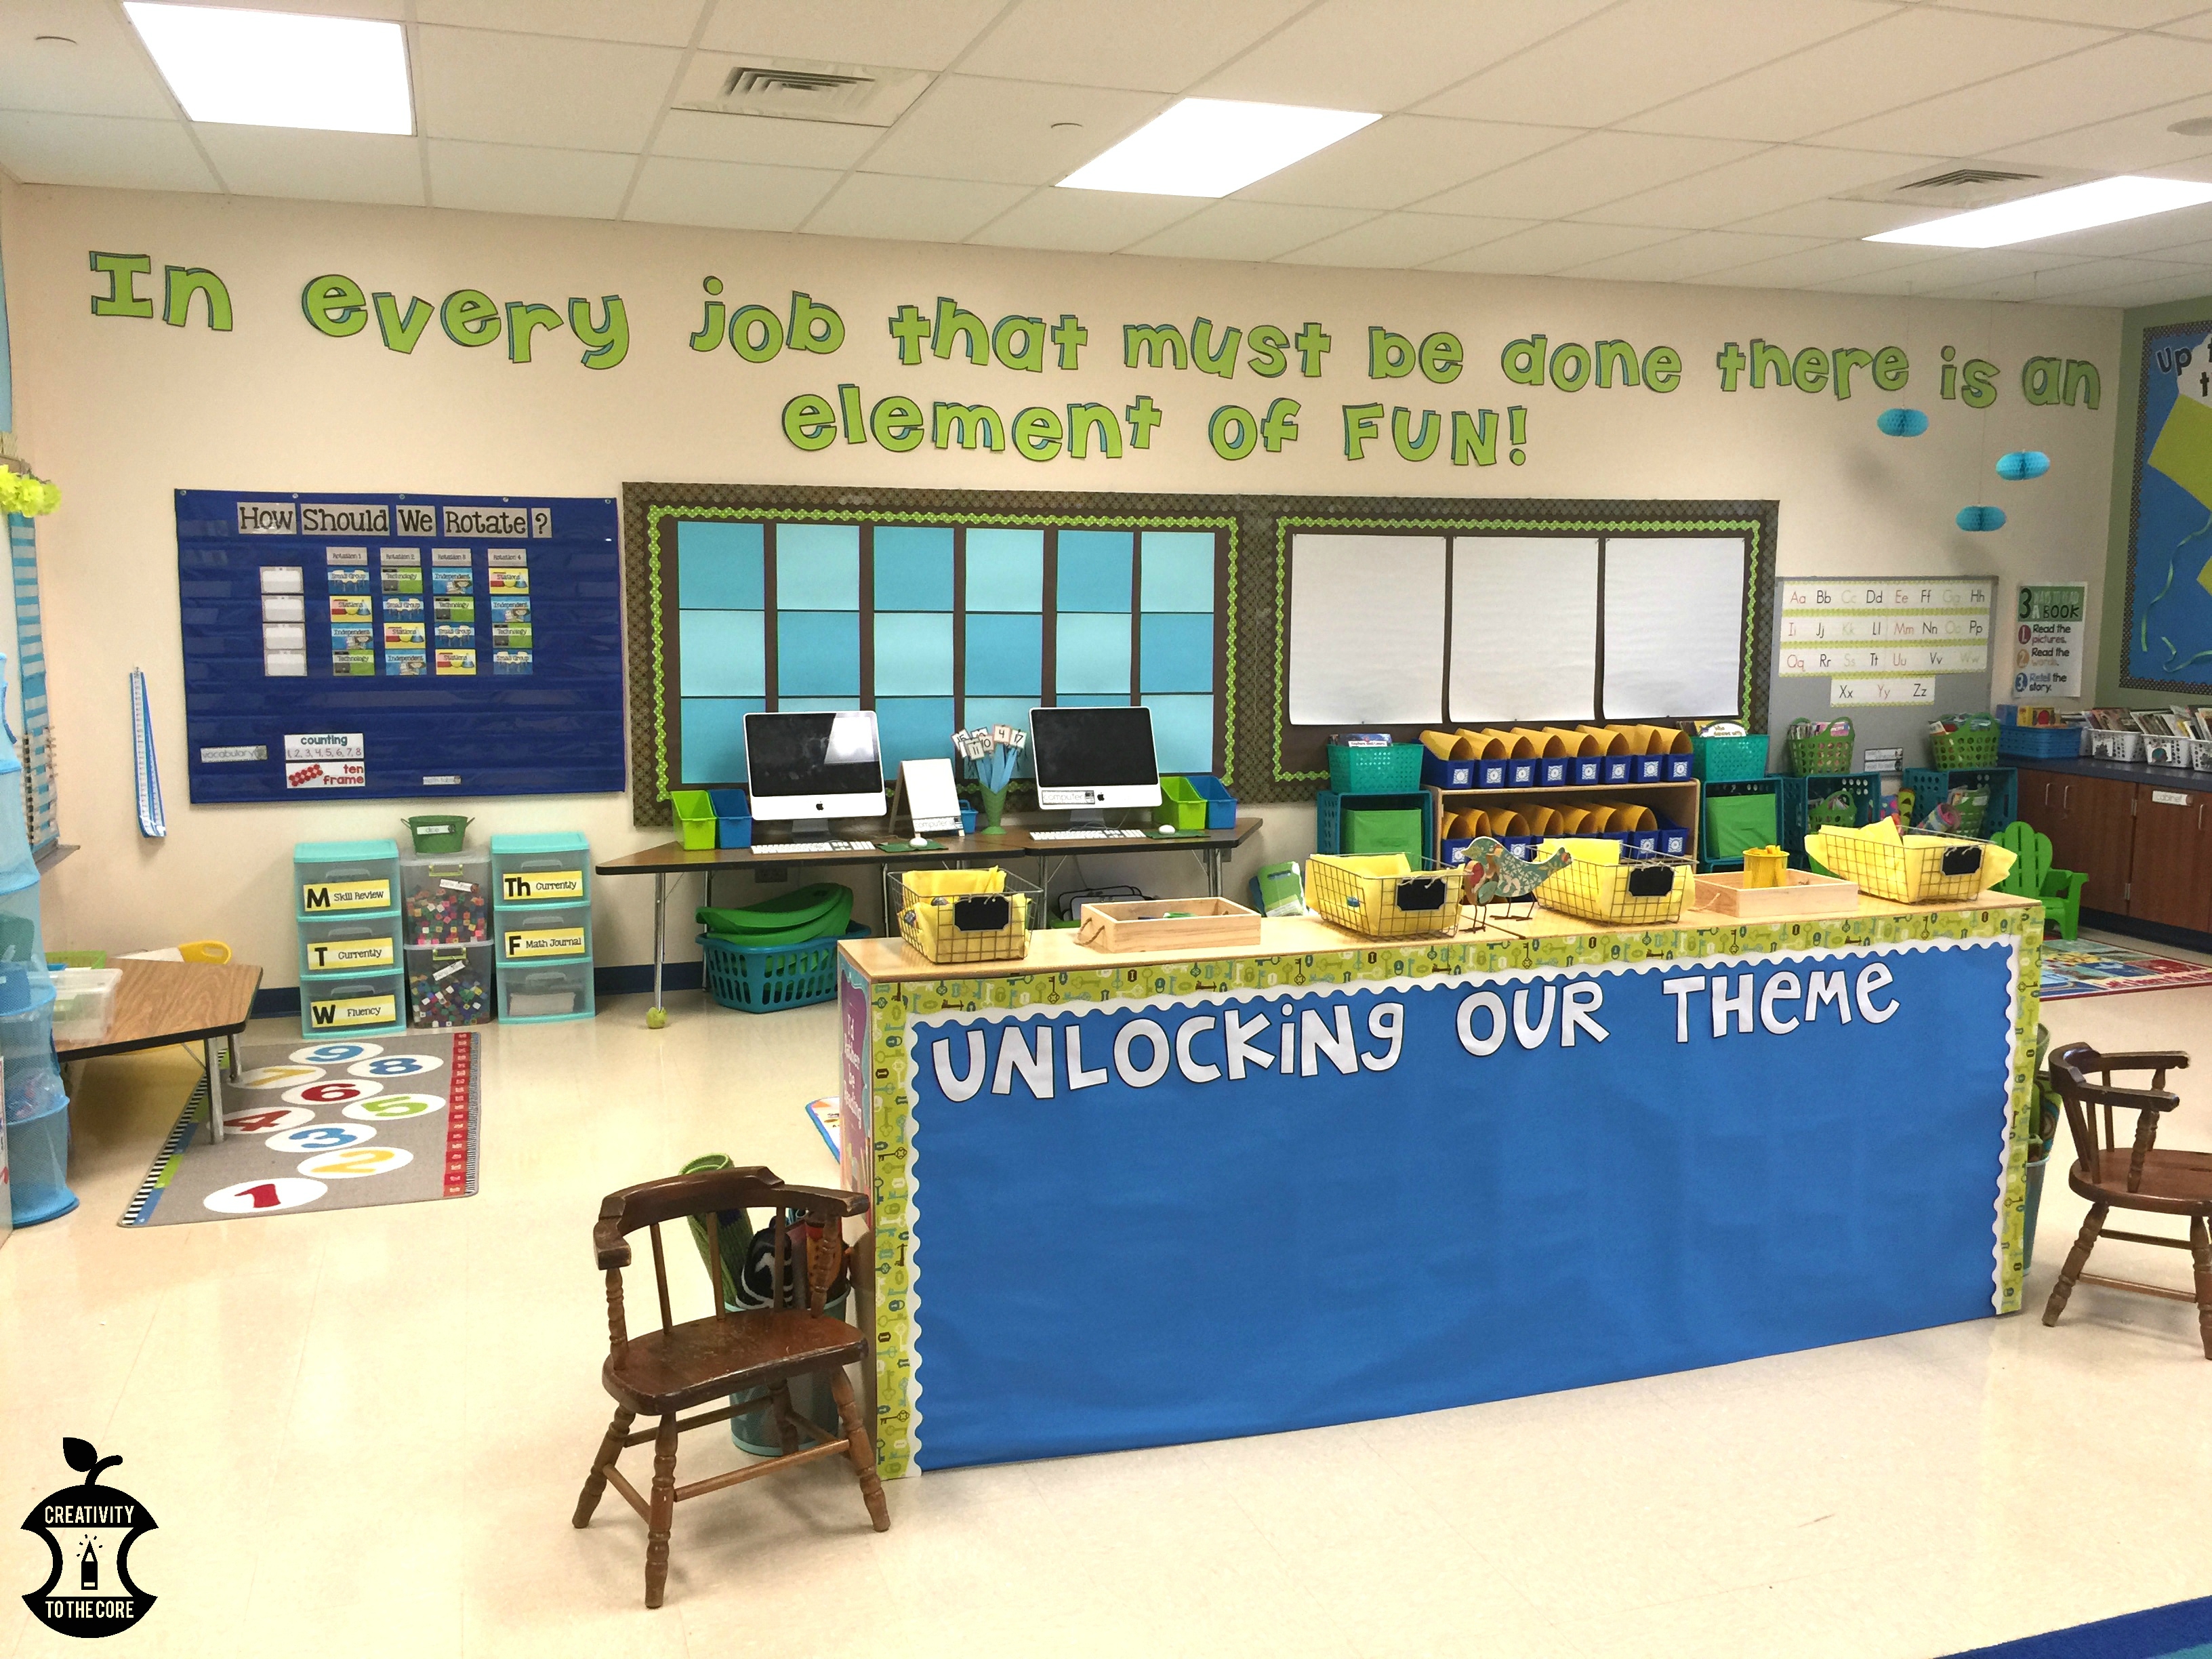
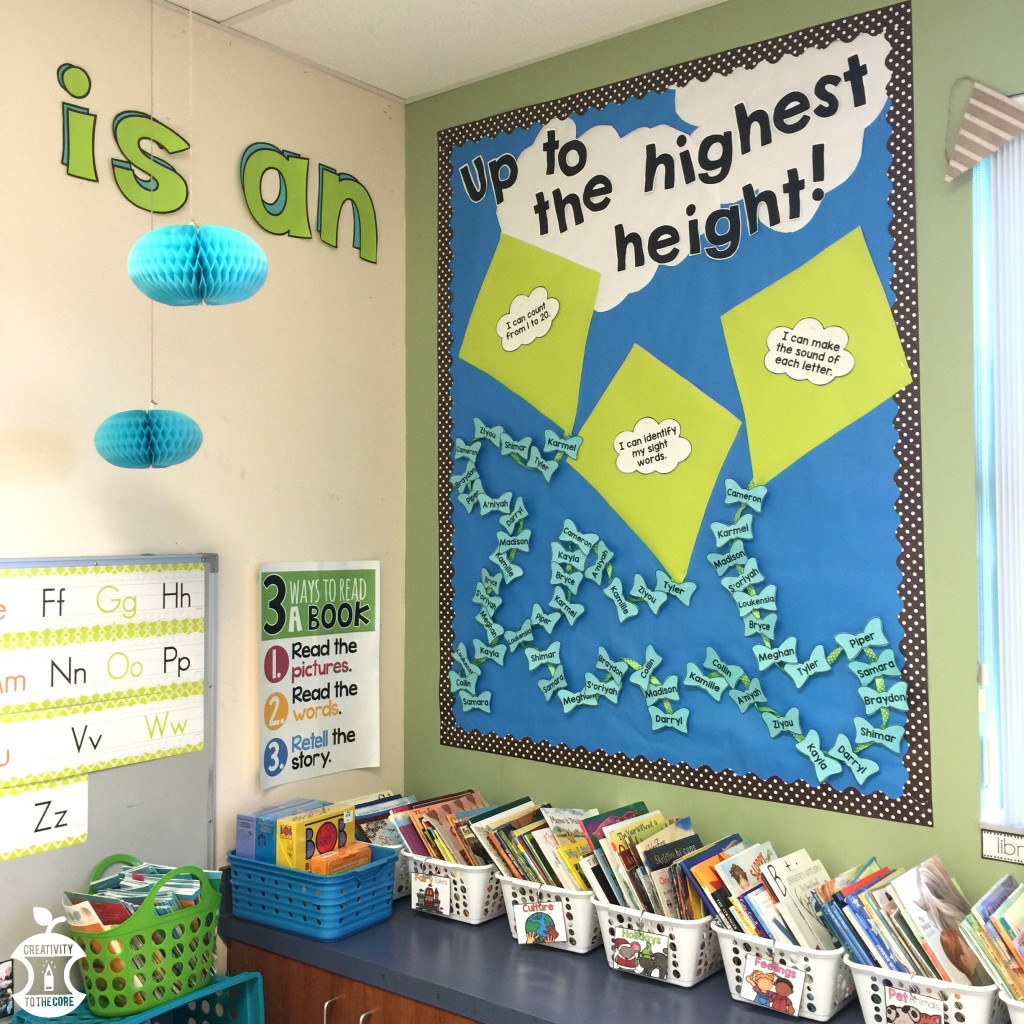
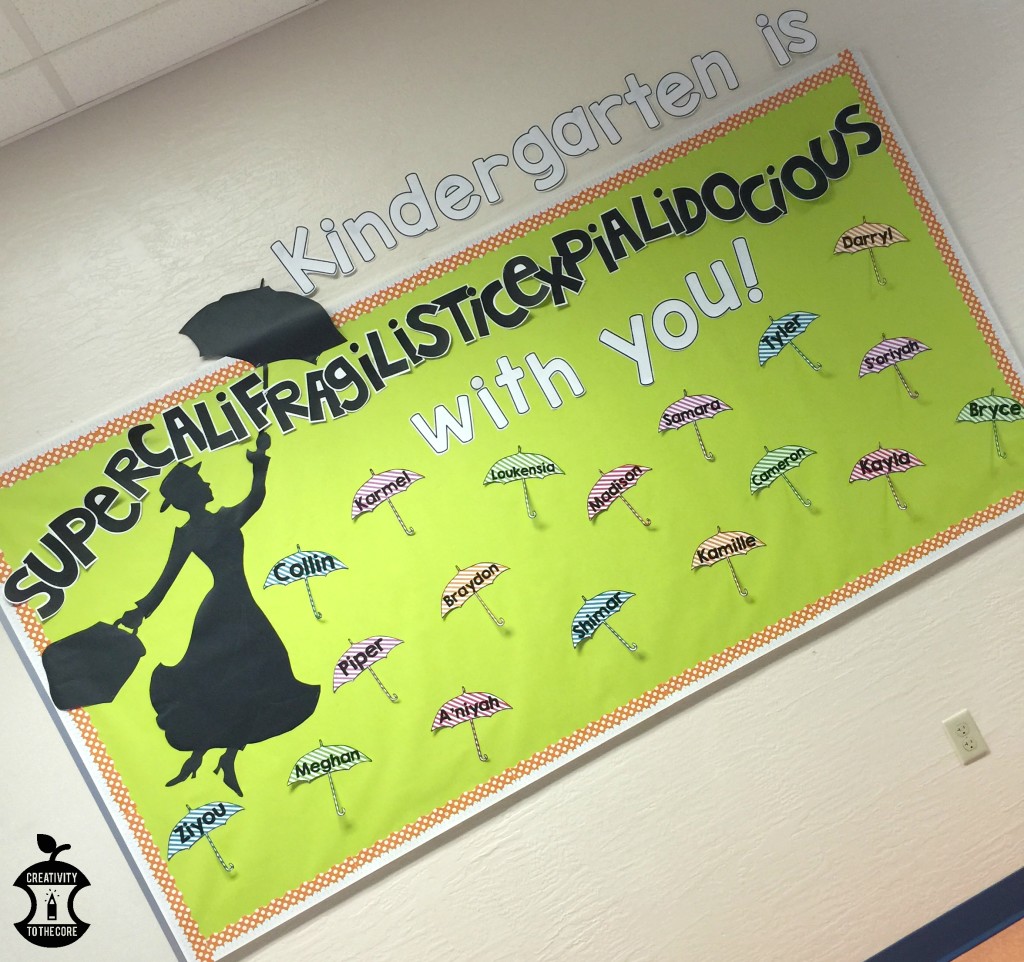
If you look to your left when you walk in the door, you will see our classroom focal point – the Mary Poppins quote! I cannot get enough of huge cut out letters this year…obviously. The “Unlocking our theme” area will host our weekly/monthly themes. I attached bulletin board paper to the back of two shelves and added some borders. Soon, I will hot glue a few clothes pins to the paper so that I can hang small anchor charts and vocabulary directly from this fake bulletin board/room divider.
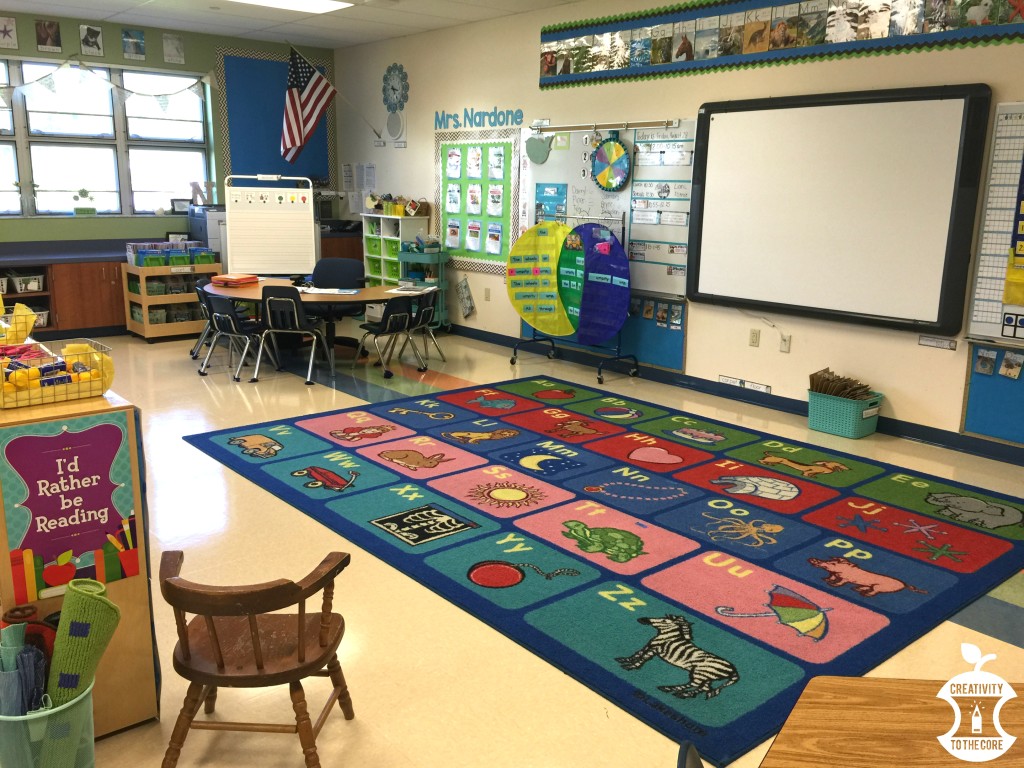
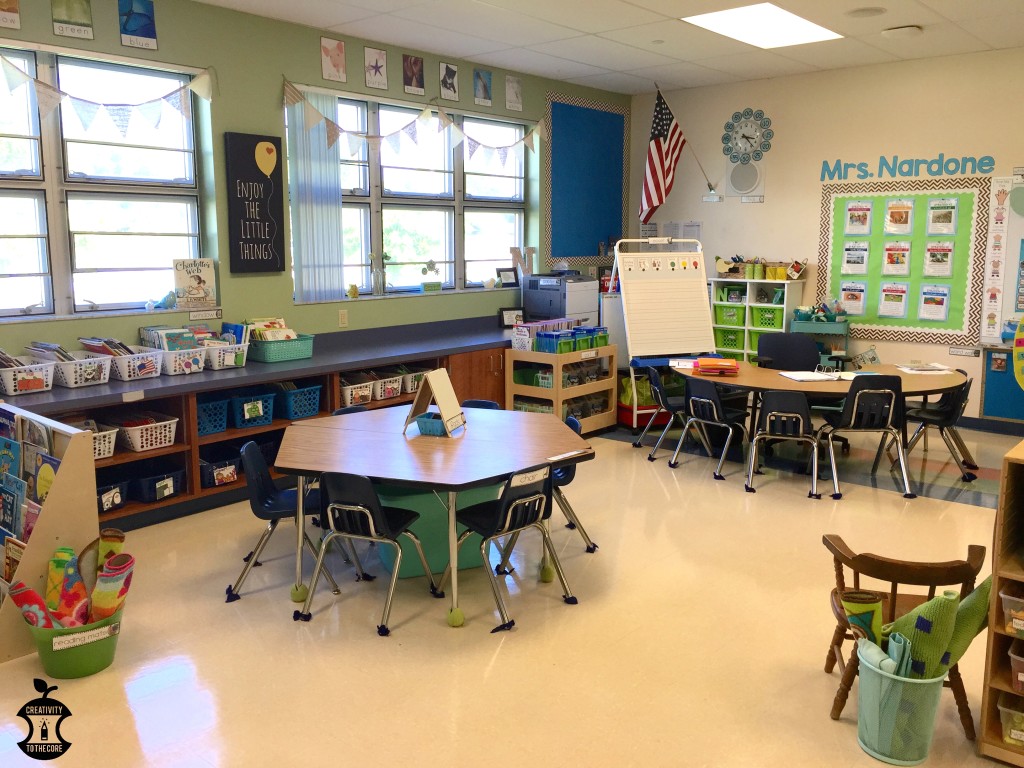
As you walk in and look to the right, you will see my small group area, our white boards, Promethean board, calendar math area, and writing center. You will notice that I do not have many tables in the classroom. I am focusing on alternative seating for my kinders. We spend lots of time on this large rug, and are trying VERY hard to use our own personal space.
This calendar area is a space that is near & dear to my heart because SO much growth goes on here. In just one week my kiddos know so many concepts, AND they sincerely enjoy this part of our day! Check out these month headers, 100-Chart numbers, and ten frame counting pieces. I love them!

Our word wall is located under both white boards. I LOVE this little part of our room! All of our teachers are required to have a word wall, but I decided that I wanted to really make it accessible to my students this year. I strategically placed the word wall low so that my students would be able to interact with it.
I purchased an entire roll of felt at Walmart, cut it to size in my classroom, and tacked it to the wall. The neutral ruler border hiding the uneven edges was found in the Target Dollar Spot. I bought these word wall headers from Kristen Smith and tacked them across in a straight line. (Don’t worry, I have since added Y and Z to the wall pictured above.) Then, I printed and laminated these Sight Words from The Clever Classroom. I used a small piece of this adhesive Velcro (the hard side) on the back of each word. Ta-da! A Velcro word wall! Students can come up to the wall, take a word they need, write the word, and then push it back onto the wall. So convenient and effective!

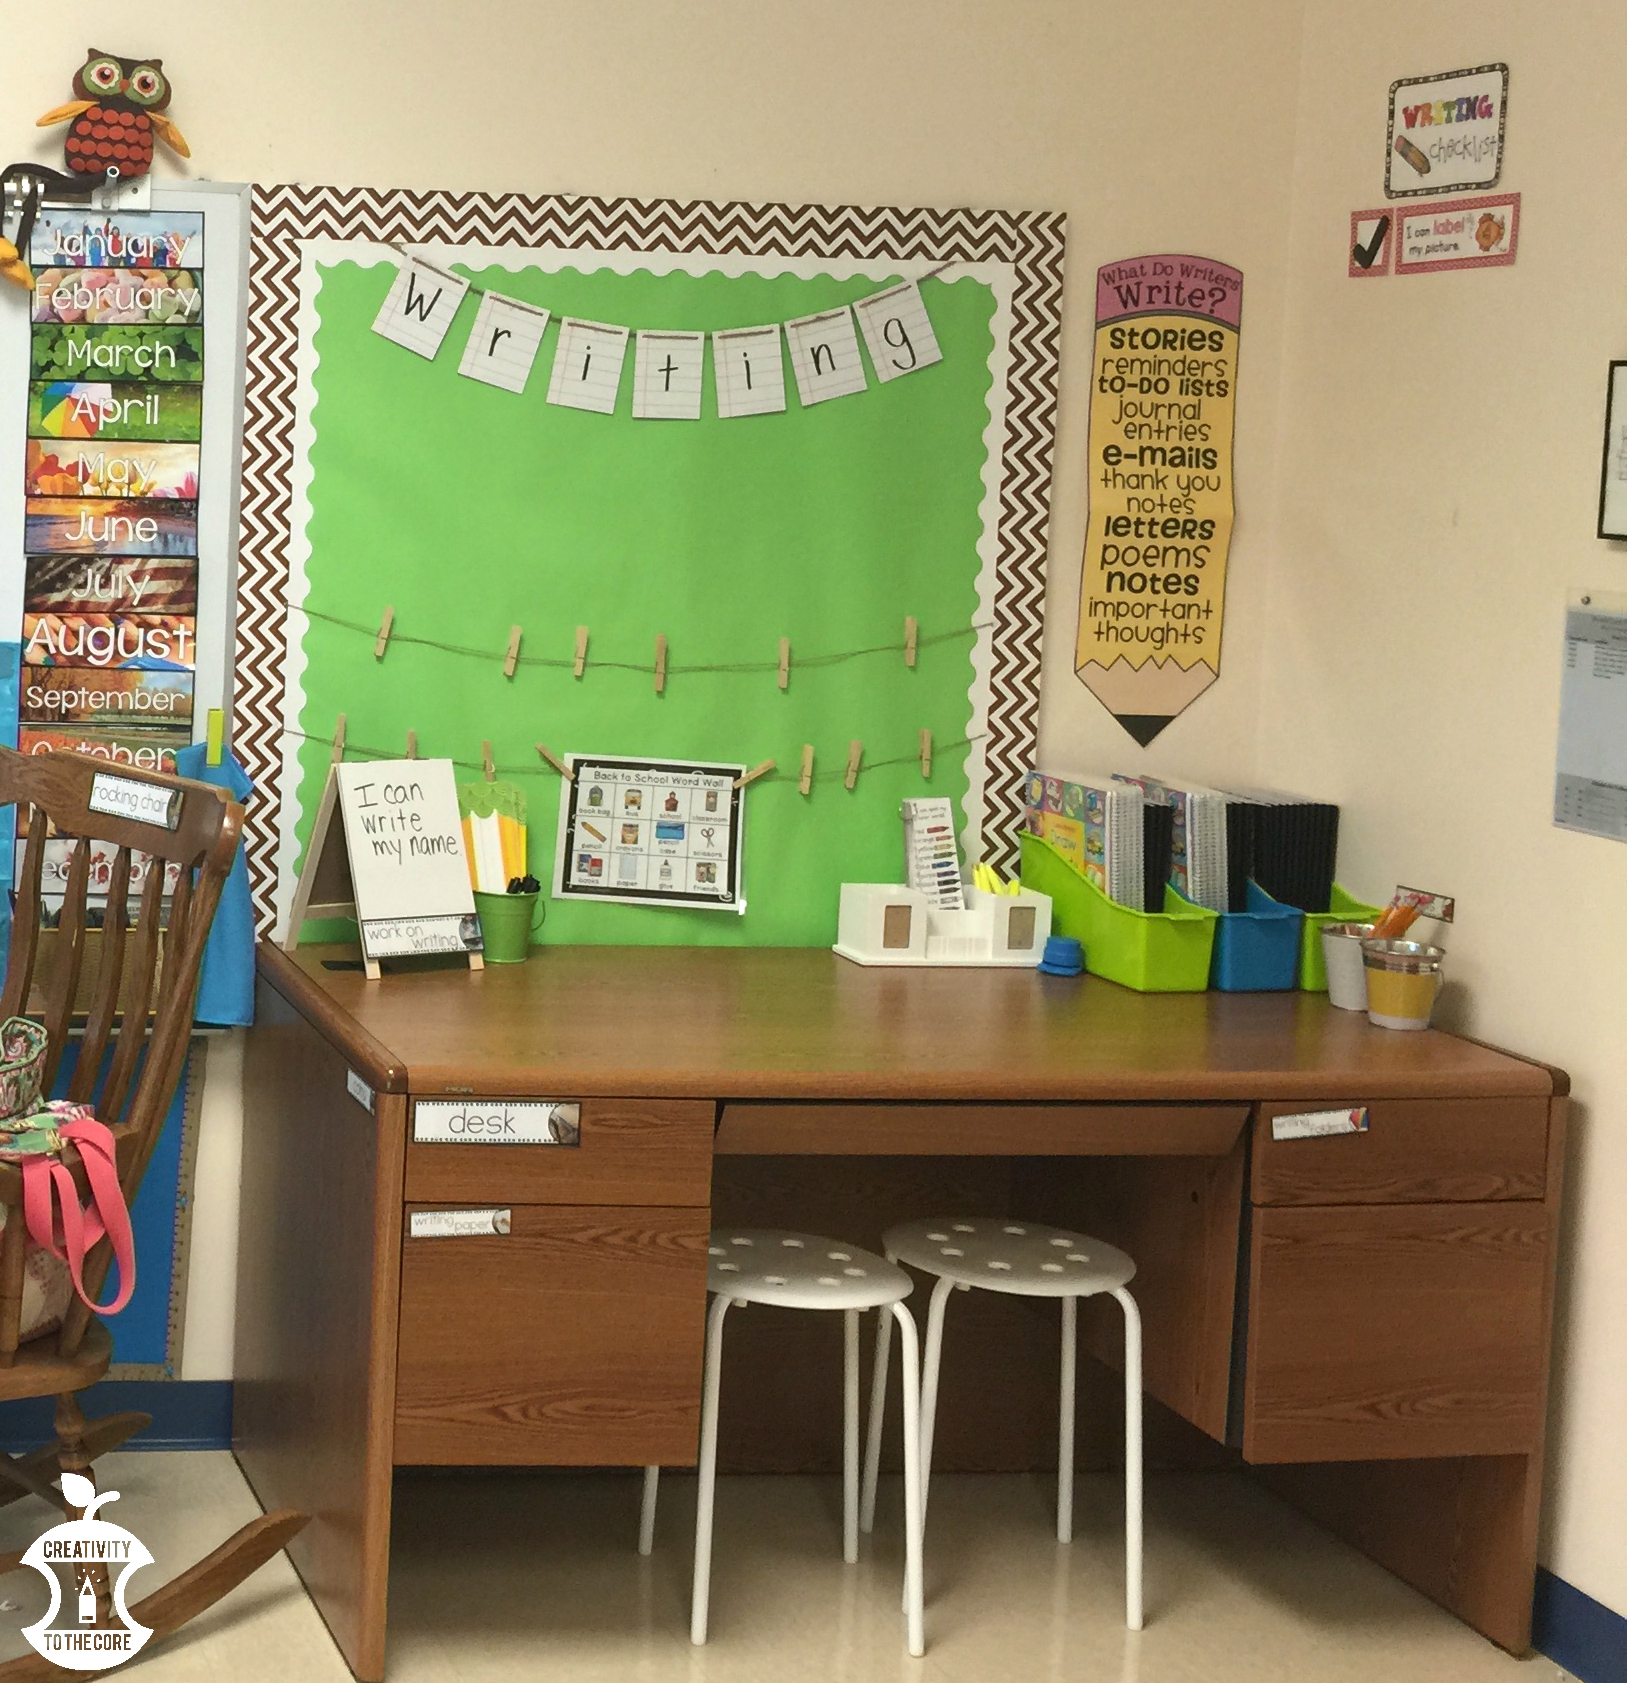
My huge teacher desk is a writing center this year. Students have the option of standing or using stools. Throughout the year, images and words will be added to the clothespins. The writing checklist on the right will also grow as students learn to become great writers.
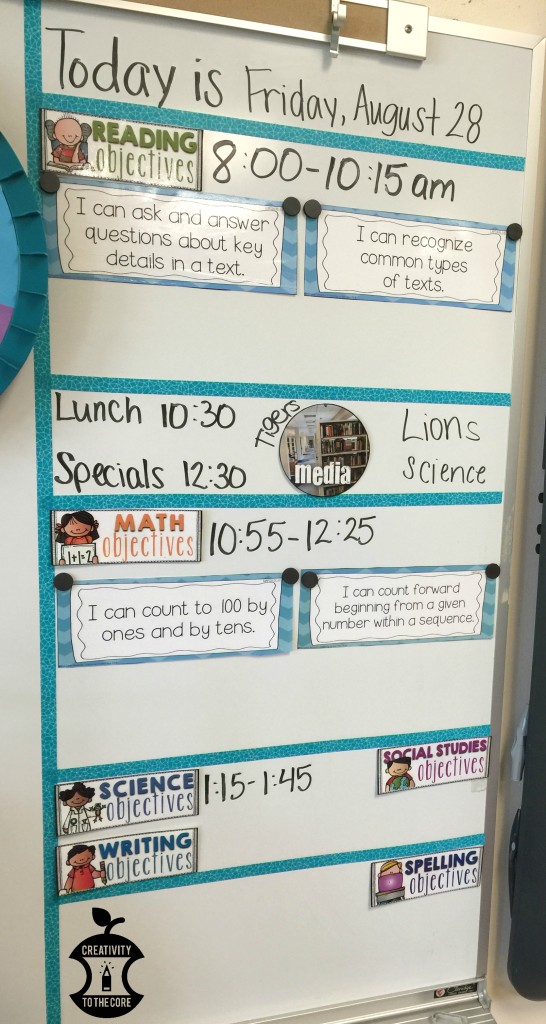
The left side of the white boards, opposite the calendar, hosts our board configuration. I am not a fan of this area…it’s not too pretty. However, I am required to have these sections so there you have it folks!
Florida Standard “I Can” Statements
Circular Visual Direction/Specials Cards
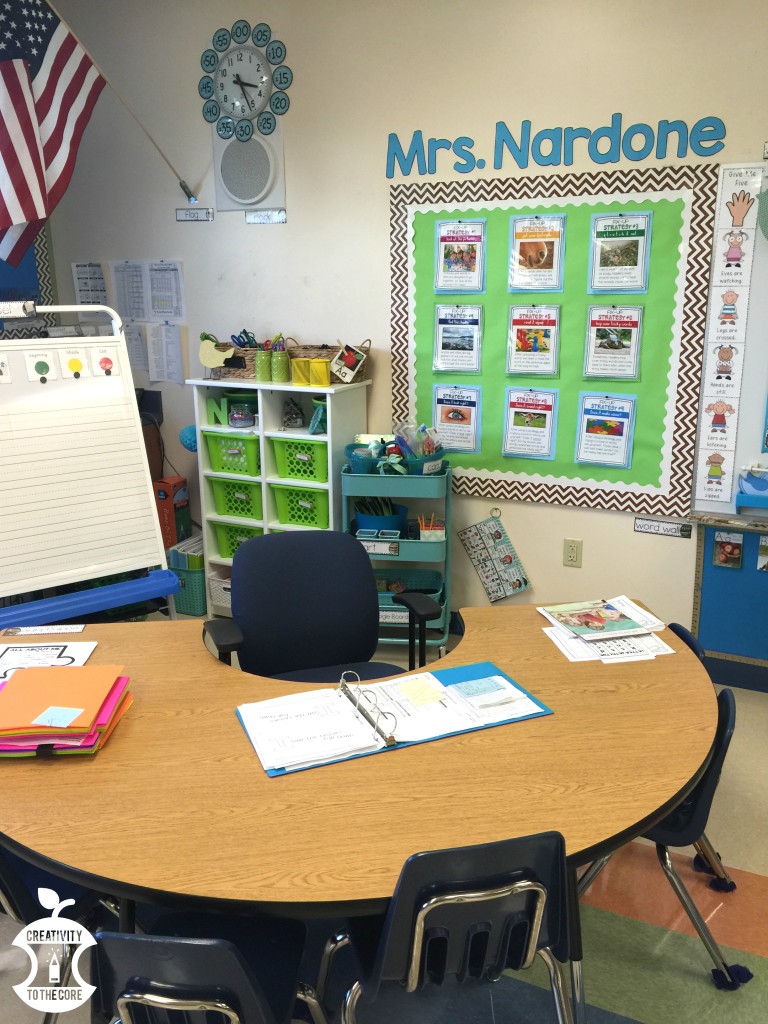
Here is my little area. My desk is being used as a student writing center this year, so I just have this Pier 1 white bookshelf (that I scored for $25), the teal cart from IKEA, and my easel. Once my kinders are more independent, I will be spending most of my days here! I am so excited about the strategy posters from Hello Literacy and my humongous name. No more – “Mrs. Nardone, how do you spell your name?”
Here is a view of my small group area from the back of the classroom. Kindergarten is blessed to get four iPads per classroom, so the two trapezoid tables create our iPad center which will get lots of use soon! Under the table is a big teal bin that we use for backpacks. All of the boys keep their backpacks in this bin, while the girls keep theirs on the other side of the room.
The cheery reading nook is your next stop! Thank you Donors Choose for the beautiful new book display shelf! I like how it acts as a small divider between the iPad center and the reading area. The mini green chairs from Walmart have been a fan favorite this week. Plus, the alphabet rug I scored for $16 at Costco adds some coziness to the linoleum floors.

Surprisingly, this is one of my favorite parts of our classroom. We are required to have a data wall each year, and I am never very excited about publicly displaying my student information. This year, I was determined to make it cute! I used a bunch of bulletin board paper and added a bit of the Mary Poppins song “Let’s Go Fly a Kite” for the title. The three kites represent counting to 20, identifying sight words, and knowing letter sounds. In the picture, you see all of my students’ names. However, I will be taking them all off and slowly putting them back up as students meet their goals. When my entire class has met the goal, I will just take the white “I Can” statement down and put up another!
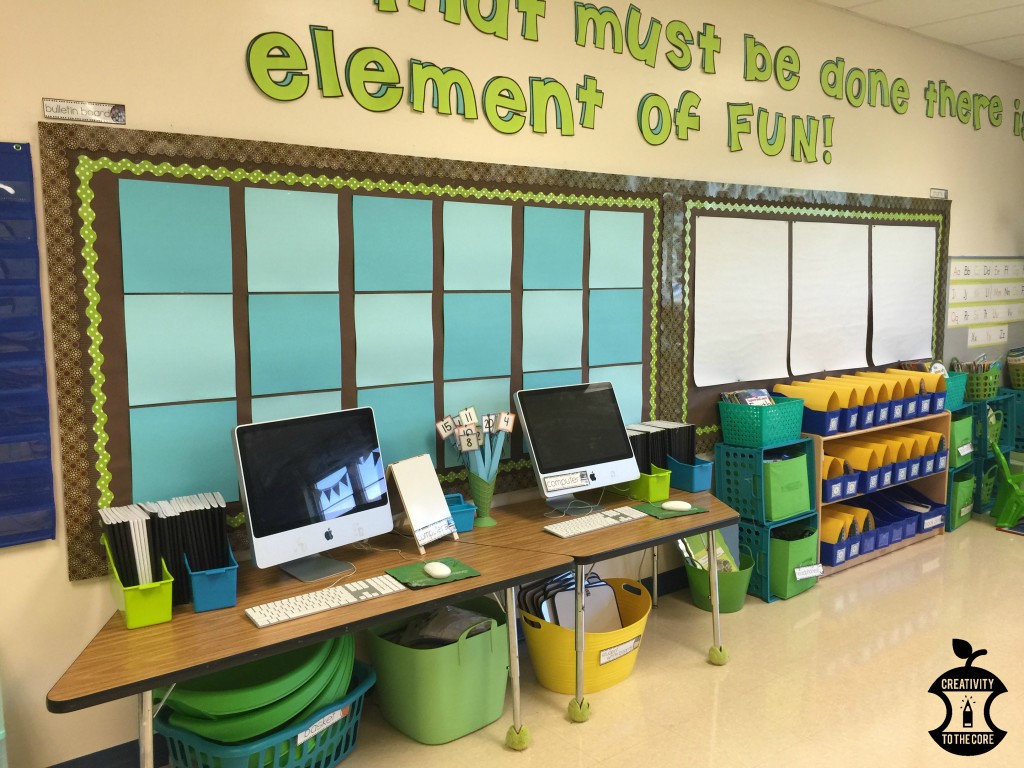
Our back wall is home to blue book bins and computers. Because we do not have assigned seats or tables, I glued student name tags onto yellow construction paper and laminated them. Each chid keeps this name mat inside of his/her book bin. When they work on an assignment, they take their book bins with them and will use the name tag to assist them. The blank white chart paper will soon house anchor charts. The blue square scrapbook paper on the second bulletin board is for showcasing student work. The numbers on the blue paint sticks are for students who borrow my classroom library books in the evening. They must take their number and place it in the spot that the book came from. Then in the morning, they return the book to the correct bin and return their number.
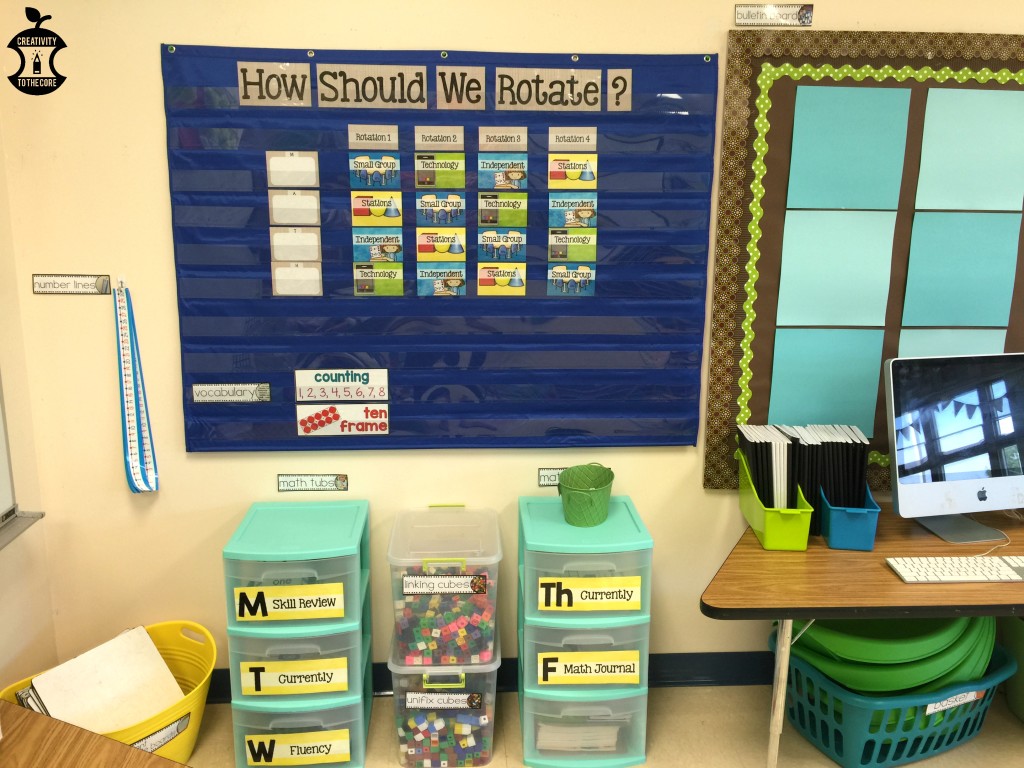
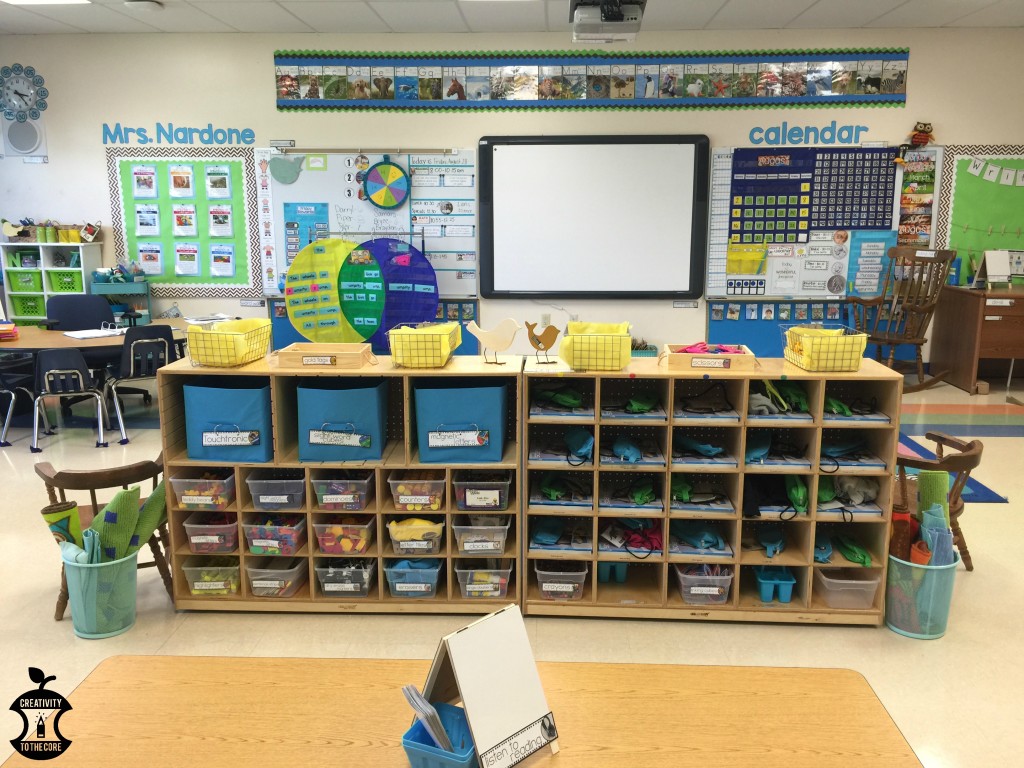
This is our math station area. The chart shows the rotations of our math block as well as any math vocabulary for the week. Number lines hang to the left for students to use when necessary. Student white boards in the open yellow bin are available for math activities. Once we begin math stations, students will visit small group, technology, independent work, and 1 station each day. The activities for the daily stations are inside the Sterilite containers. Linking cubes and Unifix cubes are in between in kid-friendly containers. The small green container on top holds tons of dice!
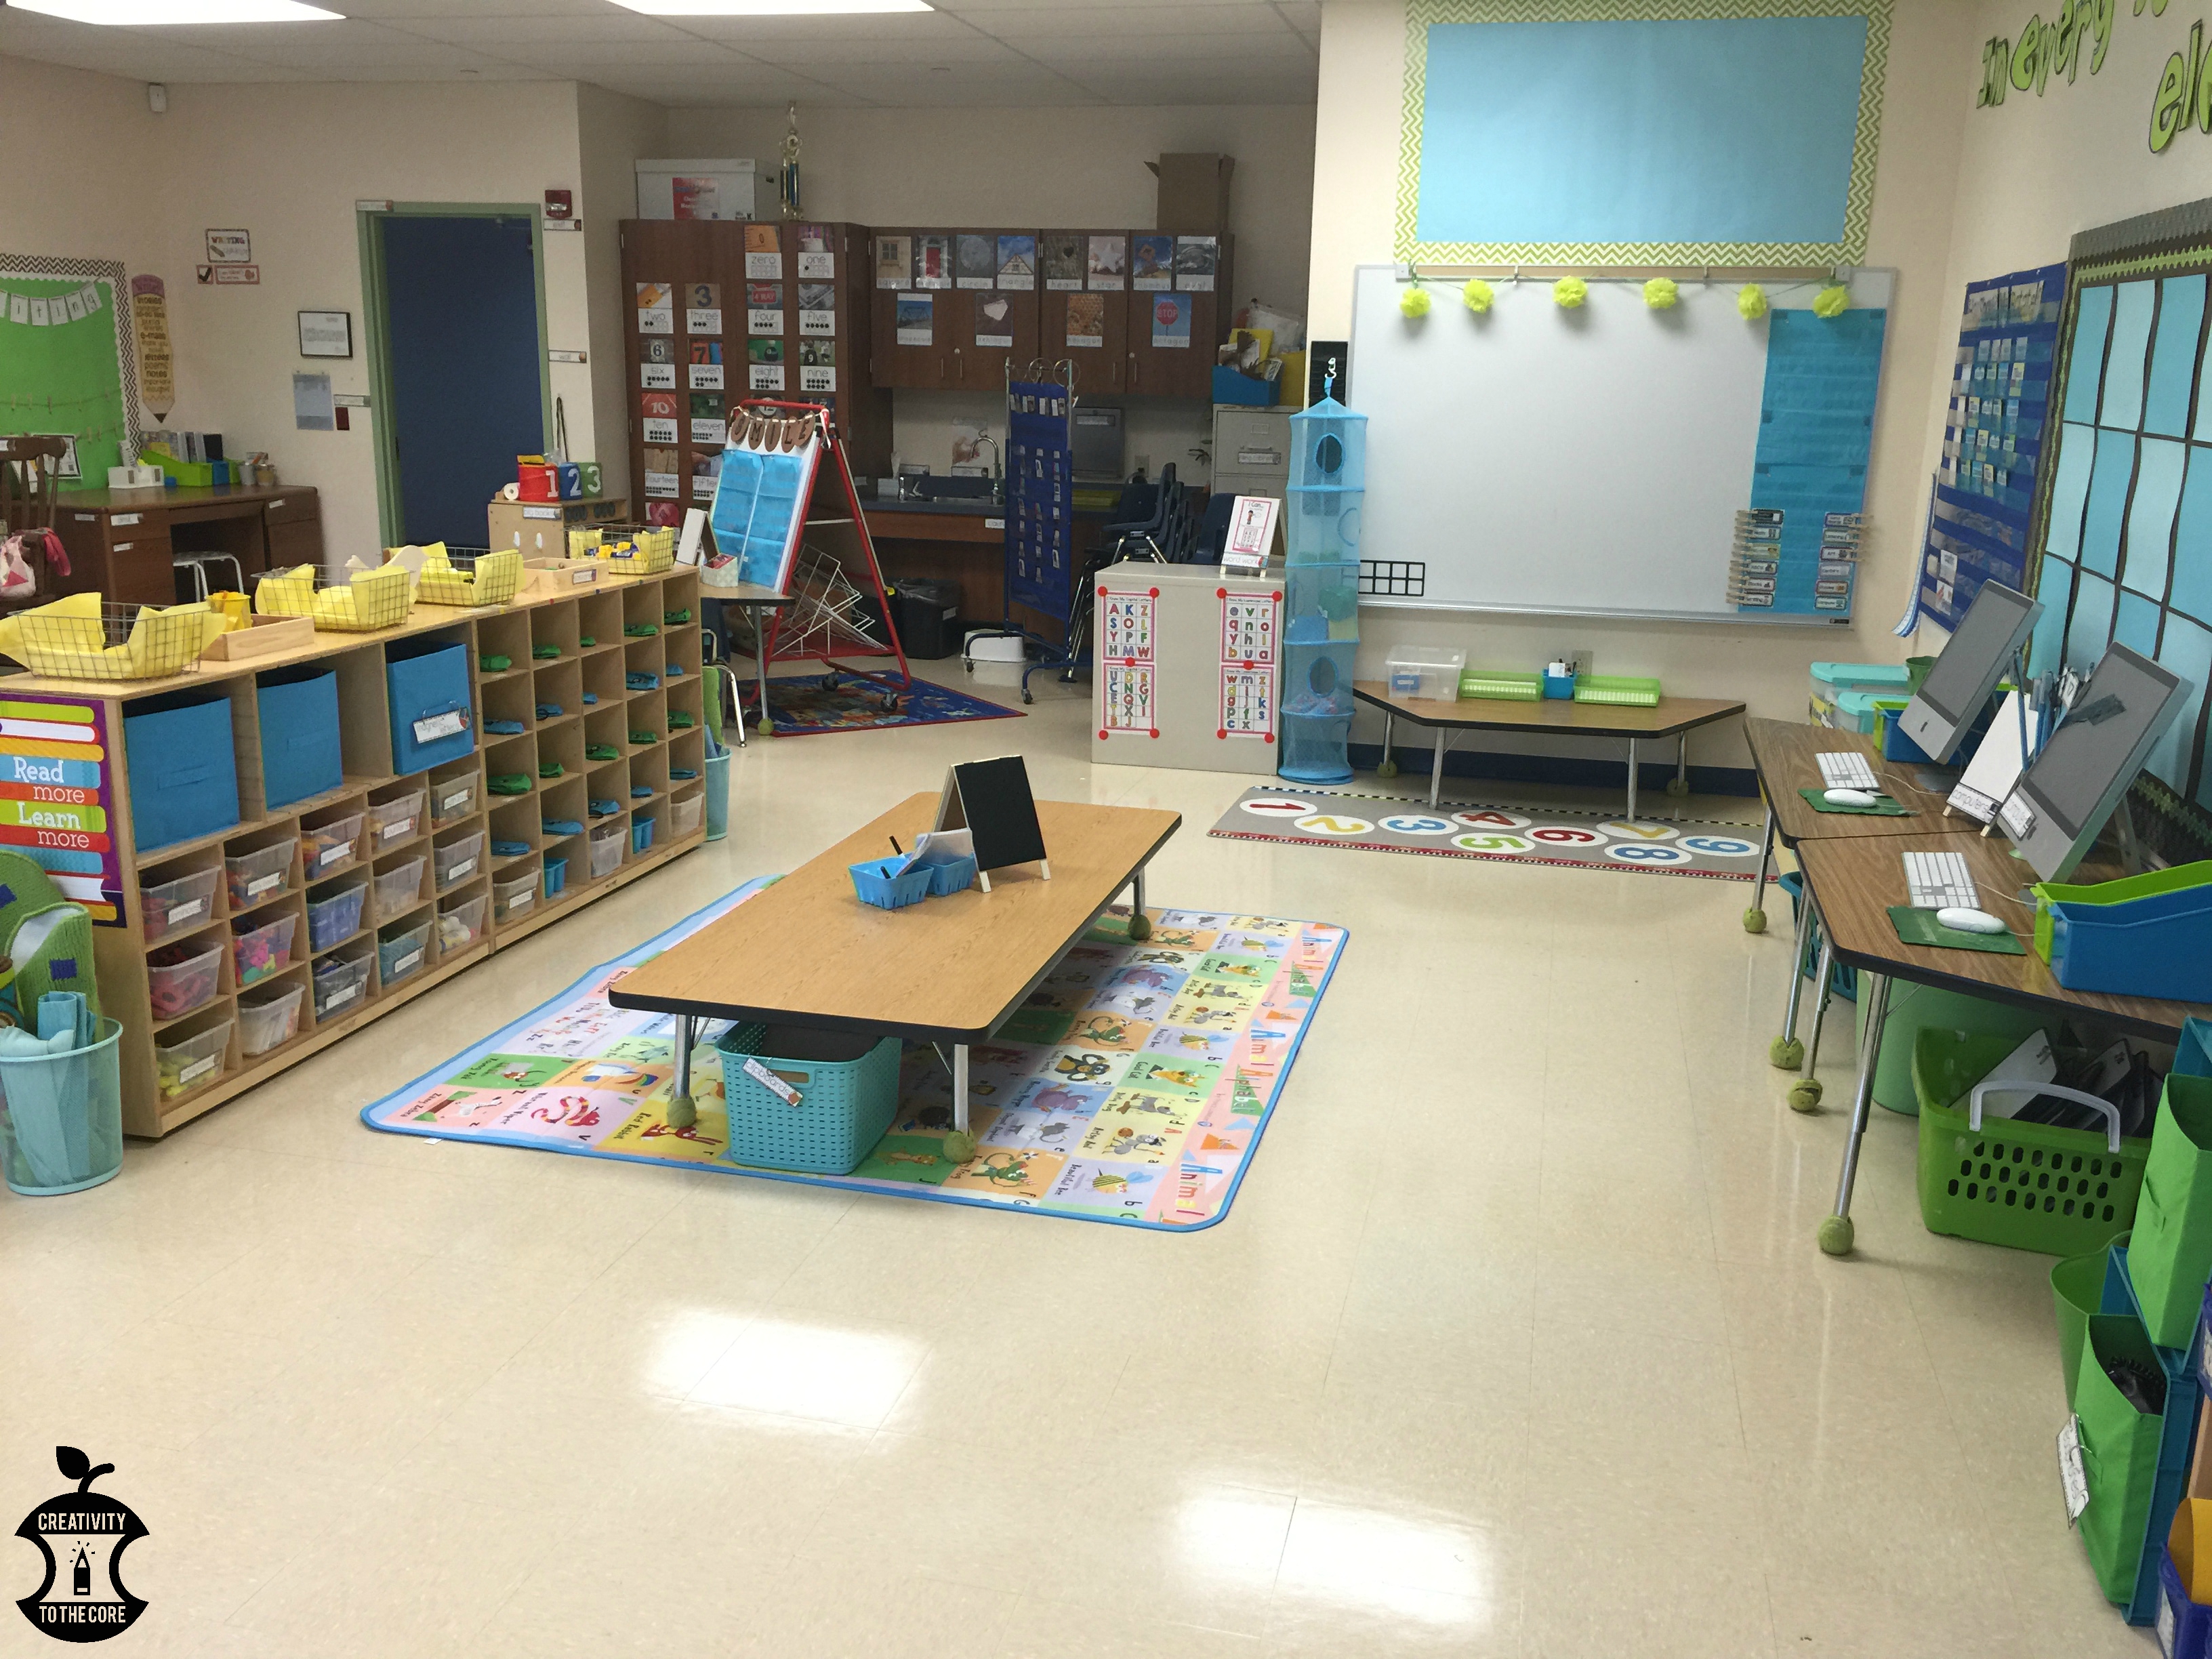
This is our classroom view from the reading nook. You can see two lowered tables which are a HUGE hit this year. The kids just love working there. Some kneel, some sit. Either way, the tables are perfect for active little bodies. Once literacy centers begin, the low rectangle table will be our “Listen to Reading” center and the low trapezoid table will be the “Word Work” area. The hopscotch rug and the Prince Lionheart ABC Play Mat help to define each area and provide a bit of cushion for little legs.
This small filing cabinet holds a ton of our journals and unused supplies. It is doubling as a magnetic center. These magnetic letter identification activities from Kindergarten Smiles are wonderful! The small dry erase easels are for my center labels. I like that I can move a center around the room if necessary by just moving the little easel instead of an entire table.
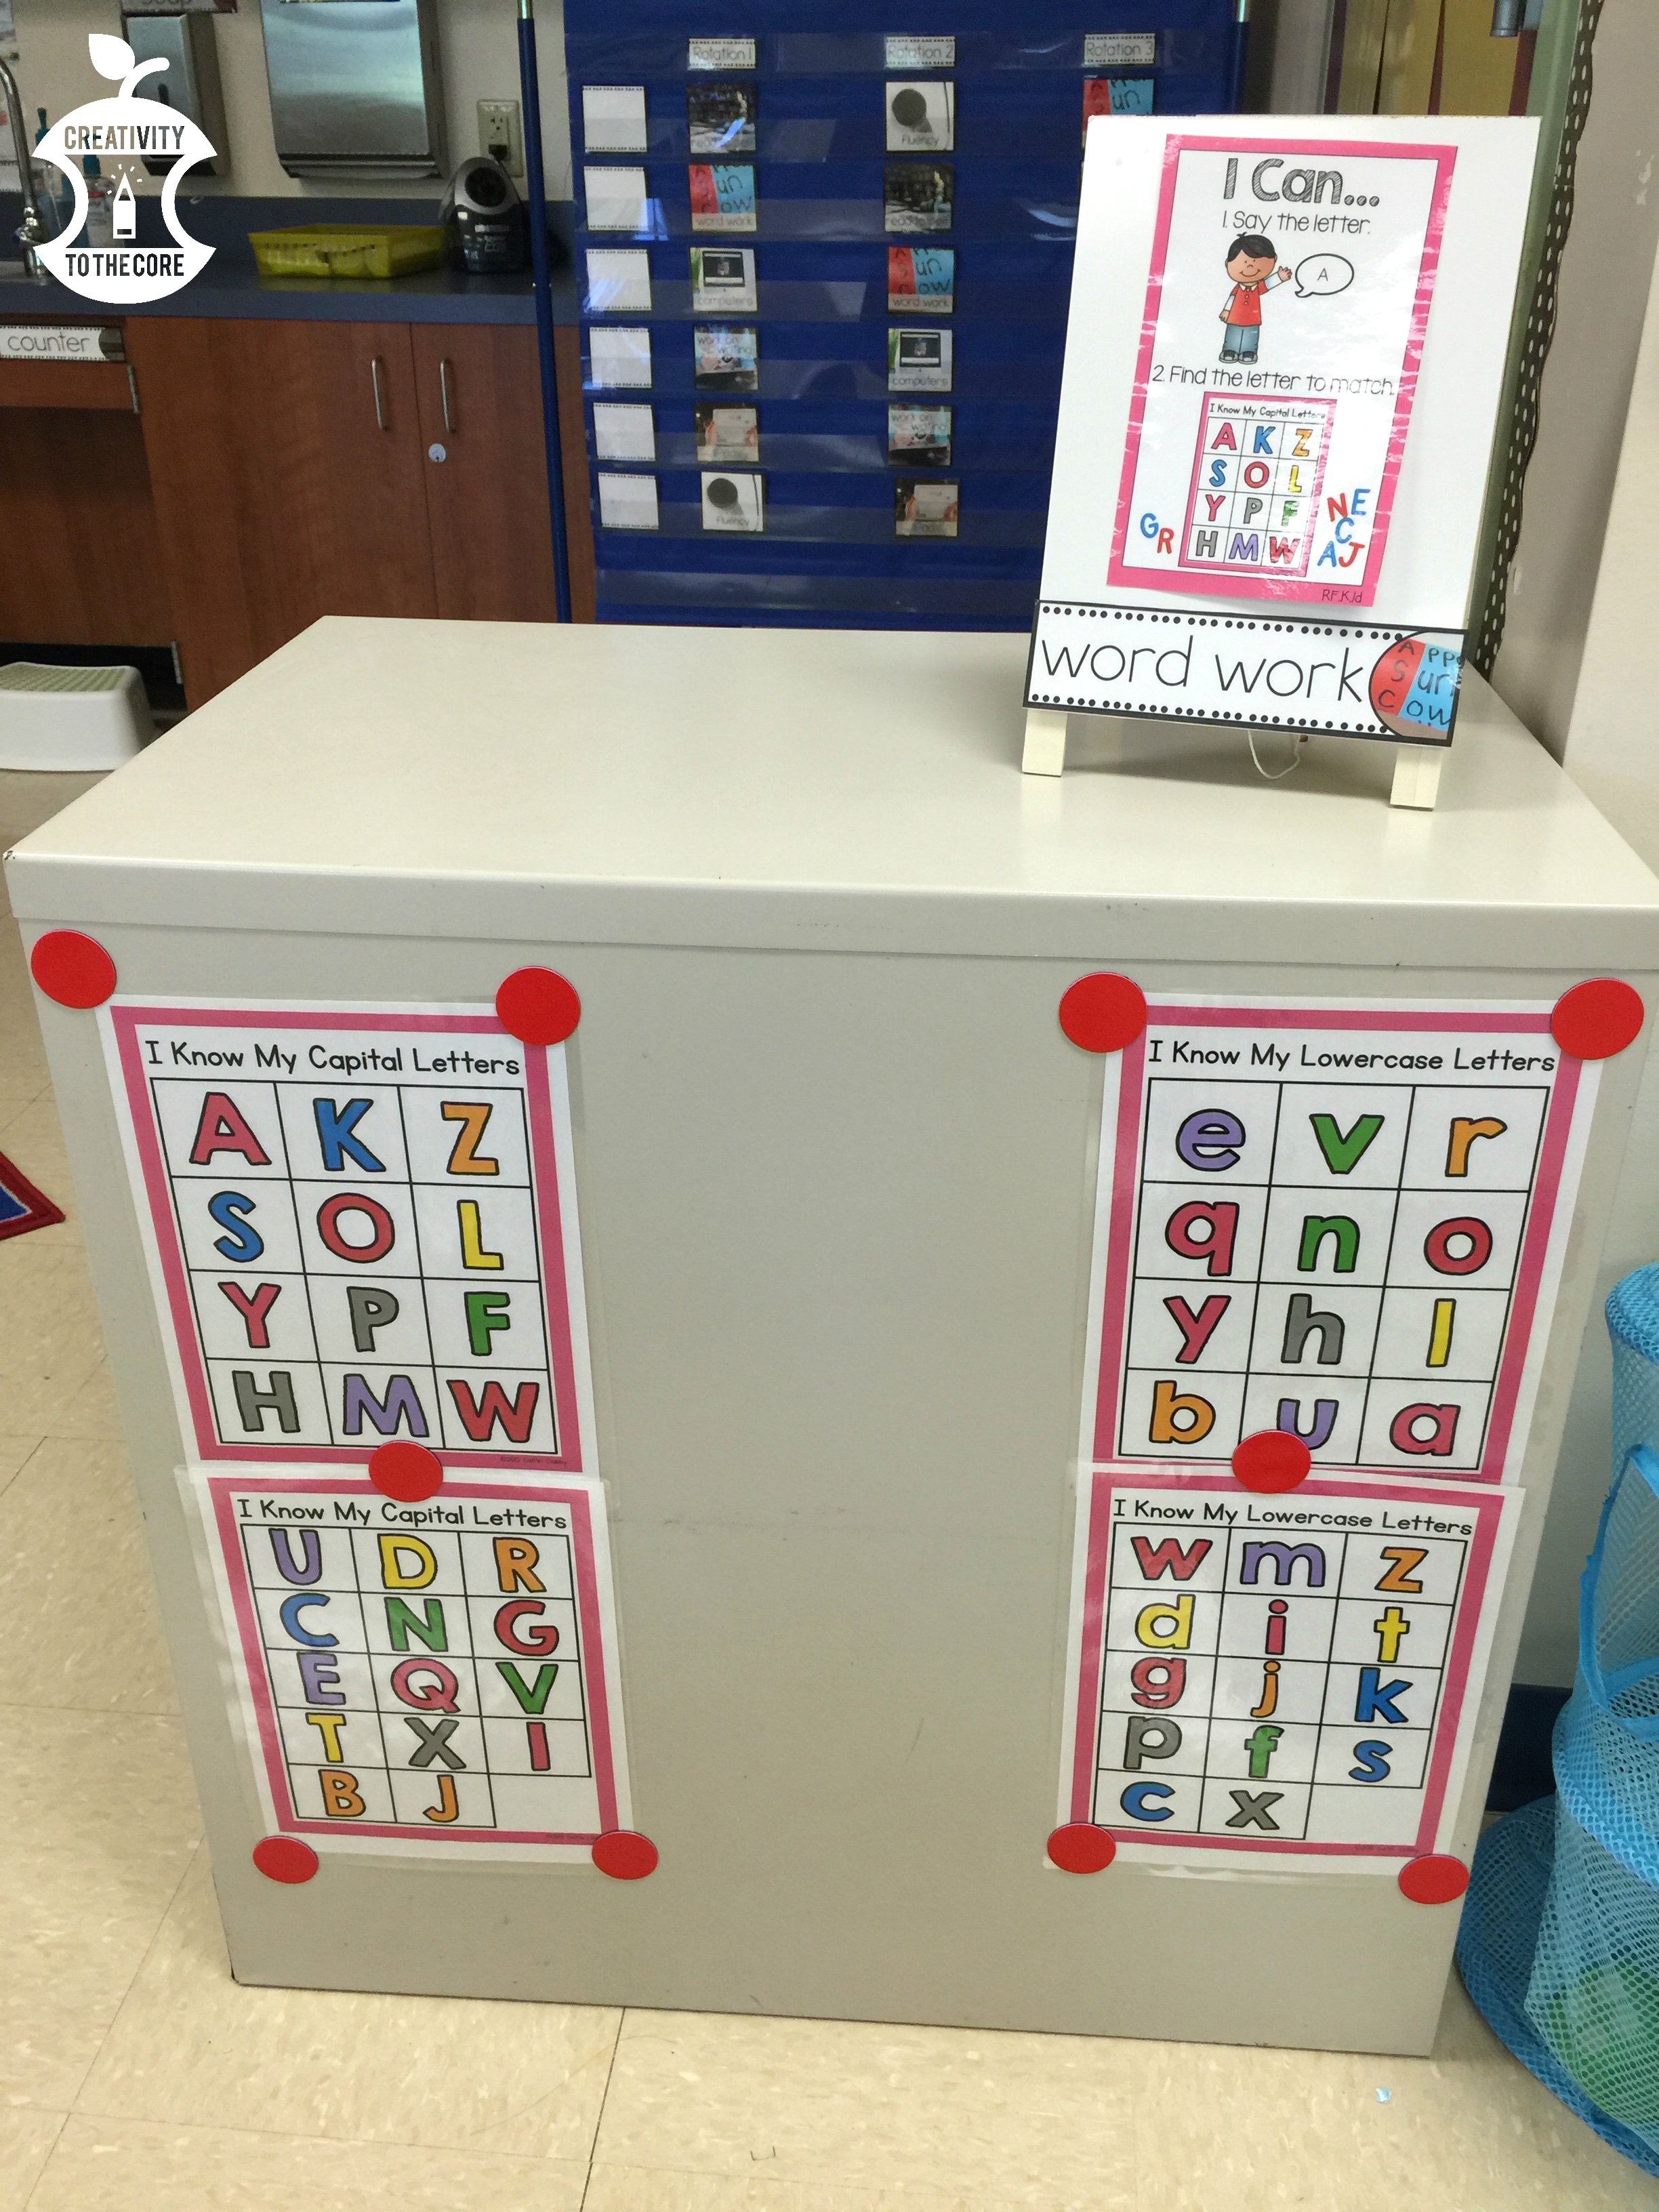
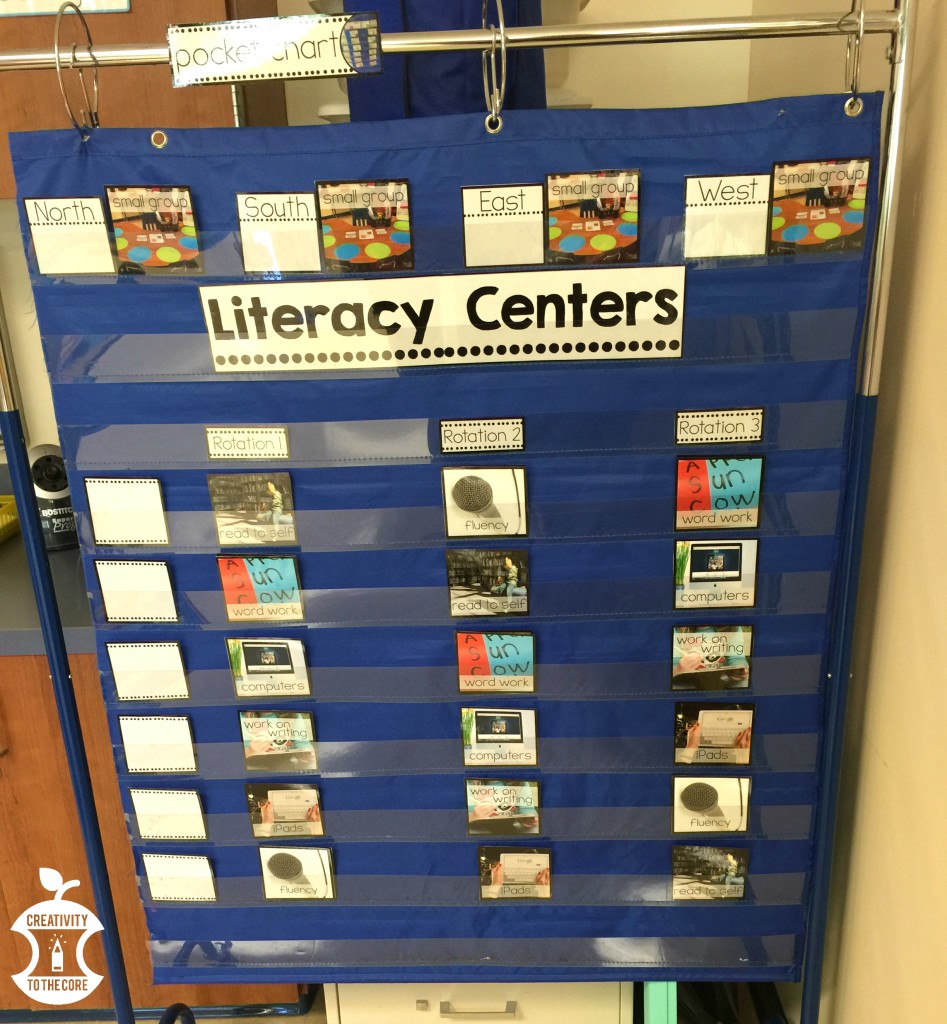
Our literacy center rotation chart is behind the Word Work center. The images on the cards match the images on each center label. The rotation cards are editable and perfect for little learners who are just learning to read. Once we build independence I will explain more about our rotation schedule. 🙂
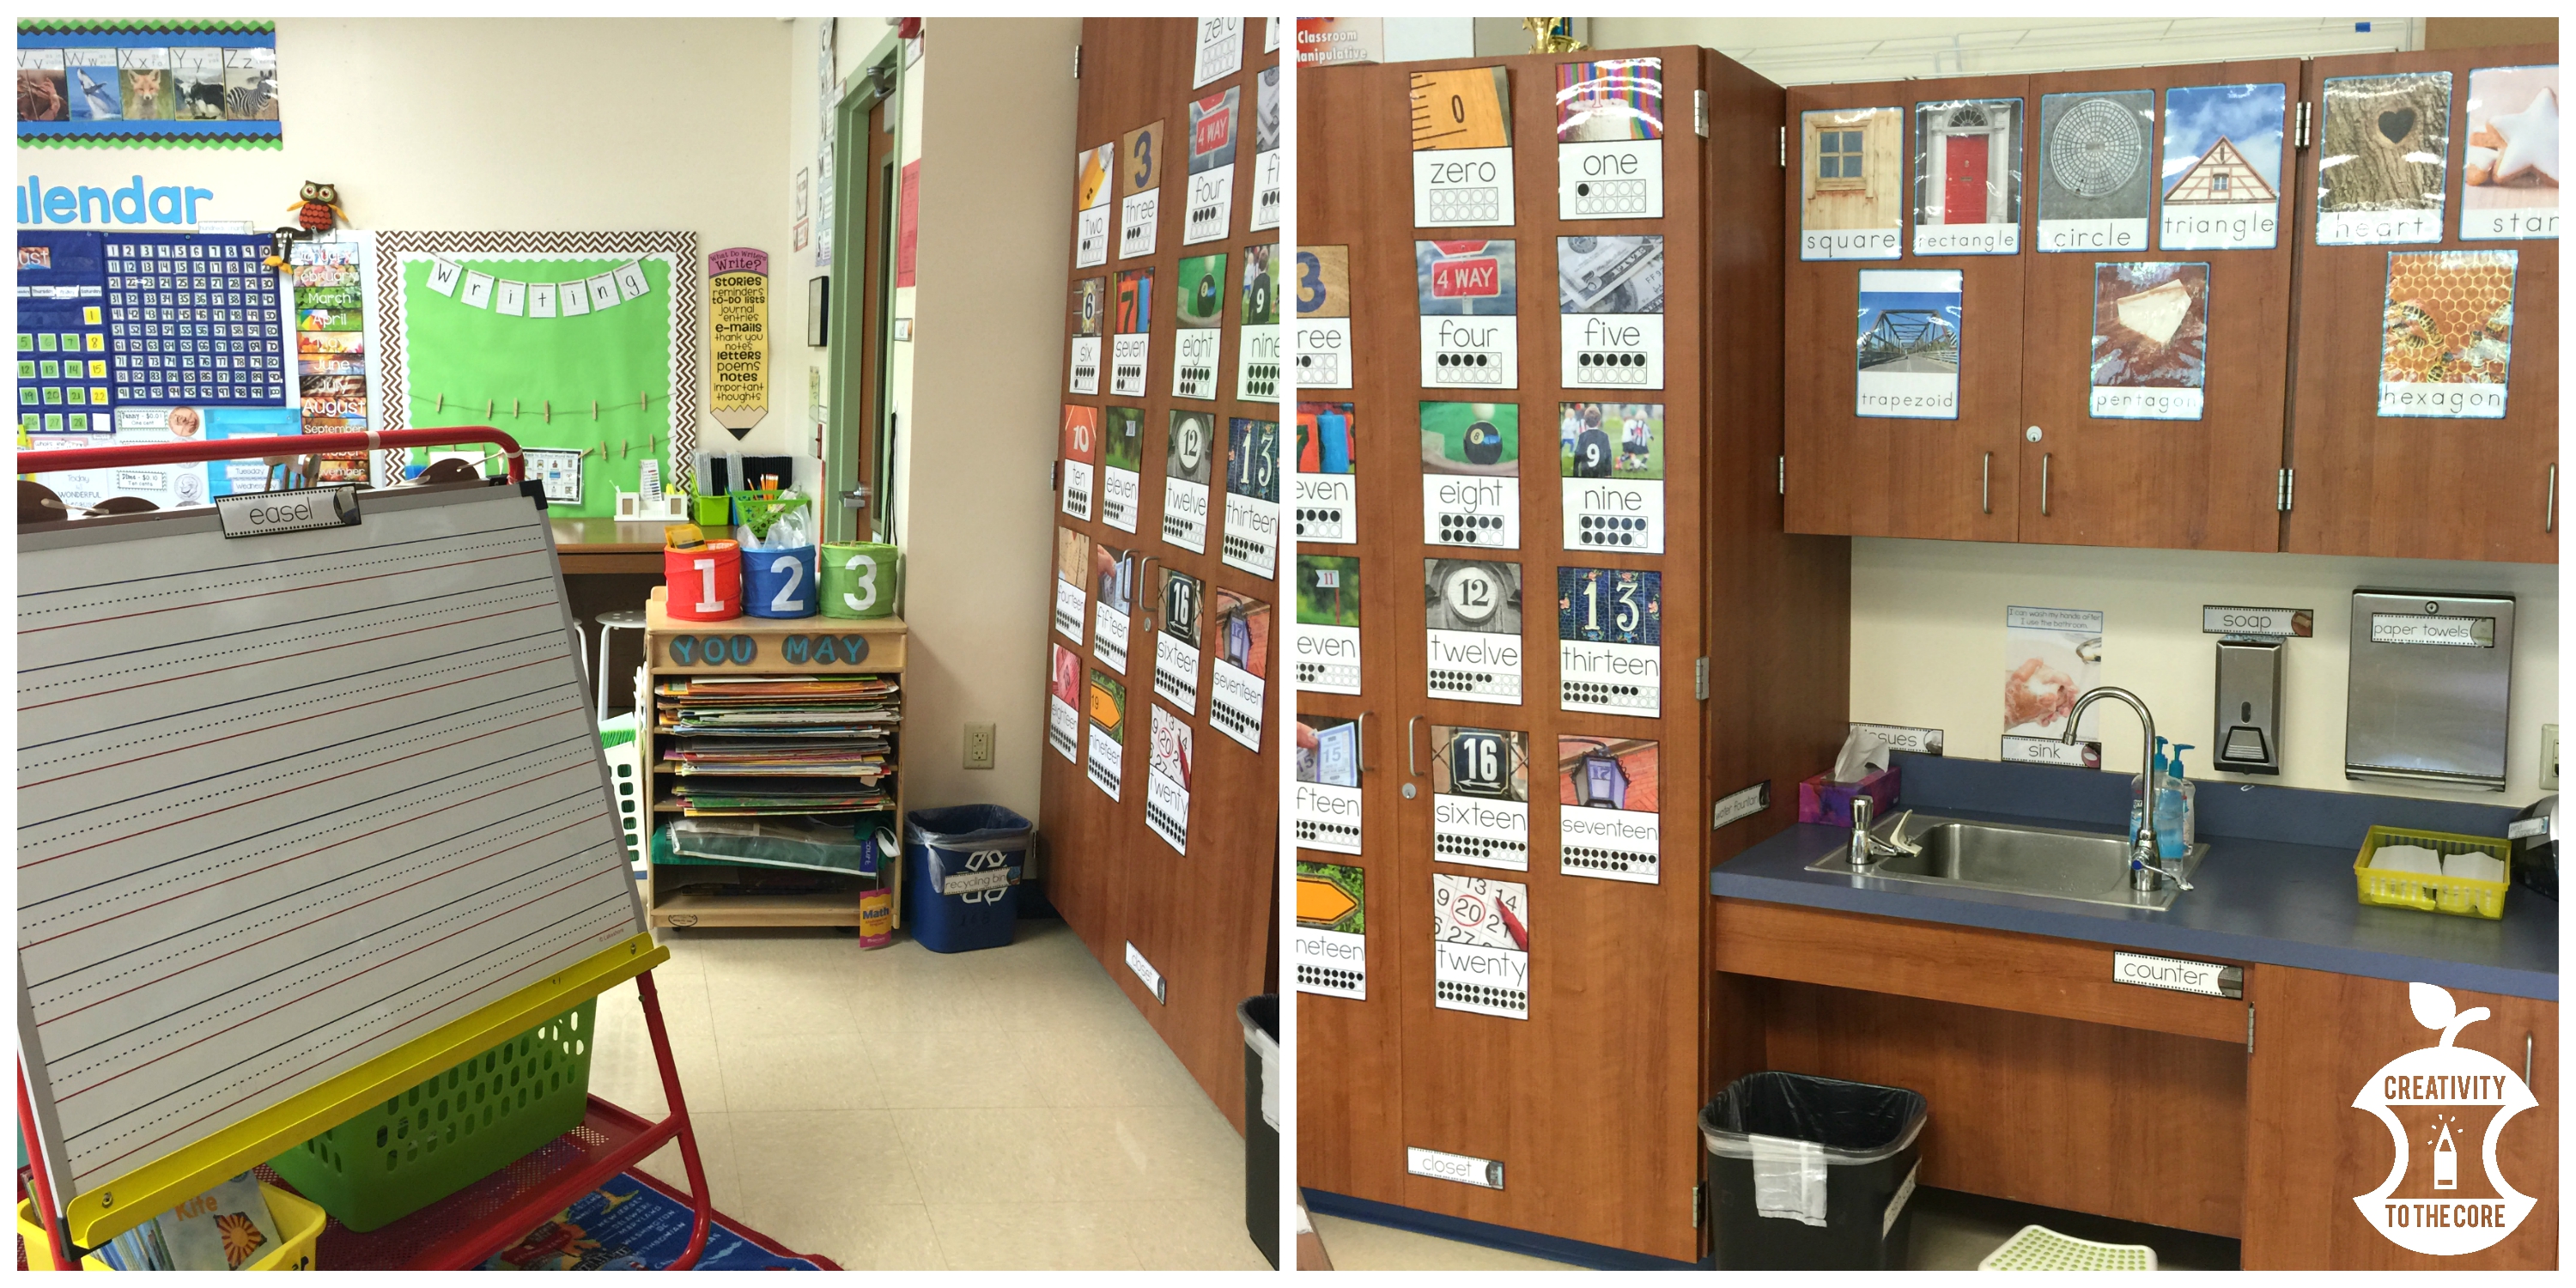
Number and shape posters are on the cabinets of the closet and sink area. The real world images on both sets of posters are very beneficial to little ones. What a great lesson on environmental print!
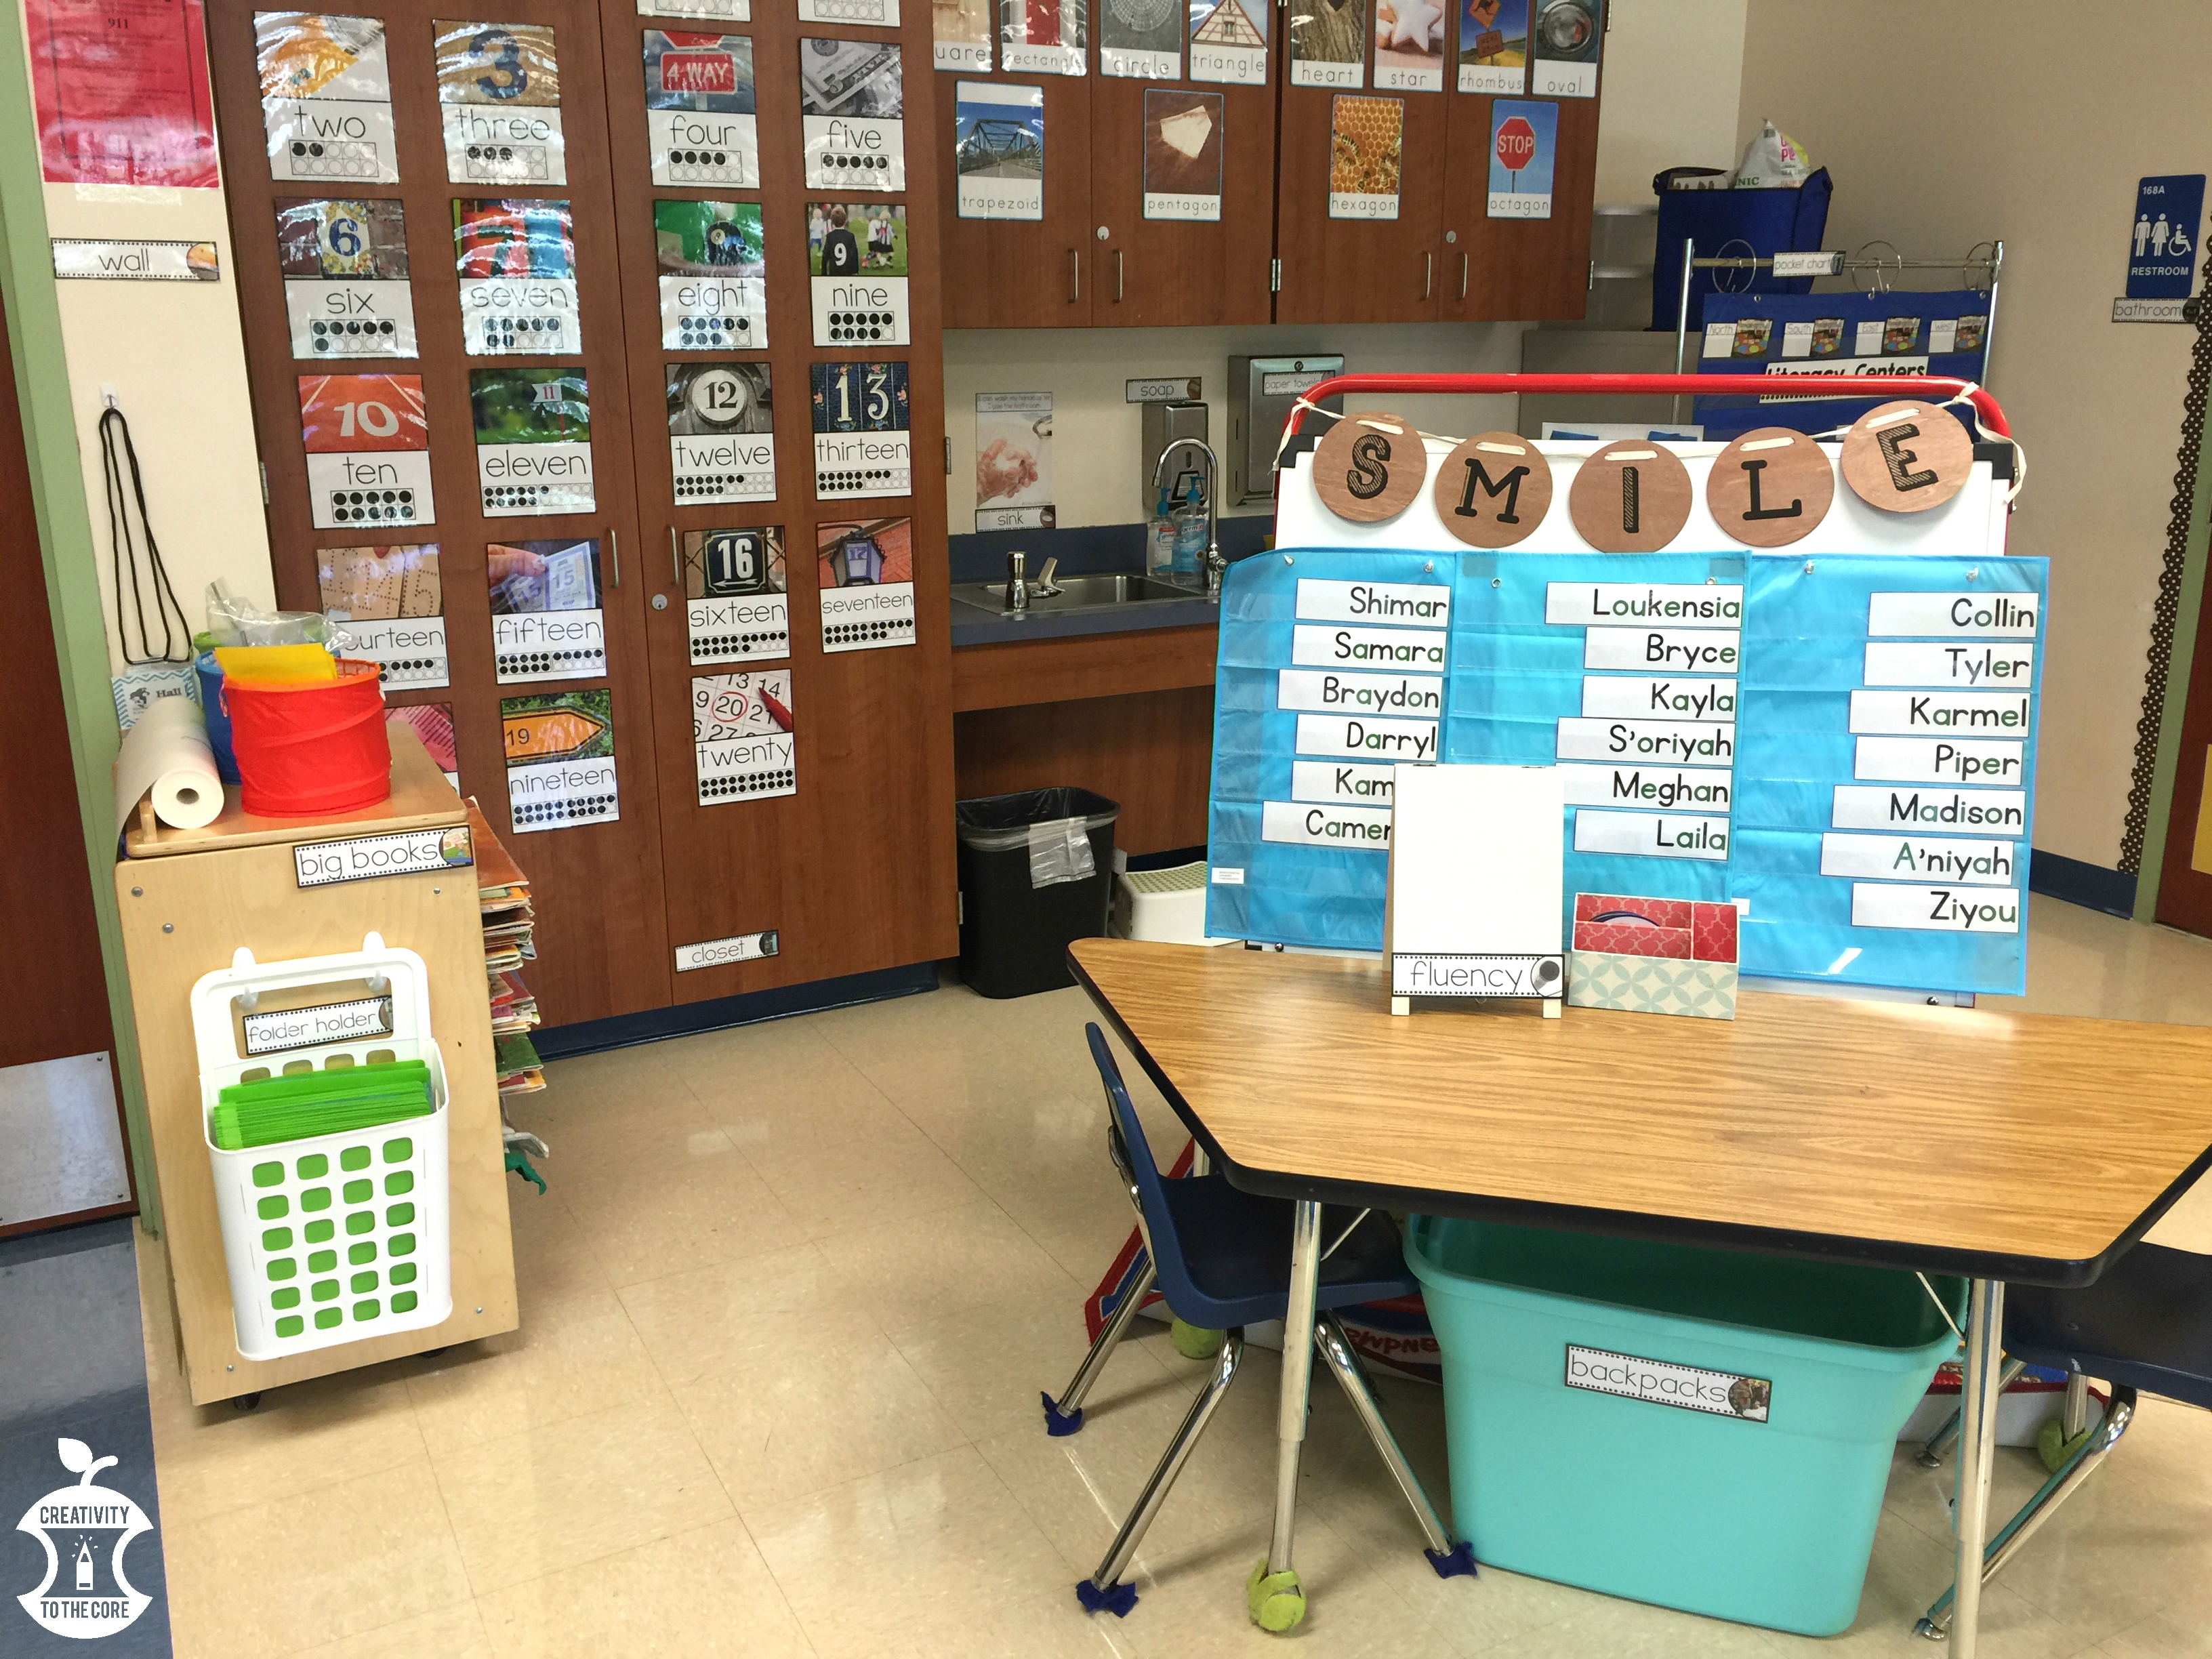
The easel in the picture above backs up to the table seen below. The lined side will be used for an additional writing center, while the blank side holds pocket charts. Currently, our names are listed there under the wooden “Smile” sign from Target. Soon, this fluency center will focus on sight words. You can see the girls’ backpack bin below this table and our homework folder holder to the left.
Finally, when you turn around, you will see the cabinet and cubbies that I use as a room divider. Shared classroom supplies are kept in the wire and wooden bins on the top of the cabinets. Student manipulatives, dry erase markers, highlighters, erasers, and other supplies are kept in the clear bins on the left. Bulkier supplies like large foam dice and our Touchtronic letters and numbers are kept in the large cloth blue bins from the Dollar Tree. Student cubbies are on the right. Each child keeps a math book, science book, lunch number name tag, and Gold Tag pouch (the green and blue pouches) in his/her cubby. Some students keep sweaters here also because our school is always freezing cold inside!
This year, I only have one closet (Last year I had 3!) so I’m organizing like crazy in many other ways. First of all, I labeled EVERYTHING with these student-friendly labels. I put baskets under our computer table to hold bulky things and keep them out of sight, out of mind. Student Scoop Chairs from Walmart are in the teal laundry basket. Each child’s change of clothes stays in the green bucket. Additional student white boards are held in the yellow bucket.
All of my leveled readers are stored on this wooden cart next to my small group table. This keeps them handy during reading groups but also in a space that is safe from little hands that may or may not put books back where they belong.
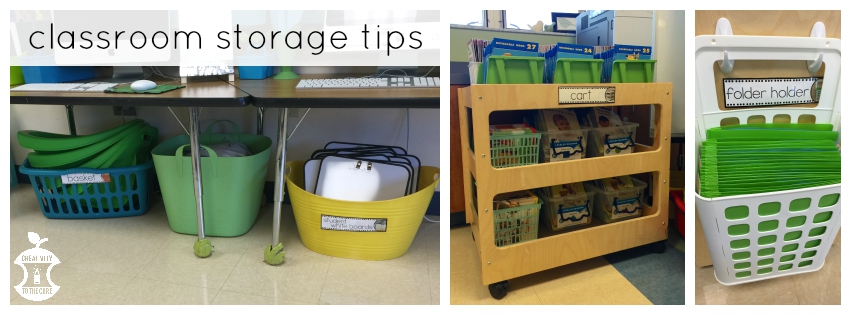
The white container is called our “folder holder” because well, it’s the holder of our folders! This was originally a genius idea from (I think) Kindergarten Smorgasboard using the container meant for grocery store plastic bags. You can grab one for yourself at IKEA!

Well, that’s all folks! Thank you for joining me and adventuring through my classroom. I hope you have a supercalifragilisticexpialidocious year with your students! Be sure to check out the other beautiful classrooms linked below!

LOVE your Kinder room. It looks HUGE! WOW! Your real-life picture displays are perfect for the itty bitties! You did a super job!
I love your Mary Poppins theme! Original, creative and so cheery! My personal favorite? The door nameplate with the stack of books. Swoon! Hope you have an incredible year 🙂
I would love to know how you run your literacy centers. I am struggling with that this year. BTW, your room look fantastic!!!
I will be writing a post on literacy centers soon! Thank you!
Where did you get your upper and lower case letter posters?
Thanks!
If you are talking about the alphabet line across the board, those are from Kristen Smith on TPT. The skinny alphabet poster near my library is from the Dollar Tree. 🙂